This Photoshop tutorial will show you how to complete an underwater landscape painting step by step. This is part one of a two part series. Seascape Painting Part II will show you how to draw the fishes and apply finishing touches to the painting.
Preview of Final Results

Seascape Part I: The Landscape Photoshop Tutorial
- Program: Photoshop 7
- Difficulty: Beginner
- Estimated Completion Time: 20 minutes
*This tutorial was meant to be completed using a pen tablet. If you are using a mouse, the brush sizes will be irrelevant. However, a good estimate for brush sizes when using a mouse is about 1/3 the size of the brush I am using.
Step 1
Open a new project (16 x 20 inches, 300 pdi).

Step 2
Use color #0095A2 and the paint bucket tool to fill in the background layer with a teal blue.

Step 3
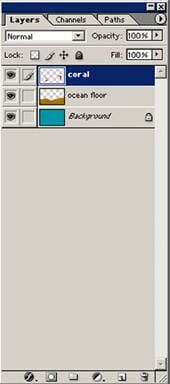
Make a new layer titled “ocean floor” above the background.

Step 4
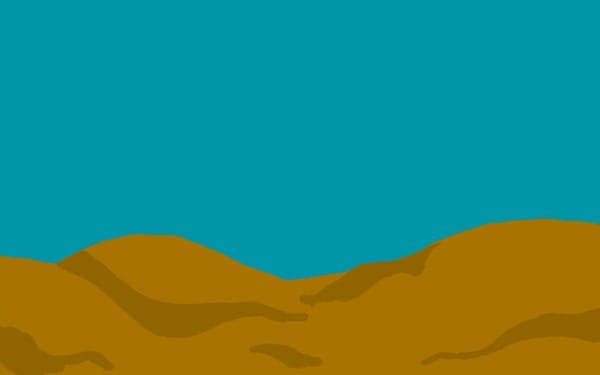
Block in the ocean foreground with color #A87300 (261 pixels, opaque, hard edged round brush).

Step 5
Indicate the major shadows with color #926400 and the same brush.
Step 6
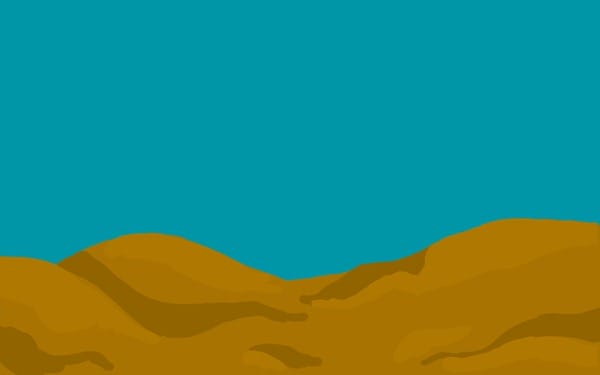
Highlight the floor with color #AF7800.
Step 7
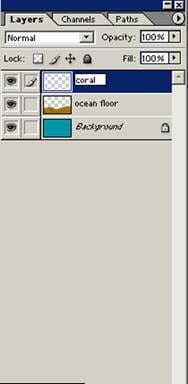
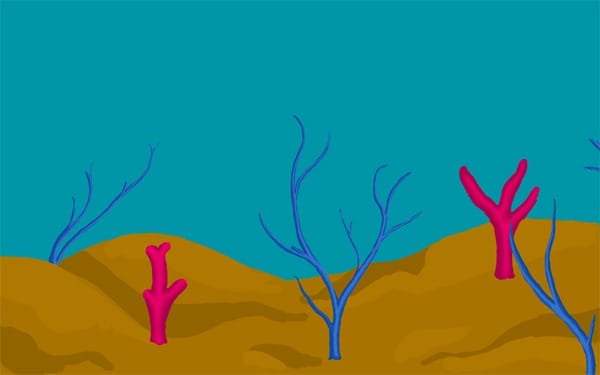
Make a new layer “coral” above the other layers.
Step 8
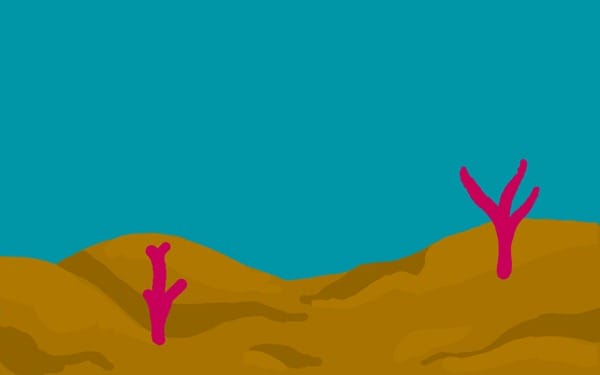
Now using color #C80059 (165 pixel brush), block in 2-3 coral bunches. These corals look kind of like little stubby trees, with short, rounded arms.
Step 9
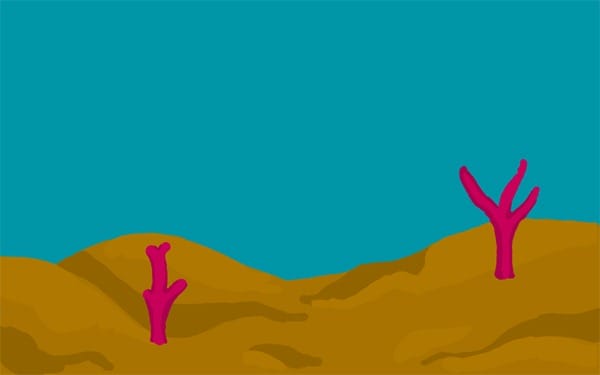
Now, using a 90 pixel opaque brush and color #AA004C add shadows to the coral.
Step 10
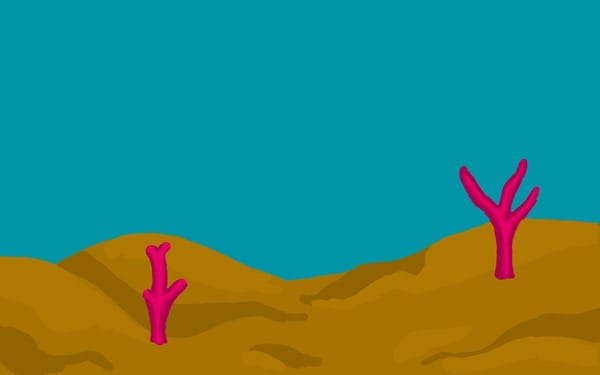
Using the same brush, highlight the center of the coral stocks with color #E50066.
Step 11
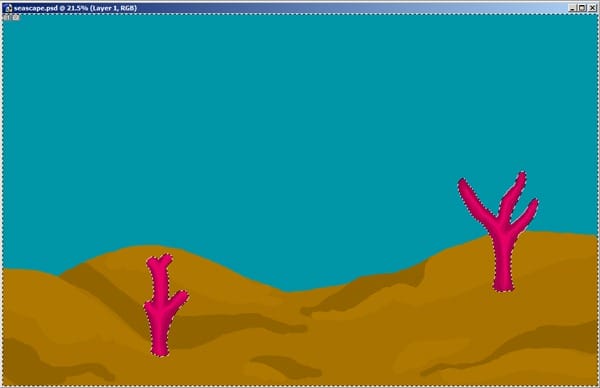
Use the magic wand tool to select the area around the coral. Now, select the inverse (shift + ctrl + I), and copy and paste the coral onto a new layer.
Move the new coral so that it matches up with the coral beneath it.

Step 12
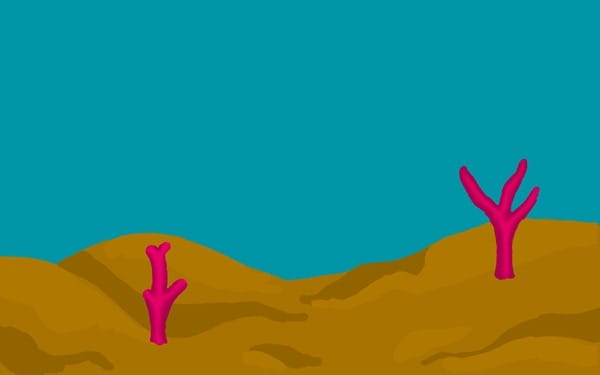
Now use the same process to select the coral only, and apply a Gaussian blur filter or 9 pixels (Filter à blur à Gaussian blur).
Step 13
Merge the layer down (ctrl + E).
Step 14
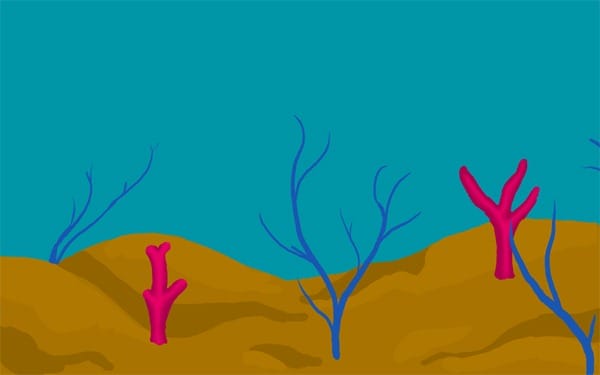
Now using color #1956B1, block in some blue, plant-like coral (using a size 87 pixel brush).
Step 15
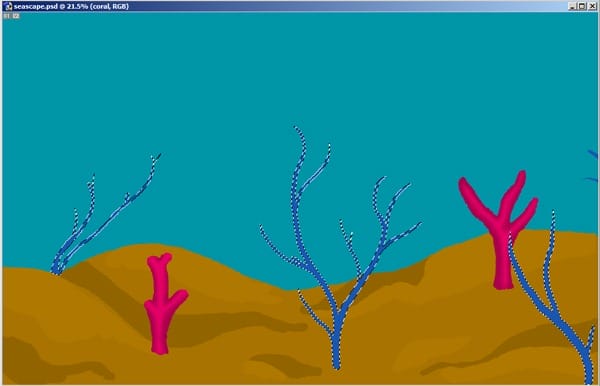
Use the magic wand tool to select the blue seaweed on the coral layer.
Step 16
Copy and paste the blue coral onto a new layer. (This will keep the coral from having fuzzy edges).

Step 17
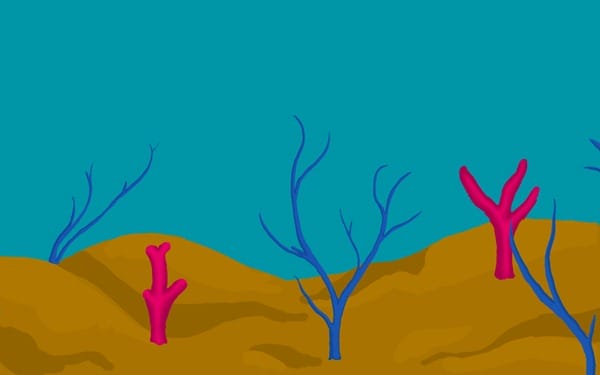
Add shadows to the coral with color #12499B and a 30 pixel opaque brush.
Step 18
Using the same brush, highlight the coral with color #3570C7.
Step 19
Now using the same technique from step 11, select the coral with the magic wand tool.


Leave a Reply