
Learn how to use Photoshop to simulate natural film grain on digital photographs. This beginner Photoshop tutorial will show you how to add natural looking noise using a non-destructive process. If you use Photoshop CS3, you will also learn how to add this effect using Smart Filters.
Preview of Final Results

Natural Film Grain Photoshop Tutorial
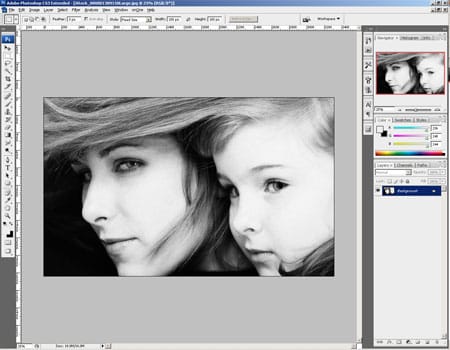
Step 1: Open an image into Photoshop
To open an image, choose File> Open. Browse for the image file and click OK.
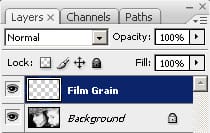
Step 2: Create a new layer
First, we’re going to create a new layer for the film grain instead of working directly on the photo. By using a new layer, we’re practicing what is called non-destructive editing. Non-destructive editing means that all effects are on their own seperate layers so that they can be edited or removed anytime without undoing a bunch of steps. To create a new layer, click on the “New Layer” icon in the layers pallet or go to Layer> New Layer. Rename the new layer from Layer 1 to Film Grain. To rename a layer, simply double-click on the layer name in the Layers pallet and edit.
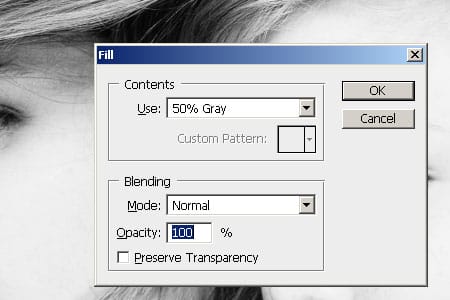
Step 3: Fill the layer with 50% gray
We’ll begin working on this layer by adding a 50% gray color. To do this, press Shift+Backspace or choose to Edit> Fill. Click on the Use drop down menu, select 50% gray and click OK. The Film Grain layer should now be filled with a 50% gray color.
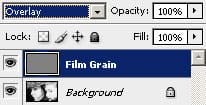
Step 4: Set the blending mode to Overlay
Now change the blending mode of the current layer to Overlay. You should now see the layer below in the document window. Many of the blending modes including Overlay will treat a neutral 50% gray as a transparent color. You can also use a 50% gray layer to add different filter effects without editing the original Background layer.
If you are using Photoshop CS3, you can use non-destructive Smart Filters by converting this layer into a Smart Object. To do this, right mouse click on the layer and select Convert to Smart Object or go to Layer> Smart Objects> Convert to Smart Object. The layer thumbnail should now have a small icon inside it to indicate that it is a smart object.
Step 5: Add noise
To add noise, choose Filter> Noise> Add Noise. In the Add Noise filter, set the amount to 400% and click OK. If you are working with a black-and-white image, checkmark Monochromatic to make the noise black-and-white. Don’t worry about the amount of noise added; we will adjust this setting later.
5 responses to “Natural Film Grain”
-

I really like it…………..
-
Thank you for sharing. This pure Photoshop technique is generic but fast and useful if you care not for a more specific approach to olden times’ film emulsions. I have published a comparison article where this here tutorial is parroted and compared to different grain image overlay methods.
-
oi
-
Awesome! I love having grain in my images, I will be using this method a ton :)
-
Good tutorial, many thanks!
I own DSLR and I like grain effect. Your article will be very helpful for me.
(in case of video, I found free film grain overlay here: http://vegasaur.com/film-grain – also very useful!)
Leave a Reply