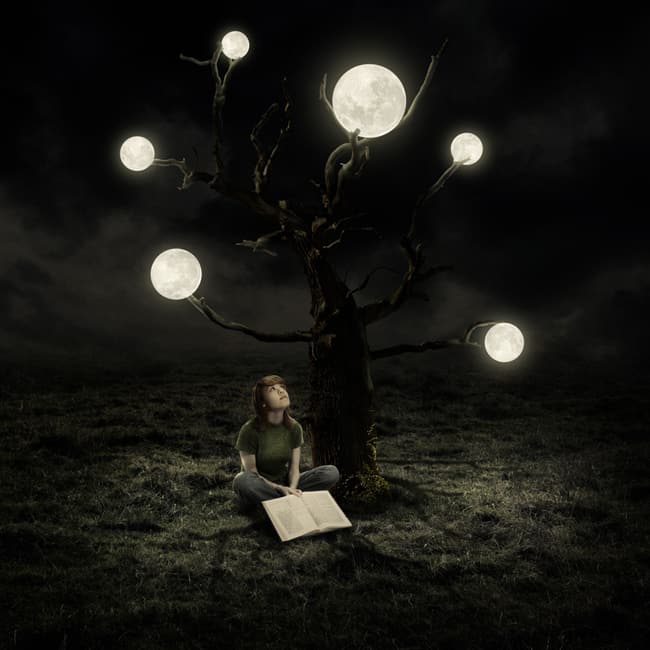
In this tutorial I’ll show you how to create a surreal moon artwork using different photo manipulation techniques. You’ll learn how to combine stock photos, change the time from day to night, work with lighting and more.
We’ll start this tutorial by creating a grassy scene from a sky and grass images. Then we’ll add a tree, a girl, moons and blend them using adjustment layers, masking and brush. Later we’ll use several adjustment layers to change the time from day to night. Finally we’ll create some lighting effect to complete this tutorial. You’ll need Photoshop CS3 or newer to follow the process.
Tutorial Resources
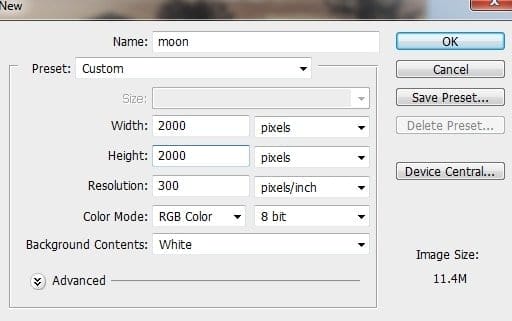
Step 1
Create a new document in Photoshop with the given settings:
Step 2
Open the grass image. Use the Move Tool (V) to drag it into our white canvas as shown below:

Step 3
I used an adjustment layer with Clipping Mask to reduce the grass saturation. Go to Layer > New Adjustment Layer > Hue/Saturation:


Step 4
I used Color Balance to change the grass color:


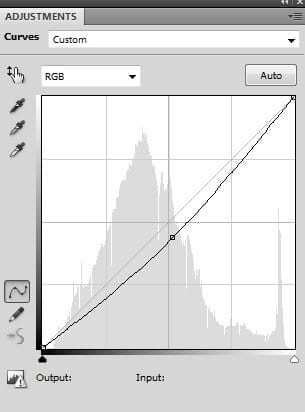
Step 5
I used Curves to darken the grass:
On this layer mask use a basic, soft brush with black color, the opacity about 40-50% to erase the foreground :

Step 6
Open the sky image. Use the Rectangular Marquee Tool (M) to select the sky part and place it at the upper of the our main document, use the Free Transform Tool (Cmd/Ctrl+T) to resize it to fit:

Click the second button at the bottom of the Layers Panel to add a mask to this layer. Use a soft black brush to remove the hard edges of the sky bottom and blend it with the grassy ground:

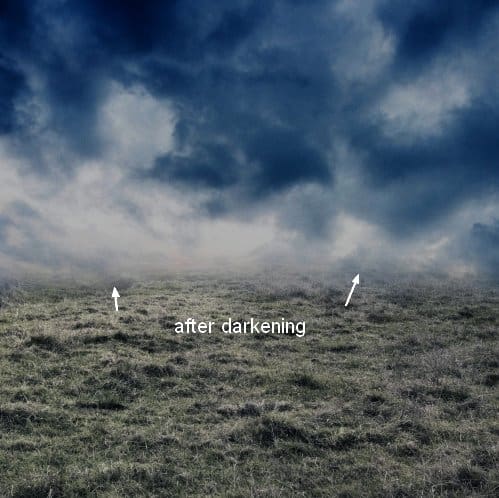
Step 7
I used Curves (Clipping Mask) to darken the sky:

Step 8
I used Hue/Saturation to match the sky color with the grass:


Step 9
Open the tree image. As it has a transparent background so simply drag it into our working document using the Move Tool.

Add a mask to this layer and blend the tree with the grass using a soft black brush:

Step 10
Select a branch from the tree image and place it at the left of the tree:

Blend it with the trunk using a layer mask:

Step 11
I aim to make the light of the moons from above so the tree shadow should be located under the tree. To do it, make a new layer under the tree ones. Hold down the Cmd/Ctrl+Shift while clicking the tree and branch thumbnails to load their selection:
17 responses to “Create a Surreal Artwork of a Tree with Moons in Photoshop”
-

What does it mean by “Curves (Clipping Mask)” in step 7
-
realy nice explained! thanks a lot =)
-
Always love your tutorials Jenny
-
Thank you for a lovely charming lesson. It’s my pic http://j-p-g.net/if/2015/11/28/0852252001448714236.jpg
-
Thank you! Amazing tutorial.
-
Great tutorial.
-
i have seen better, but it could be worse. dunkey aka dunc. west side is my hood
-
realy good its alright
-
very nice …good explanation
-
Thank you so much
-
tutorial is good but shadow is missing on book
-
i dont understand not enough detailsssssss
-
Good tutor.
-
Perfect tutorial *-*
-
how
-
-
Thank you, I liked! My creation:
http://cartes-mireilled.eklablog.com/photomontage-surrealiste-d-un-arbre-avec-des-lunes-a117631138 -
Very good tutorials
Leave a Reply