
Turn an image into a high-tech digital art. From a distance, it will look like a LED display image but viewing up close will reveal the tiny details.
Note: Make sure that the image is in RGB color mode. To switch to RGB color mode, click on RGB Color under the Image> Mode menu.
Step 1
Open an image you would like to edit. Or, you may use the image used in this tutorial (from iStockPhoto). Using a low-resolution image is fine.

Step 2
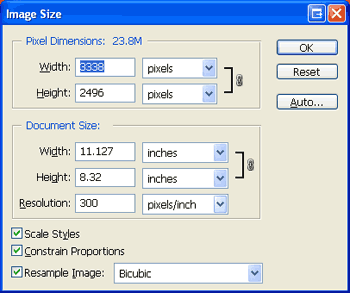
If you’re using a low resolution image, use the Image Size tool to increase the dimensions. We recommend at least 2000 pixels wide and tall for better clarity in the final result.
Tip: Ensure that the “Resample Image” checkbox is checked to allow scaling the actual pixel dimensions.
Convert Image into a Grid of Circles
Step 3
Add a Mosaic filter (Filter> Pixelate> Mosaic) with a cell size of 8 square.

Step 4
Apply a Find Edges filter (Filter> Stylize> Find Edges)

Step 5
To warp the edges into circles, we’ll use the Median filter. Apply a Median filter (Filter> Noise> Median) with radius of 2 pixels.

Step 6
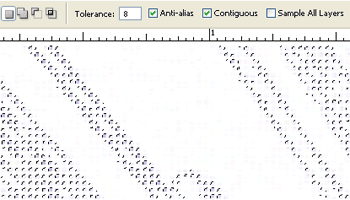
Select the Magic Wand tool (W) and apply these settings:
- Tolerance: 8
- Anti-Alias: Checked
- Contiguous: Checked
Step 7
Use the Magic Wand tool to click on a white area. Inverse the selection (Select> Inverse or Shift+Ctrl+I)
Step 8
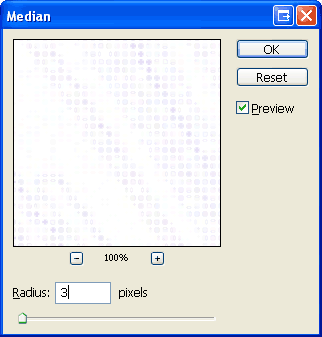
Apply another Median filter (Filter> Noise> Median) but with a Radius of 3 pixels.
Step 9
Deselect (Select> Deselect or Ctrl+D) and apply an Auto Levels (Image> Adjustments> Auto Levels or Shift+Ctrl+L)

Step 10
Invert the current layer (Image> Adjustments> Invert or Ctrl+I)

Step 11
Duplicate the current layer (Layer> Duplicate Layer or Ctrl+J), change the blending mode of the new layer to Overlay, then Merge the layers (Layer> Merge Layers or Ctrl+E).
Create Outlines
Step 12
Duplicate the background current layer (Layer> Duplicate Layer) and change the blending mode of the new layer to Screen.

Step 13
Apply a Find Edges filter (Filter> Stylize> Find Edges).
Step 14
Invert the current layer (Image> Adjustments> Invert or Ctrl+I).

Colorize
Step 15
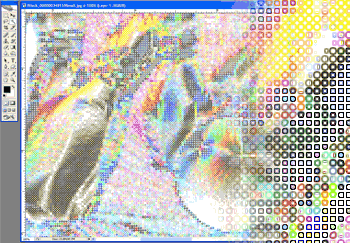
Add a new Hue/Saturation adjustment layer (Layer> New Adjustment Layer> Hue/Saturation). For this step, I will use these settings:
- Colorize: Checked
- Hue: 100
- Saturation: 100
Tip: This step is optional and may be skipped if you do not want to colorize the image.
Leave a Reply