Learn how to make a honeycomb with delicious golden honey drips in Photoshop and Illustrator.
Preview of Final Results
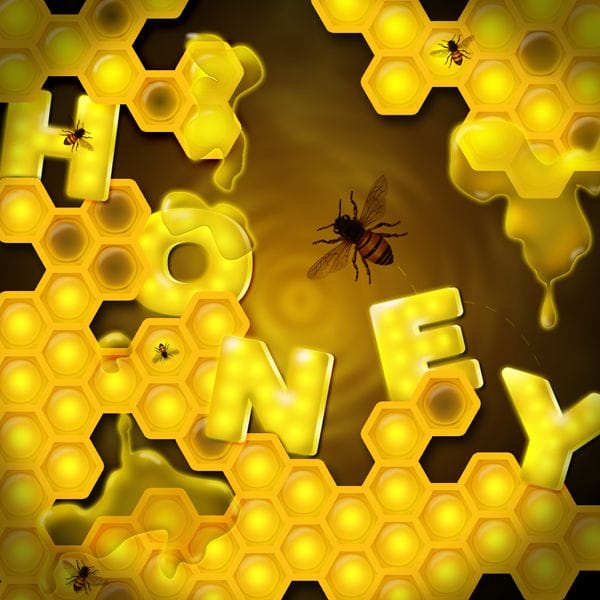
Create a Honeycomb Artwork Photoshop Tutorial
Resources
- Boris Black Bloxx – DaFont
Step 1
Create a New Document. 400px x 421px
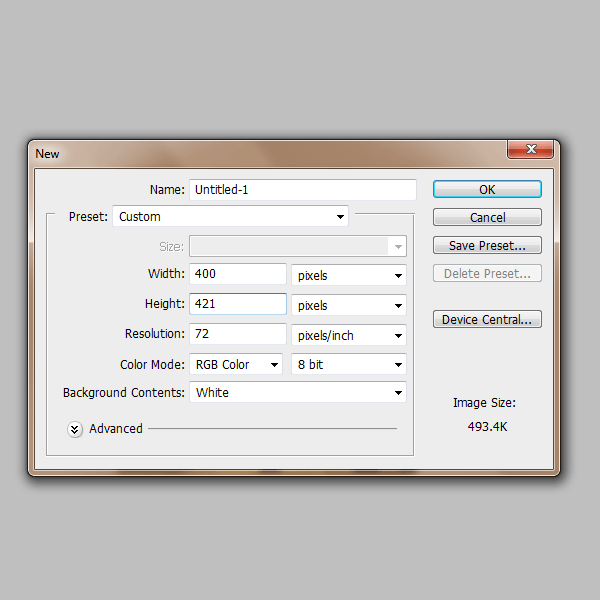
Step 2 Honeycomb
First we will create the honeycomb, create a new layer and name it ‘honeycomb’. First grab your ‘custom shape tool’ (U) and find the hexagon shape, place it on your canvas. Make sure the color of the shape is #ffcb05.

Step 3 Layer Styles
Add these layer styles by double clicking your ‘honeycomb’ layer.
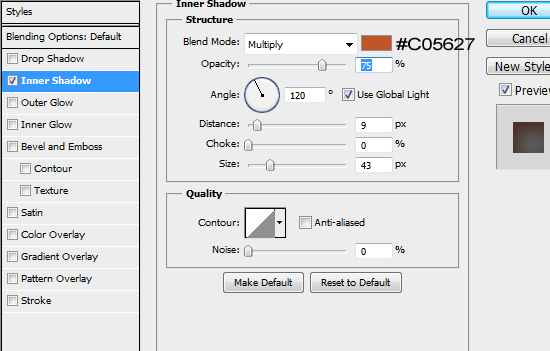


Step 4 Highlights
Now we will make the honeycomb shine and glisten. Create a new layer name it ‘highlight’. Get your Paint Brush Tool (74 px soft round brush #FFFFFF) and place the brush in the center of the honeycomb.
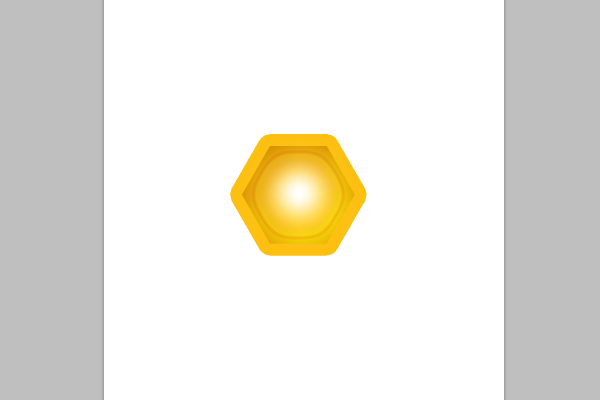
Step 5
Change this layer to Overlay

Step 6
Create a New layer and name it ‘highlight 2’. Then grab a 7px soft round brush #FFFFFF and make a marking like so.

Step 7
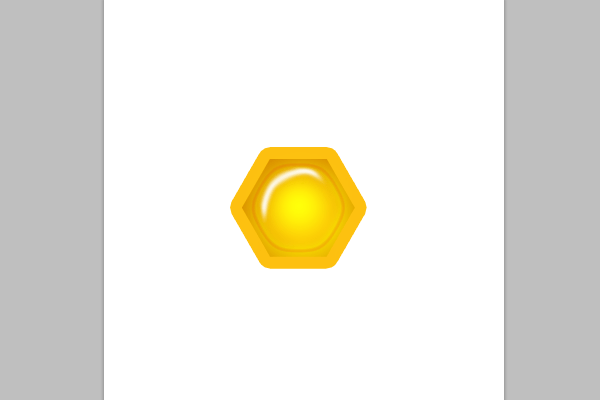
Grab your Smudge tool (22px soft round brush) and smooth out the highlight on both sides. The way I did it was that I started in the middle of the line and went outwards.
Step 8
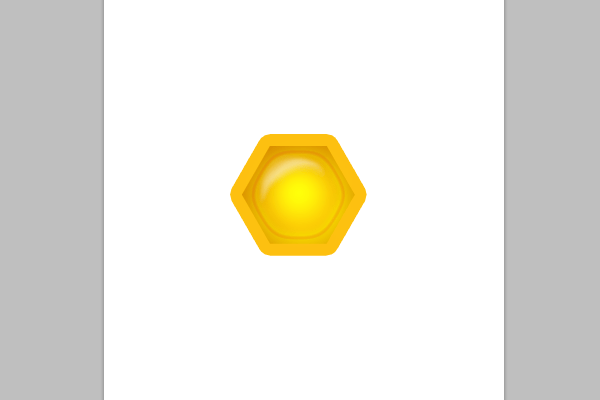
Change this layers Opacity to 57%
Step 9
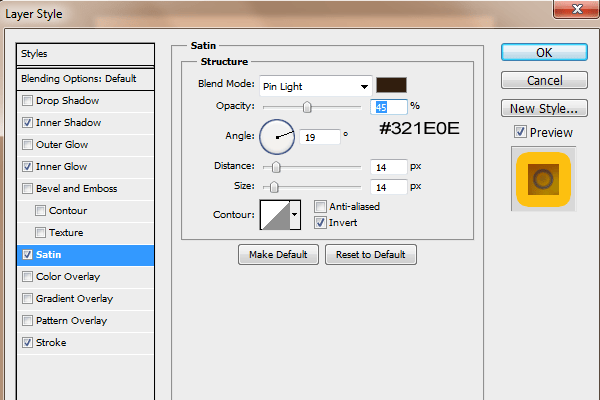
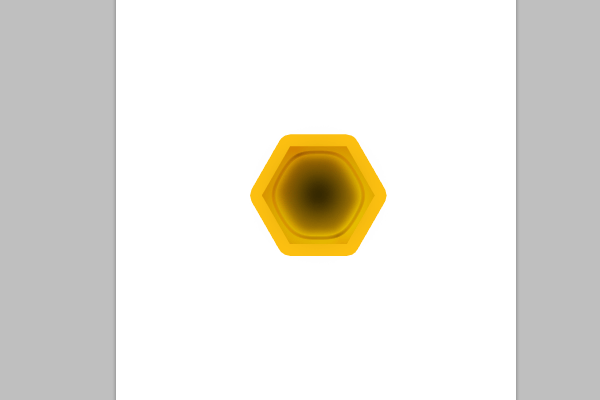
Also in this tutorial I have where there seems to be that the honeycomb is empty. To achieve this effect repeat steps 2&3 but add the layer style Satin.
Step 10
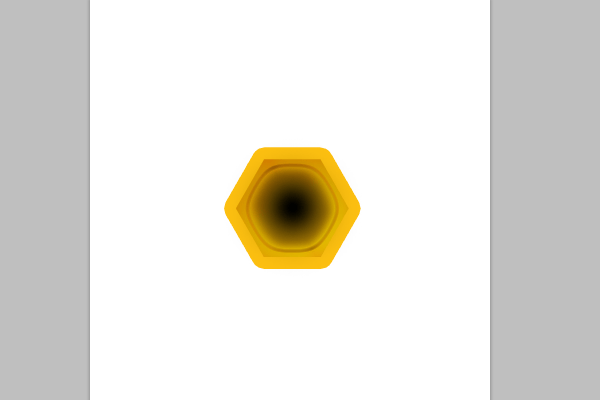
Next, create a new layer and grab your paint brush tool (61px #000000) place it in the middle of the honeycomb.
Step 11
Change this layer to Color Burn with an Opacity of 71%
Step 12
Now repeat steps 6-8 to add the shine effect. Note: Change this layer Opacity to 39%

Step 13
So now we have both of our honeycombs. I hope your image looks like mines.

Step 14
Now prior to creating a new document place the honeycombs into their own groups (Click the Folder Icon>drag all layers pertaining to that item in the folder). Now create a new Document.

Step 15 Background
Fill your background layer with #673606

Step 16
Create a New layer and make sure that your Foreground is set to #673606 and your Background is set to #FFFFFF. Next Filter>Render>Clouds

Step 17 Ripple
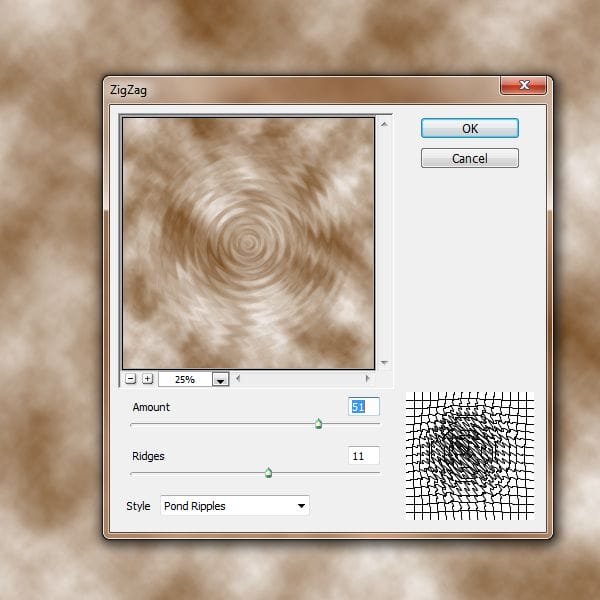
Then go to Filter>Distort>ZigZag and add these settings.
Step 18
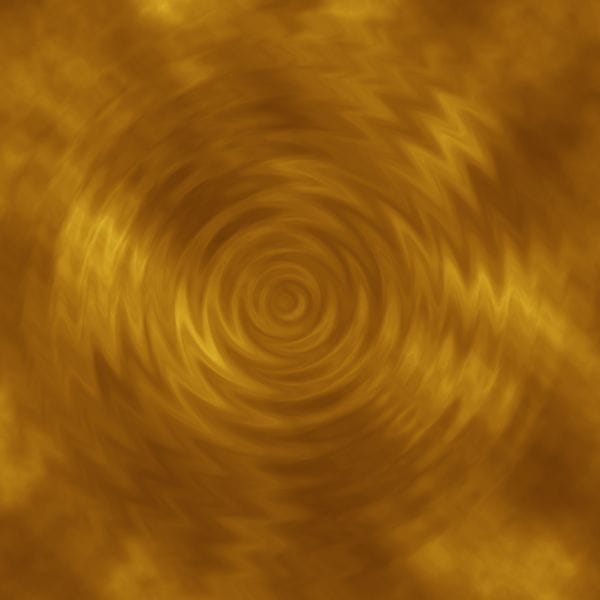
Change this layer to Divide
Step 19
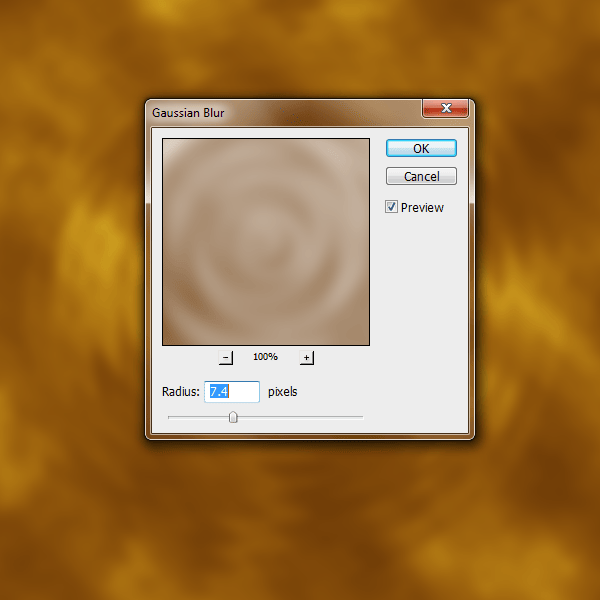
Blur this layer by Filter>Blur>Gaussian Blur.
Step 20
Create a New Layer. Grab a 750px soft round brush #fadc0f and place it in the middle of your canvas
One response to “Create a Honeycomb Artwork in Photoshop”
-
really awesome except for the honey drips which are a bit too lumpy for actual honey.


Leave a Reply