
In this tutorial, I’ll show you how to create a fantasy artwork featuring a cute baby owl. First, we’ll build the base scene with images of the landscape, trees, and branches. Later, we’ll create a baby owl by combining separate parts from an original owl image. After that, we’ll add the bow, bag, straps, and branch. We’ll use several adjustment layers to enhance the final effect.
Preview of the Final Result

Tutorial Resources
Step 1
Create a new 1500×200 px document in Photoshop and fill it with white. Open the background image and drag it into the white canvas using the Move Tool (V). Convert this layer to a Smart Object.

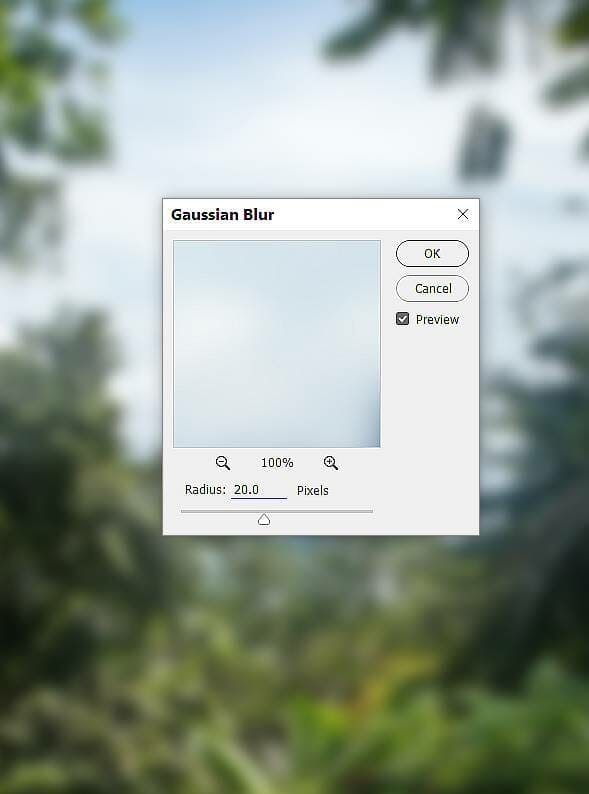
Step 2
Go to Filter > Blur > Gaussian Blur and set the radius to 20 px:
Step 3
On the background layer, go to Layer > New Adjustment Layer > Curves and set it as Clipping Mask. Decrease the lightness and on this layer mask, activate the Brush Tool (B) and select a soft round one with black color. Use this brush to paint on the middle of the background to reveal the lightness there.


Step 4
Make a Color Balance adjustment layer (set as Clipping Mask) and change the Midtones and Highlights settings:


Step 5
I want to hide the buildings on the far background so I place the tree over this area. Convert this layer to a Smart Object and apply a Gaussian Blur of 20 px to the tree layer.


Step 6
Click the second icon at the bottom of the Layers panel to add a mask to this layer. Use a soft black brush to erase the lower part of the tree.

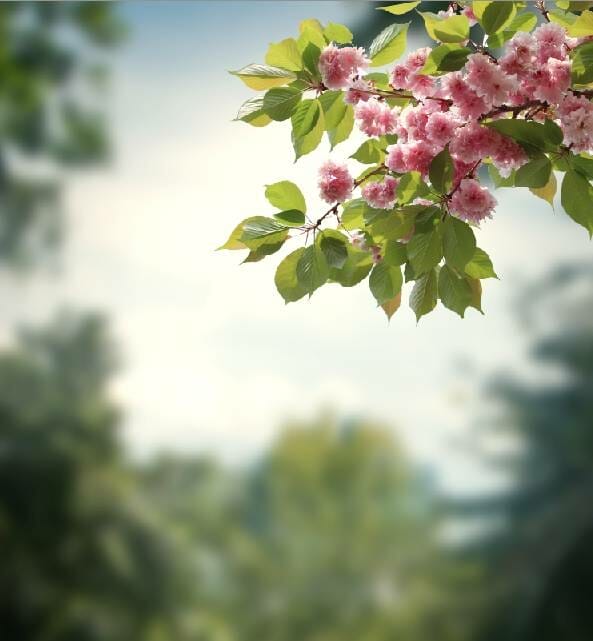
Step 7
Open the branch 1 image and isolate the branch using the Magic Wand Tool (W). Place the branch 1 on the top right of the main canvas and convert this layer to a Smart Object.
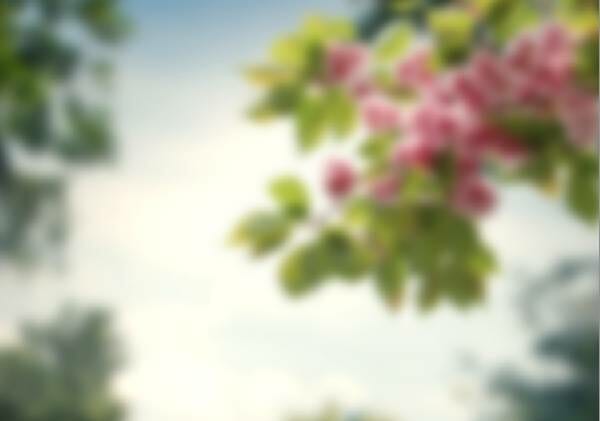
Step 8
Apply a Gaussian Blur of 15 px to the branch layer.
Step 9
Create a Color Balance adjustment layer (set as Clipping Mask) to change the color of the leaves and the flowers:

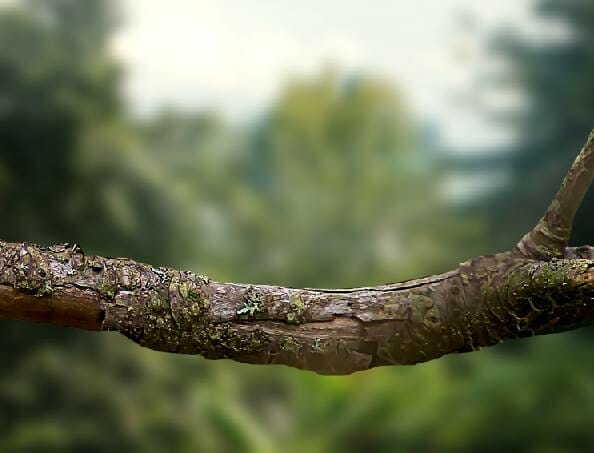
Step 10
Cut out the branch from the branch 2 image and place in in the lower of the foreground. Add a mask to this layer and use a hard black brush to refine the bottom of the branch a bit.

Step 11
Make a Hue/Saturation adjustment layer (set as Clipping Mask) and bring the Saturation values down to -34:
Leave a Reply