Learn how to create this scene in space using photographs. The author will show you how you can photograph objects around your house to create this photo manipulation then finish it off with a comic book effect.
Preview of Final Results

Comic Book Styled Photo Manipulation Photoshop Tutorial
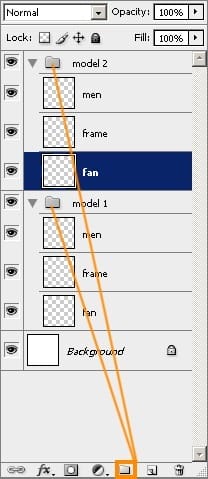
Before we get started, make sure that you keep your images in layers and groups. For example, each model in the image would have one group with several layers inside the group.
Step 1
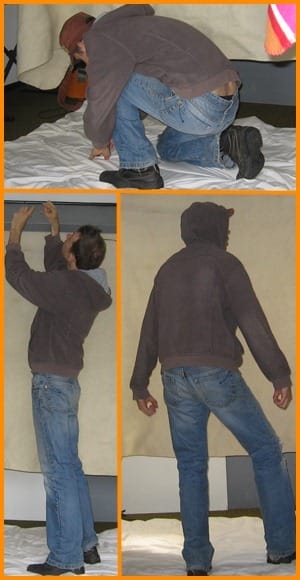
Start by getting photographs of the models. For this, I photographed pictures of myself in different poses. The background and floor is covered with some sheets to make it easier to create a cutout of myself in Photoshop.
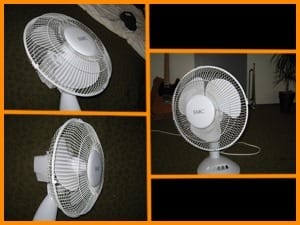
I also photographed a fan in different perspectives. These fans will be used to create the space outfit. Make sure that the perspective of the fan is similar to the photos of the model so that you can put them on the models back.
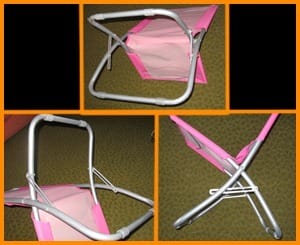
I also photographed this foldable chair. Like the fan, photograph it in the same perspective as the model.
Step 2
Create cutouts of the model using any method you like. This can be with the selection tools or with the Pen tool. I used the Pen tool to create a path around the model.
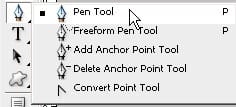
Once you’ve created a path around the model, right click on the path then choose Make Selection. This will turn the path into a selection.
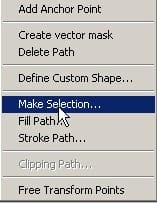
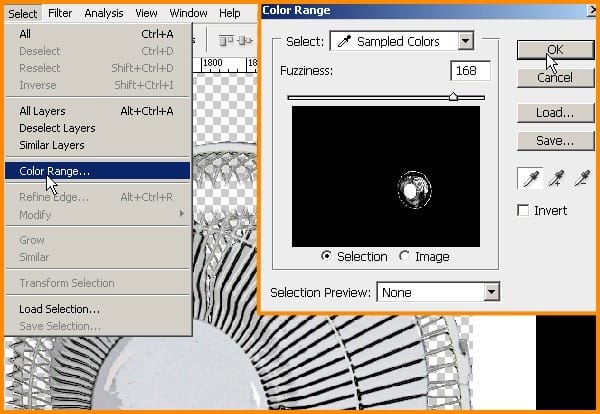
Choose Select > Inverse to inverse the selection so that it is selecting the area around the model. Press Delete on your keyboard to remove the selected area (which should be the background of the photo). Repeat this step for the rest of the images. For the image of the fan, I used the Color Range tool (Select > Color Range) to create a selection of the fan.
Here’s how to put the images together to create the explorer. Remember, keep the images on their own separate layer then put all three images into a group. Rename this group to “model”.

Make sure that the layer with the fan is on the top of the group. Add a layer mask to this layer (Layer > Add Layer Mask > Reveal All). In the layer mask, delete the area where the foldable chair is so that the fan looks like it is held inside the foldable chair. Add a layer mask to the layer with the foldable chair then erase the area around the models hand so that it looks like it is behind the hand.


Leave a Reply