
Imagine yourself exploring the underwater world in a submersible. In this Photoshop tutorial, you will learn in easy and simple steps on how to create a surreal underwater scene that makes you feel like you’re in a submersible. This tutorial is easy to follow and is intended for beginners. It is based on blending modes and through a few adjusting layers you can quickly and easily master basic techniques. No complicated selections.
Preview of Final Results

Tutorial Resources
Step 1
Now, let’s start by creating a new image file, go to the Menu bar and click File >New, and then input the following values on their respective fields
- Preset: Custom
- Width: 4000
- Height: 6000
- Resolution: 300
- Color Mode: RBG Color 8 bit
- Background Contents: Transparent

Step 2
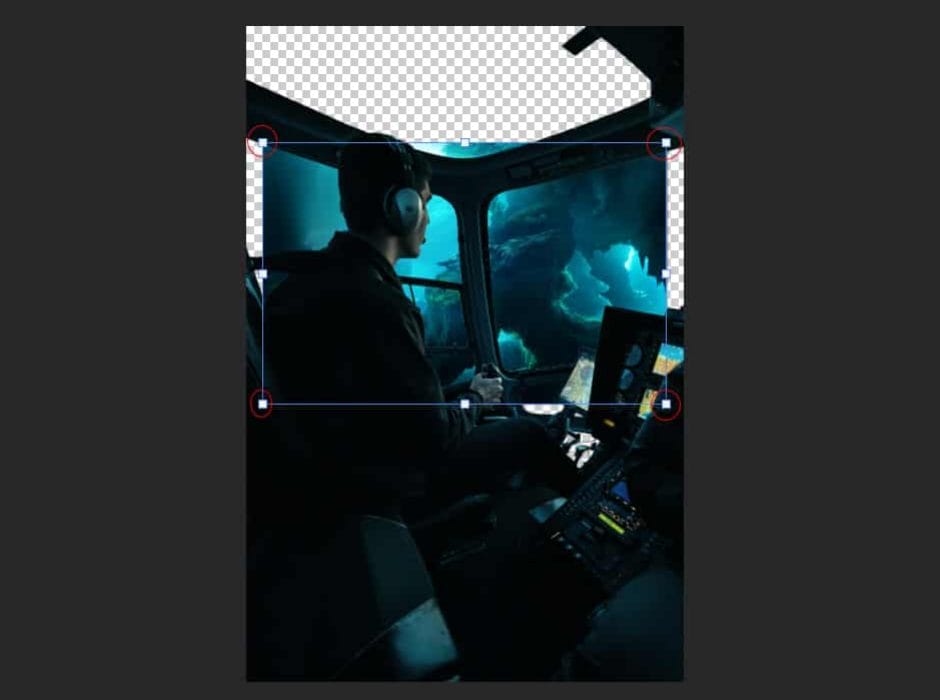
Go to place Helicopter, click on File > Place

Step 3
Next, We will create a new layer mask to make a selection. Go to use a Pen Tool(P) .

And start marking the windows on the helicopter, after marking the windwos go Right Click> Make Selection. Feather Radius set to 0.5 check Anti Aliased and Operation to New Selection and hit OK.

After that make foreground color to default D (Black and White) and hold ALT + DELETE. Repeat this process several times until all the windows have been cut.

Step 4
Next, we will make a new adjustment layer “Hue/Saturation”

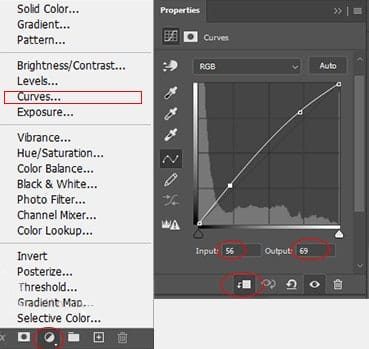
Next add new Adjustment layer “Curves”
Now add another one Adjustment Layer “Photo Filter”

Step 5
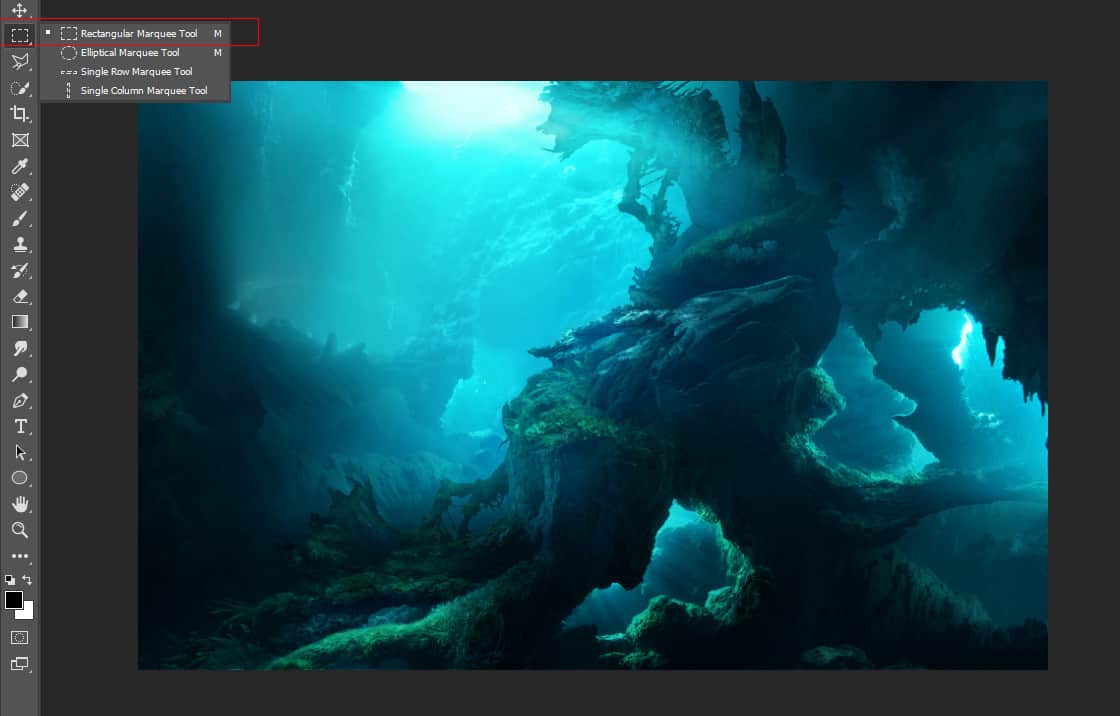
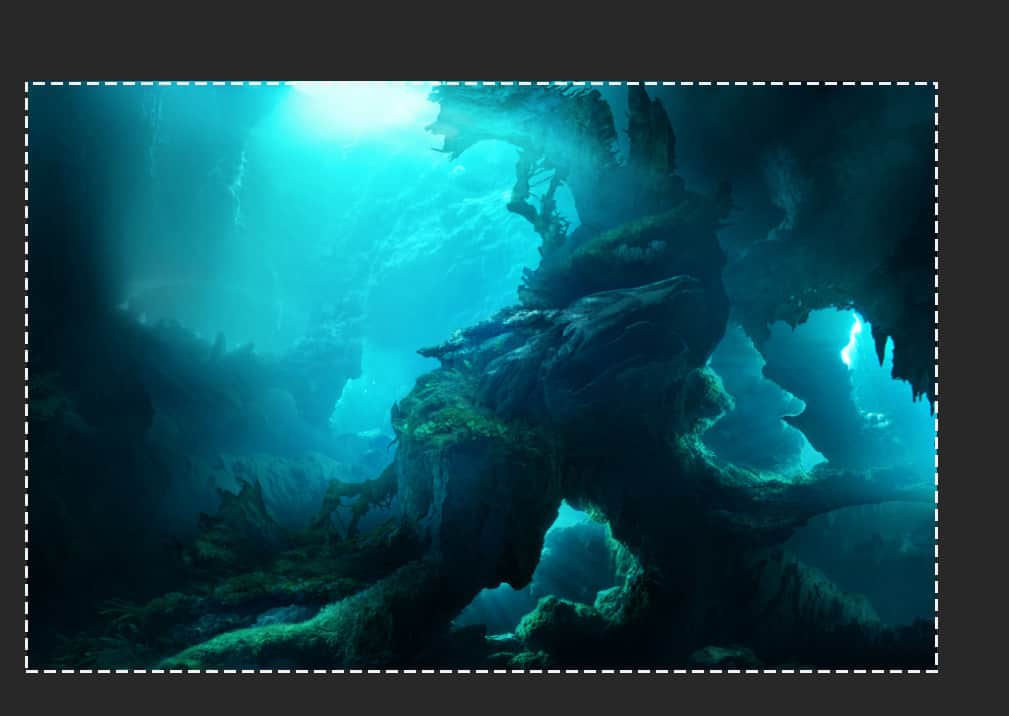
In this step we will open Coral. After you open the image, use Rectangular Marquee Tool(M).
Step 6
After the selection area has been created, simply copy (Ctrl / Cmd + C) and Paste (Ctrl / Cmd + V) it to our work canvas. Put the Coral down of all the layers we “ve created. Then position the image with the transform tool (Ctrl / Cmd + T). Hold Alt + Shift and resterize like image below.

Step 7
Now we add Coral Reef, After you open the image, use the Rectangular Marquee Tool (M) and select it. After the selection area has been created, simply copy (Ctrl / Cmd + C) and Paste (Ctrl / Cmd + V).
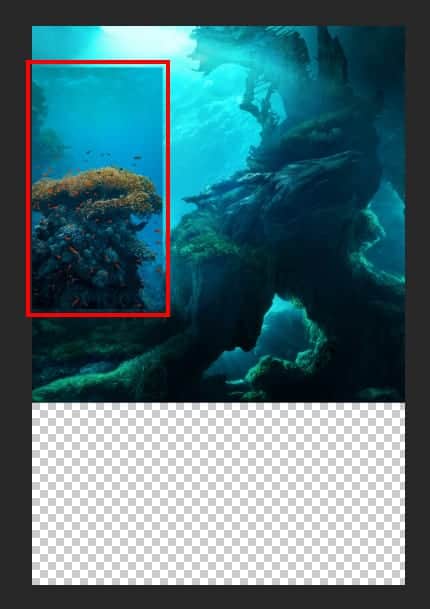
Use Round Brush Tool (B) to delete unnecessary part. Set Size to 1000px and Hardness to 0%, after that create a layer mask with foreground color black. Now that we can paint the top of the picture. Always use a layer mask because if you make a mistake you can correct it, if you use Erase Tool without a layer mask then you cannot correct it.
4 responses to “How to Create an Underwater Vessel Scene in Photoshop”
-

nice
-
nice
-
I agree
-
-
nice
Leave a Reply