We’re humans. We live on land. Sharks live in water. So if you’re swimming in the water and a shark bites you, that’s called trespassing. That is called trespassing. That is not a shark attack. In this Photoshop tutorial we learned how to create a surreal underwater scene. First we created a underwater scenery, then place a Shark and Diver. Then add Adjustment layers for color grading, and finally use Camera Raw Filter.
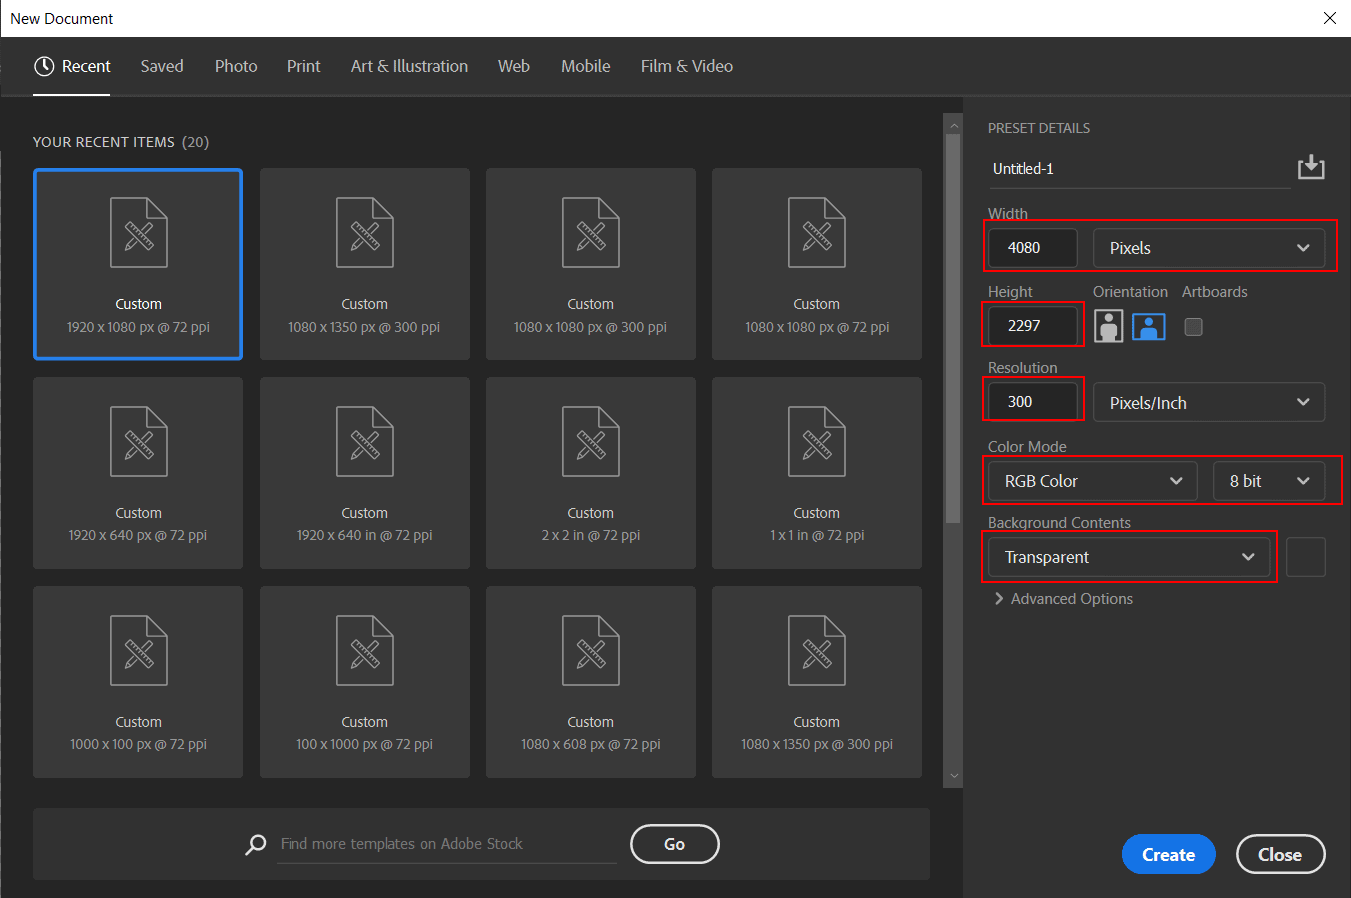
Now, let’s start by creating a new image file, go to the Menu bar and click File > New, and then input the following values on their respective fields
Preset: Custom
Width: 4080px
Height: 2297px
Resolution: 300px
Color Mode: RGB Color 8 bit
Background Contents: Transparent
Step 2
Now, place underwater photo Go to File > Place and select Bermuda. Then place it to our work canvas. Then position the image with the transform tool (Ctrl / Cmd + T). Hold Alt + Shift and rasterize like the image below. In Photoshop CC only hold Alt to rasterize all sides together.
Step 3
Next, place another photo Go to Filte > Place and select Underwater 1 photo. Then place it to our work canvas, position the image with the transform tool (Ctrl / Cmd + T). Hold Alt + Shift and rasterize like the image below. In Photoshop CC only hold Alt to rasterize all sides together. Blend mode change to Multiply.
Step 4
Go to File > Place and select the last Underwater1 photo. Then place it to our work canvas, position the image with the transform tool (Ctrl / Cmd + T). Hold Alt + Shift and rasterize like the image below. In Photoshop CC only hold Alt to rasterize all sides together. Blend mode change to Soft Light.
Step 5
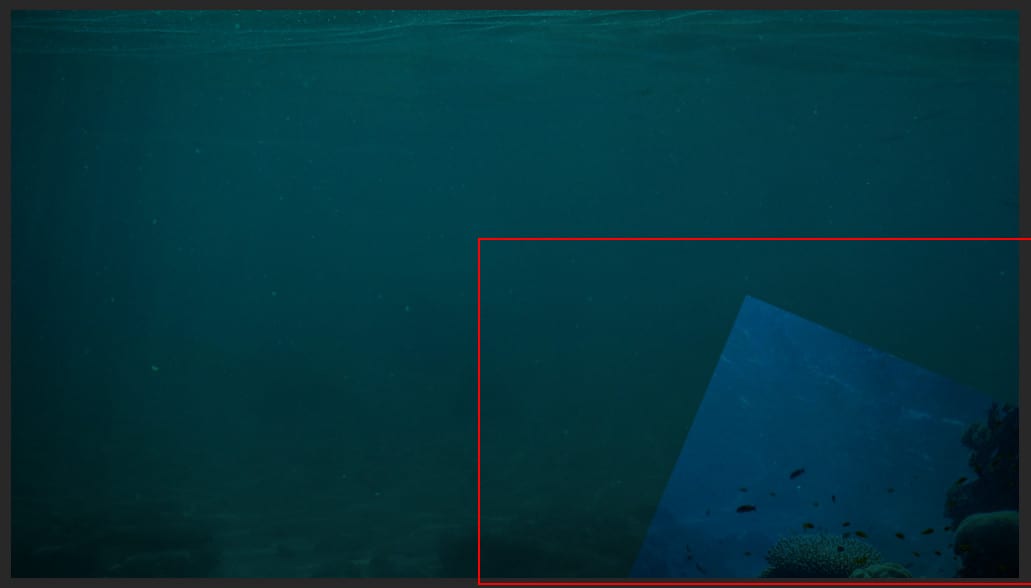
Next, go to open Coral Reef. Go to File > Open and select photo. After you open the image, use Rectangular Marquee Tool(M).After the selection area has been created, simply copy (Ctrl / Cmd + C) and Paste (Ctrl / Cmd + V) it to our work canvas. Then position the image with the transform tool (Ctrl / Cmd + T). Hold Alt + Shift and rasterize like the image below. In Photoshop CC only hold Alt to rasterize all sides together.Now select layer and create a layer mask then use Brush Tool(B) Soft Round with foreground color black and start painting.
3 responses to “Create a Photomanipulation of a Shark and a Diver”
Jet
Applying human thought/morals to a shark biting a human while swimming in the ocean as trespassing. I guess we can go further and ask the shark why it bit the human if the human is just harmlessly swimming. It’s not like the shark owns that part of the ocean since the shark didn’t pay/purchase it. Who’s to say the shark wasn’t the one trespassing on another fish’s property?
The Diver picture requires creating an account on the Pixabay website. But you can find alternatives that don’t require an account here: https://pixabay.com/images/search/diver/


Leave a Reply