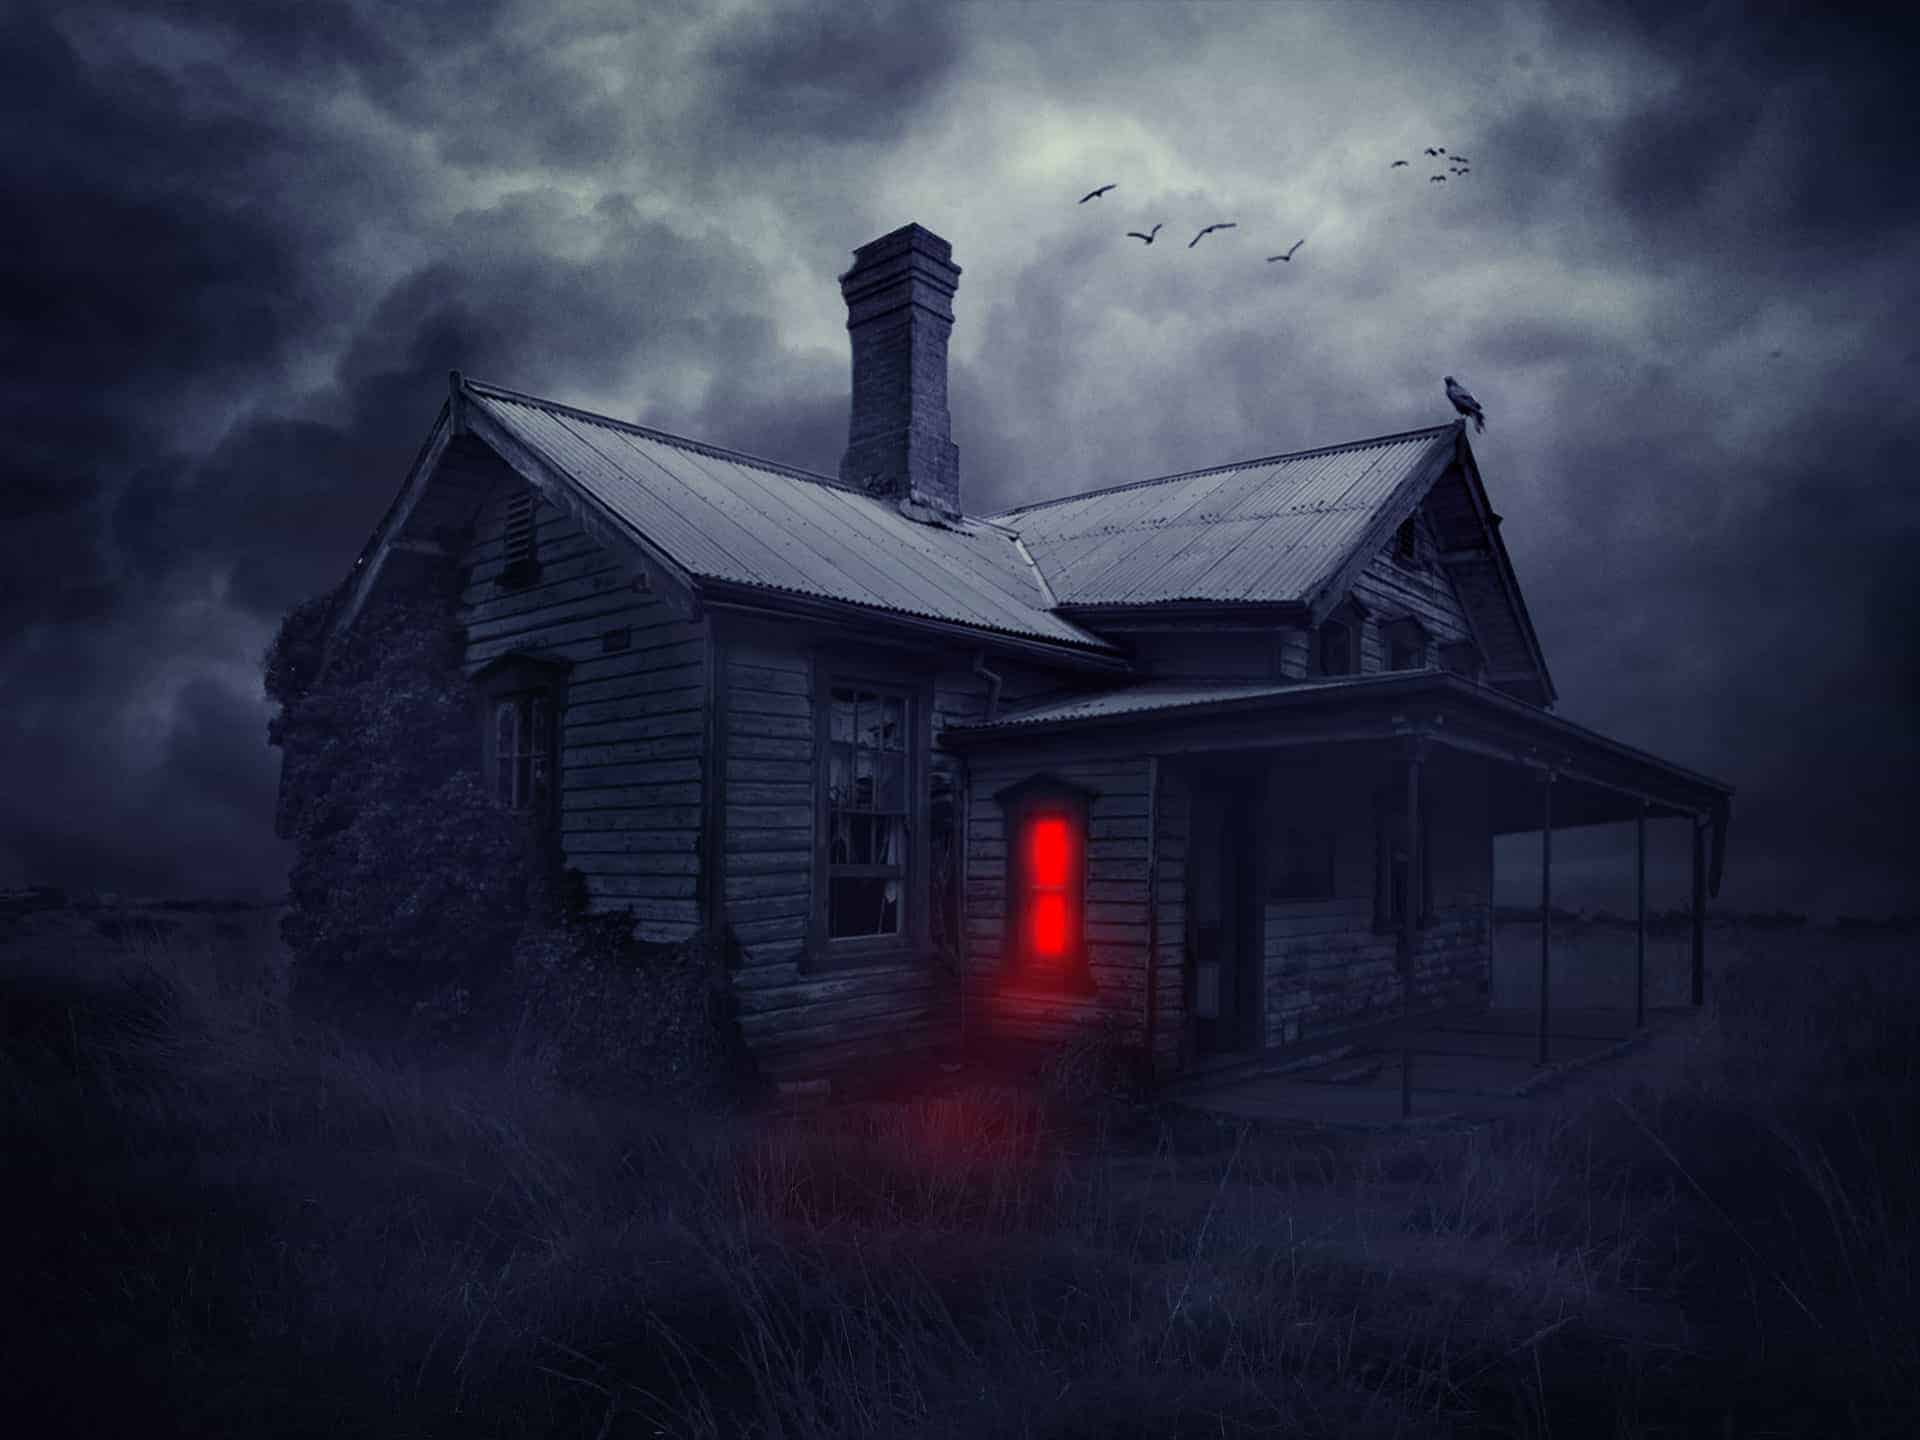
In this tutorial, I’ll show you how to create a haunted house scene using photo manipulation techniques. You’ll work with blending, masking, coloring to create a dark and eerie atmosphere.
What you’ll be creating
We’ll start this tutorial by setting up a field scene from three images. Then we’ll add the house, crow, and birds and blend them using adjustment layers, masking, and brush. Later we’ll adjust color, contrast, and the dark atmosphere. We’ll finish it up with adding a red light effect to the window. You should use Photoshop CS3 or newer to follow this tutorial.
Tutorial Resources
Step 1
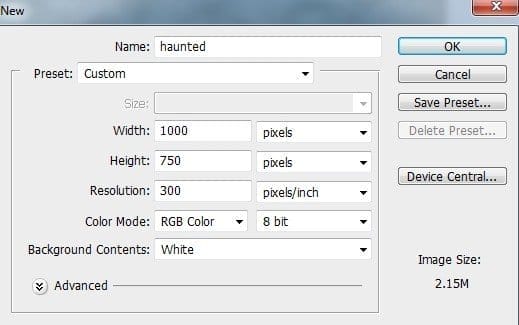
Create a new document in Photoshop with the given settings:
Step 2
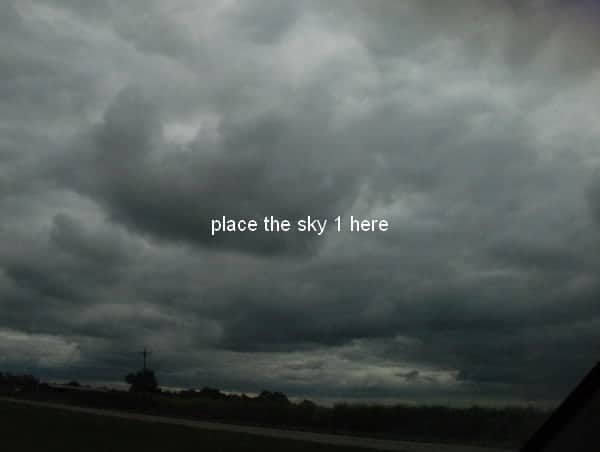
Open the sky 1 image. Use the Move Tool (V) to drag it into our white canvas:
Step 3
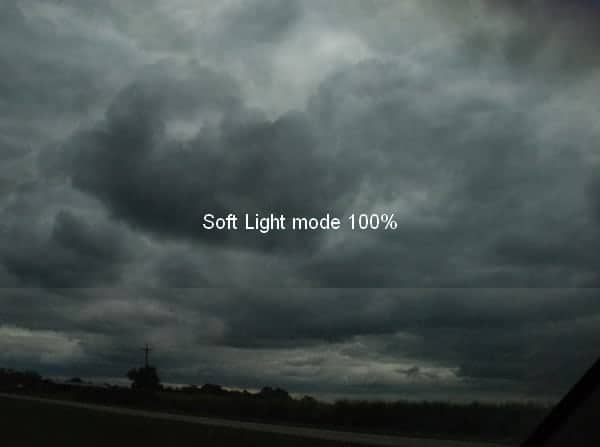
Place the sky 2 onto the sky 1 as shown below:
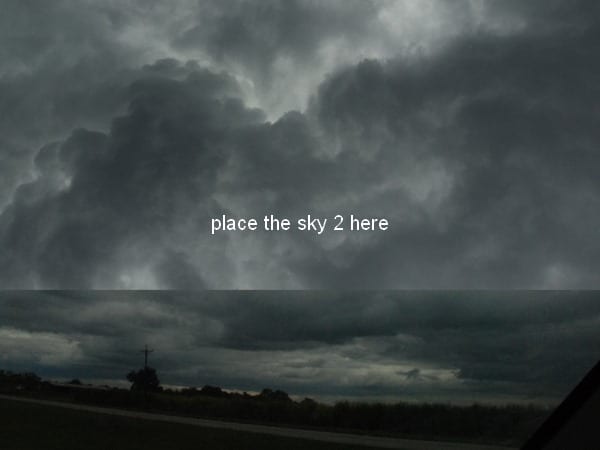
Change this layer mode to Soft Light 100%:
Step 4
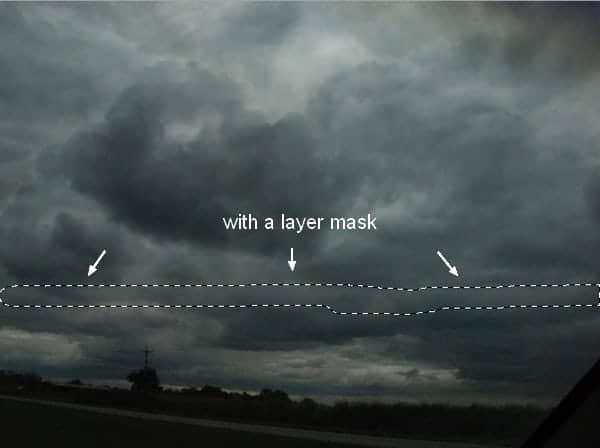
Click the second button at the bottom of the Layers Panel to add a mask to this layer. Use a basic, soft brush with black color to erase the hard edges of the sky 2 and blend it with the sky 1:
Step 5
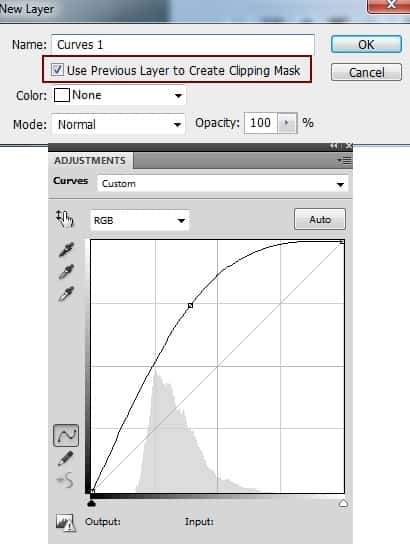
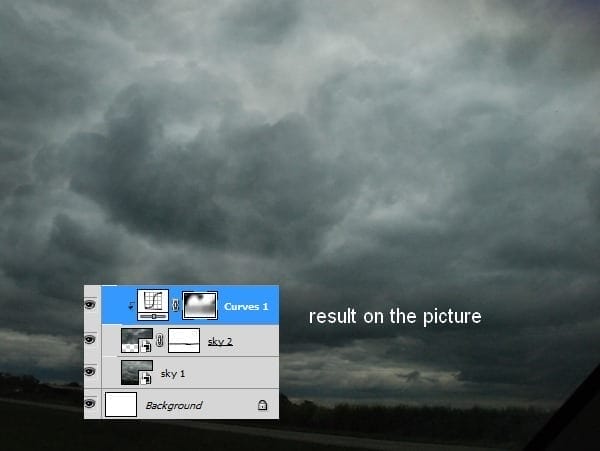
I used an adjustment layer with Clipping Mask to brighten the sky 2. Go to Layer > New Adjustment Layer > Curves:
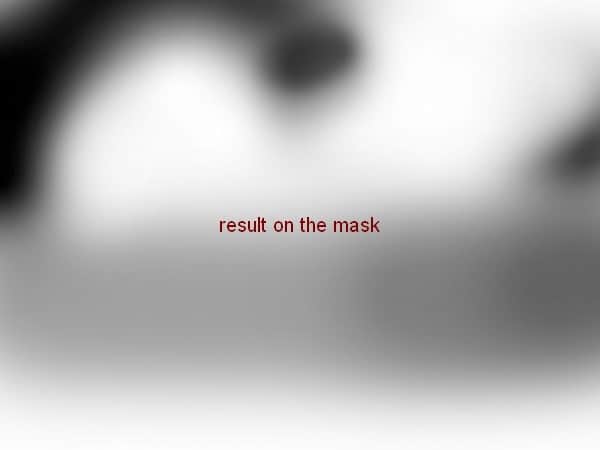
On this layer mask, use a soft black brush with the opacity varied from 10 to 60% to paint on some areas of the sky. The aim is to reduce the lightness and create a better contrast for the sky:
Step 6
Open the landscape image. To delete the cars in this photo, make a new layer and activate the Clone Tool (S). Use this tool to remove the indicated details:

Step 7
Press Cmd/Ctrl+Option/Alt+Shift+E to merge the background and clone layer into a new one. Move this merged layer into our main canvas, use Cmd/Ctrl+T to transform it as shown below:
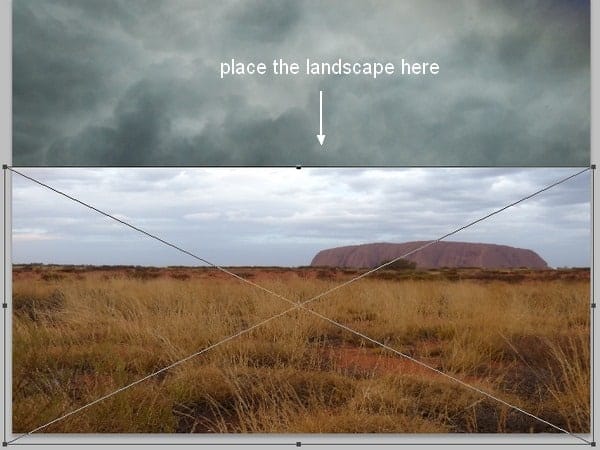
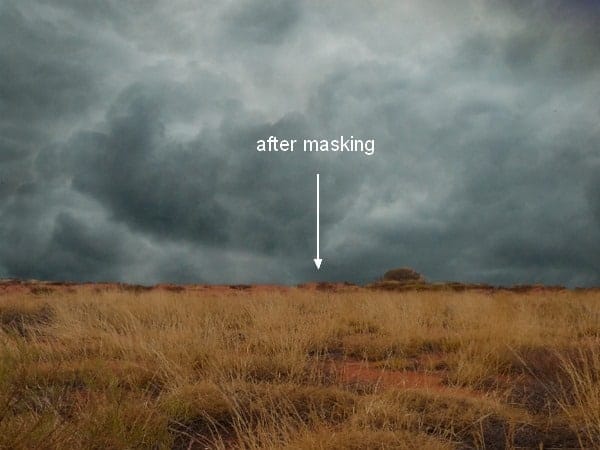
Use the Magic Wand Tool to mask off the sky and rock part in this image:
Step 8
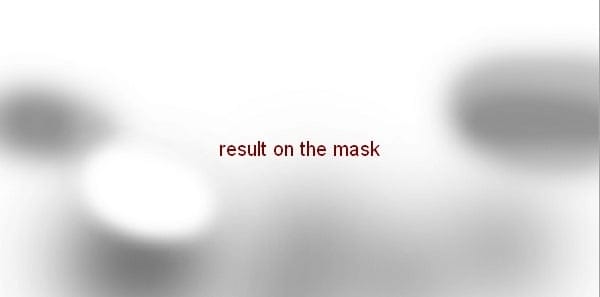
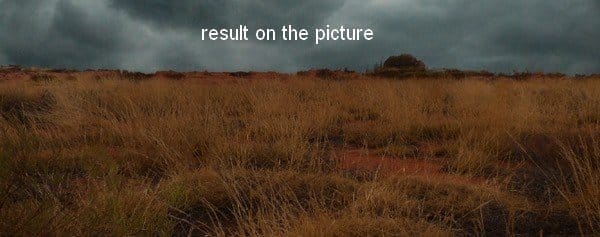
I used Curves (Clipping Mask) to darken the landscape:
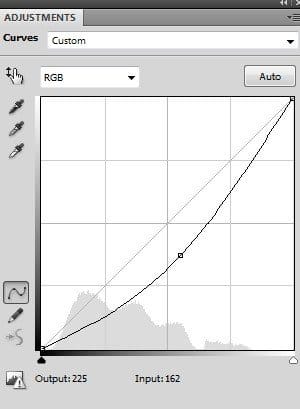
On this layer mask use a soft black brush with very low opacity (10 -15%) to reduce the dark effect on the parts below:
Step 9
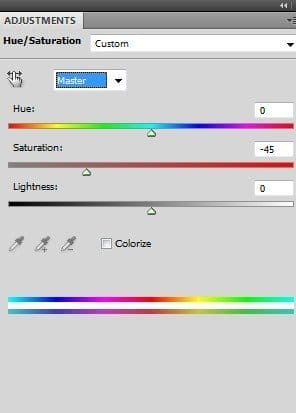
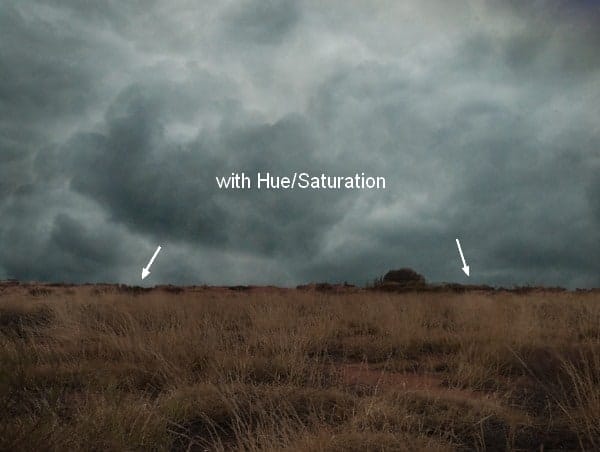
I used Hue/Saturation to decrease the saturation of the landscape:
Step 10
Place the house image over the main document as the screenshot below shows:
6 responses to “22 Easy Steps to Create This Haunted House Scene”
-
tried it , works nice adds to my tools for photo manipulation
-
This was a great tutorial! Thanks so much for sharing this
-
this tutorial was so easy to follow and very fun to make!! thank you :)
-
The red light isn’t realistic…projections (wall) and reflections (windows) aren’t repected…
But the athmosphere is great ! -
your awesome, simple yet easy to follow and understand…i find it very useful thanks…keep it up!!!
-
This is one of the coolest tutorials that I have ever seen for photoshop. Even as a new user, I feel like I could follow your instructions beginning to end.

Leave a Reply