There are four modes of Lasso Tool. The first three are usually used the most.

1 – New selection – if this mode is active, the Lasso Tool always creates new selection even if you already have some part of the picture selected
2 – Add to selection – you will use this mode most of the time when cutting out the background
3 – Substract from selection – another very frequently used mode
4 – Intersect with selection
Step 1 – Cutting Out the Background
Open the photo of the boy in Photoshop. Click on the icon of the Lasso Tool or press L on your keyboard to activate the tool.

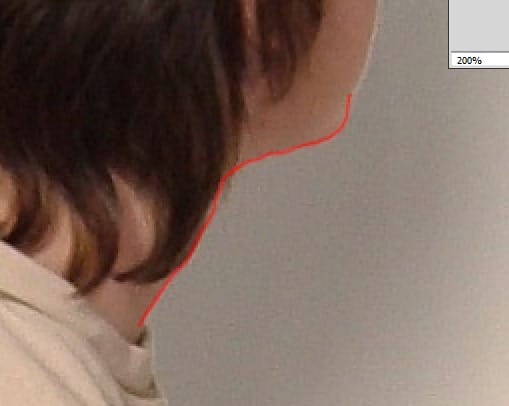
Select the “Add to selection” mode of the tool. Zoom in on 200% to be able to see every little detail of the picture. To make a selection with the Lasso Tool simply drag the lasso around the area you want to select. On the picture below I painted red line on part of the borders to show you where to drag it.

To complete the selection simply double click inside the selected area.
You don´t need to care much about hair. I´ll show you another way how to easily blend them later.
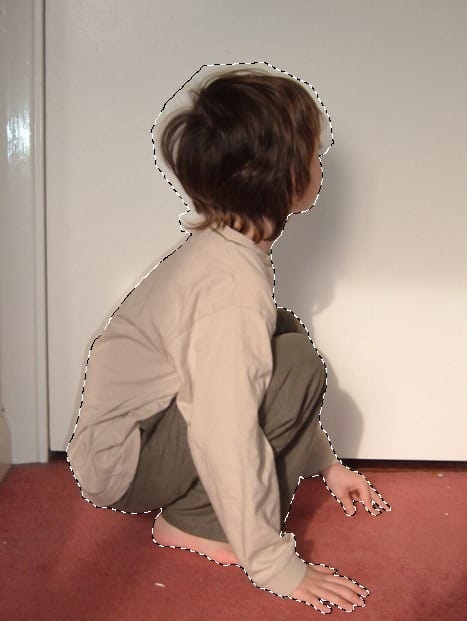
Using the Lasso Tool can be little time consuming but I recommend you to be as precise as possible because only precise selection can give you great looking photo manipulation. And be especially precise with selecting the hands because every little mistake can cause that the hands will look weird and scary.
The selection should look like on the picture below.

Step 2 – Feather
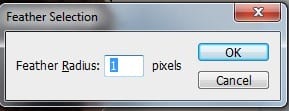
The edges of the selection are very hard now and it doesn´t look realistic. To make them soften go to Selection > Feather (it may vary in different versions of Photoshop) or press Shift + F6 on your keyboard. Set the value Feather Radius on 1 pixel and press OK.

Step 3 – Resizing
Press Ctrl + C on your keyboard to copy the selection. Go to the manipulation and press Ctrl + V to paste the boy.
Place the layer with boy on the top of all layers and name it BOY.

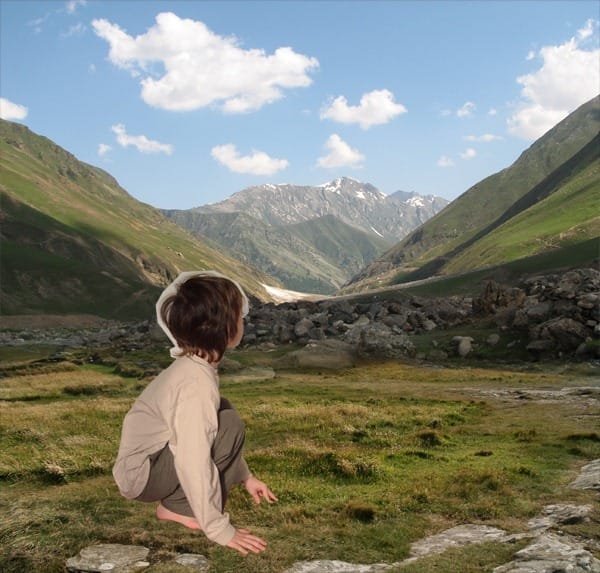
As you can see on the picture above the boy should be smaller. You can resize it the same way as you do it in previous steps. Press Ctrl + T on your keyboard make the boy smaller.
After this step your image should look like the one below.
3 responses to “A Photo Manipulator’s Guide to Blending”
-
Lol
-
can you give a video tutorial please :3
-
110% work, thanx for inpiration


Leave a Reply