step6_a
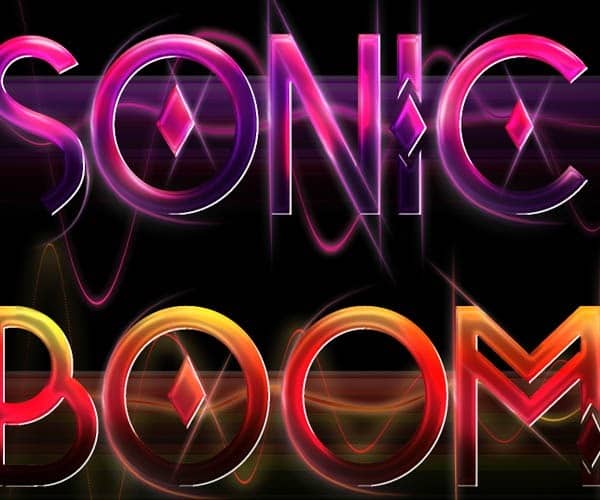
Lower the size of the brush and add some smaller glowing orbs around the bigger ones:
step6_b
Repeat with the other two words:
step6_c
step6_d

Step 7

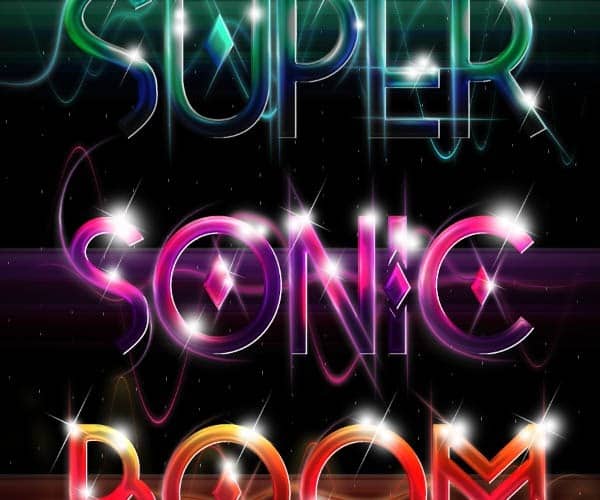
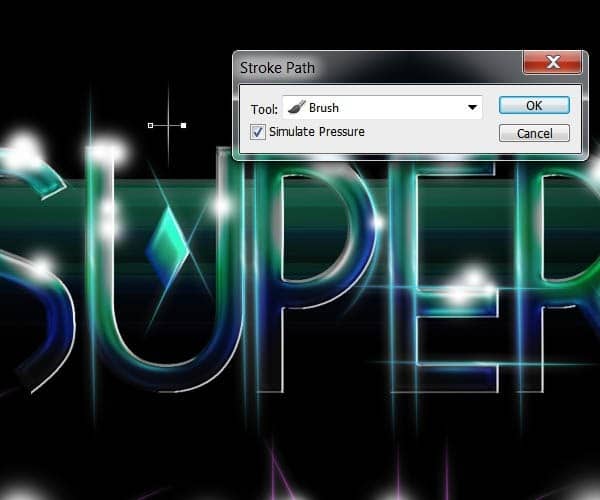
To enhance the glows now create some light crosses using the pen tool. Set the brush tool first to 100% hardness and a size of 4px with the pen pressure option selected and draw a cross using the pen tool and stroking the paths.
step7_a
Rotate the crosses a little bit and duplicate the layer several times. Place the little crosses on top of every glow from the previous step.
step7_b
Your image should look something like this after duplicating the crosses many times and placing them on the glow orbs:
step7_c

Step 8

For the glowing waves details behind the type,first start off creating a new layer and setting your brush tool with 100% hardness and a size of about 9px. Whit the pen tool stroke a large horizontal line and then go to Filter>Distort>Wave. Use the next parameters for the first wave:
step8_a
On new layers stroke some other horizontal lines and go to the wave filter again. I suggest you experiment with different settings here to get the waves you see more fit for your composition.
step8_b
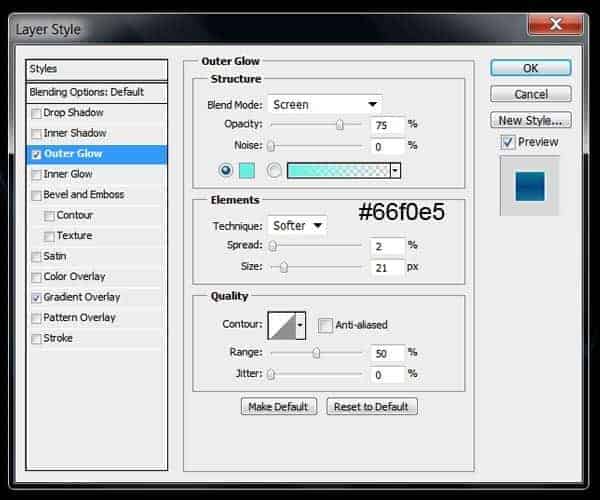
Select one wave layer and open the layer styles menu. Check the options “Outer Glow” and “Gradient Overlay”.
step8_c
On the gradient overlay option select the “Reflected” style and change the colors of the gradient to match the color palette of your type.
step8_d
step8_e
You can now copy the layer style into a different wave layer you created and position them under your type.
step8_f
Now you can duplicate and create new wave layers and tweak the color of the glow and the gradient overlay to match the colors of the other two words.
step8_g
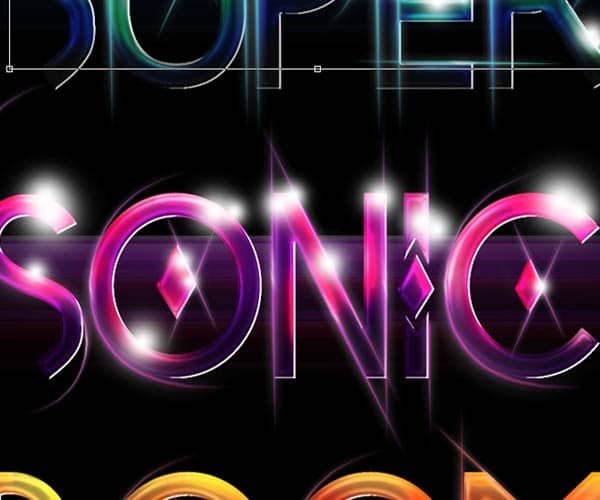
This is the result of the type so far:
step8_h
Finally in this step, for the dotted background, we are going to use again the same method as with the waves but with different filter parameters to get the effect.
step8_i
Transform the layer to fit the entire canvas:
step8_j

Step 9

In this step we are going to add some bokeh stock images to finish up the composition and effects of the type. From the Sparklestock bokeh images select one you see fit for your illustration. Set the layer blending mode to “Screen” and lower the layer opacity to 30%:

Pages: 1 2 3 4 5

1 response to “How to Create an Abstract Eagle Photo Manipulation with Adobe Photoshop”

  1. Asim Nazir Avatar
    Asim Nazir

    Brilliant .i need more written lessons of abode photoshop like this and also video

Leave a Reply

This site uses Akismet to reduce spam. Learn how your comment data is processed.

Discover more from Photoshop Tutorials

Get the latest Photoshop tutorials, download and updates delivered to your inbox.

Continue reading