

Step 17
Now blur the shadow so that it looked realistic. Go to Filter> Blur > Gaussian Blur… and set the settings: Radius: 6.0 px.


Step 18
That’s it. Constructible with shadow, start working on insects, and more specifically to its appearance. First, add an adjustment layer to a group of insects and make them not so bright that they harmoniously. Go to Layer > New Adjustment Layer > Levels… or click on icon New Adjustment Layer and in list, select Levels…

We need to make light shades darker, so move the white marker to the left or set the output levels value to: left (dark): 0, right (white): 198.

Step 19
Here’s how it happened. Note that the adjustment layer affects only the group “Bugs”. If you do not like the picture, then select the adjustment layer, hold Alt and click on group “Bugs”. On the adjustment layer should appear an arrow pointing down.

Step 20
Now we need to apply the right amount of light on insects. To do this, create a new layer by clicking Cmd/Ctrl+ Shift+ N and set the settings as show in Figure.

Note that this layer must be above all others.

Step 21
Now use Dodge Tool (O) for make light and Burn Tool (O) for shadow.

Set the following settings.

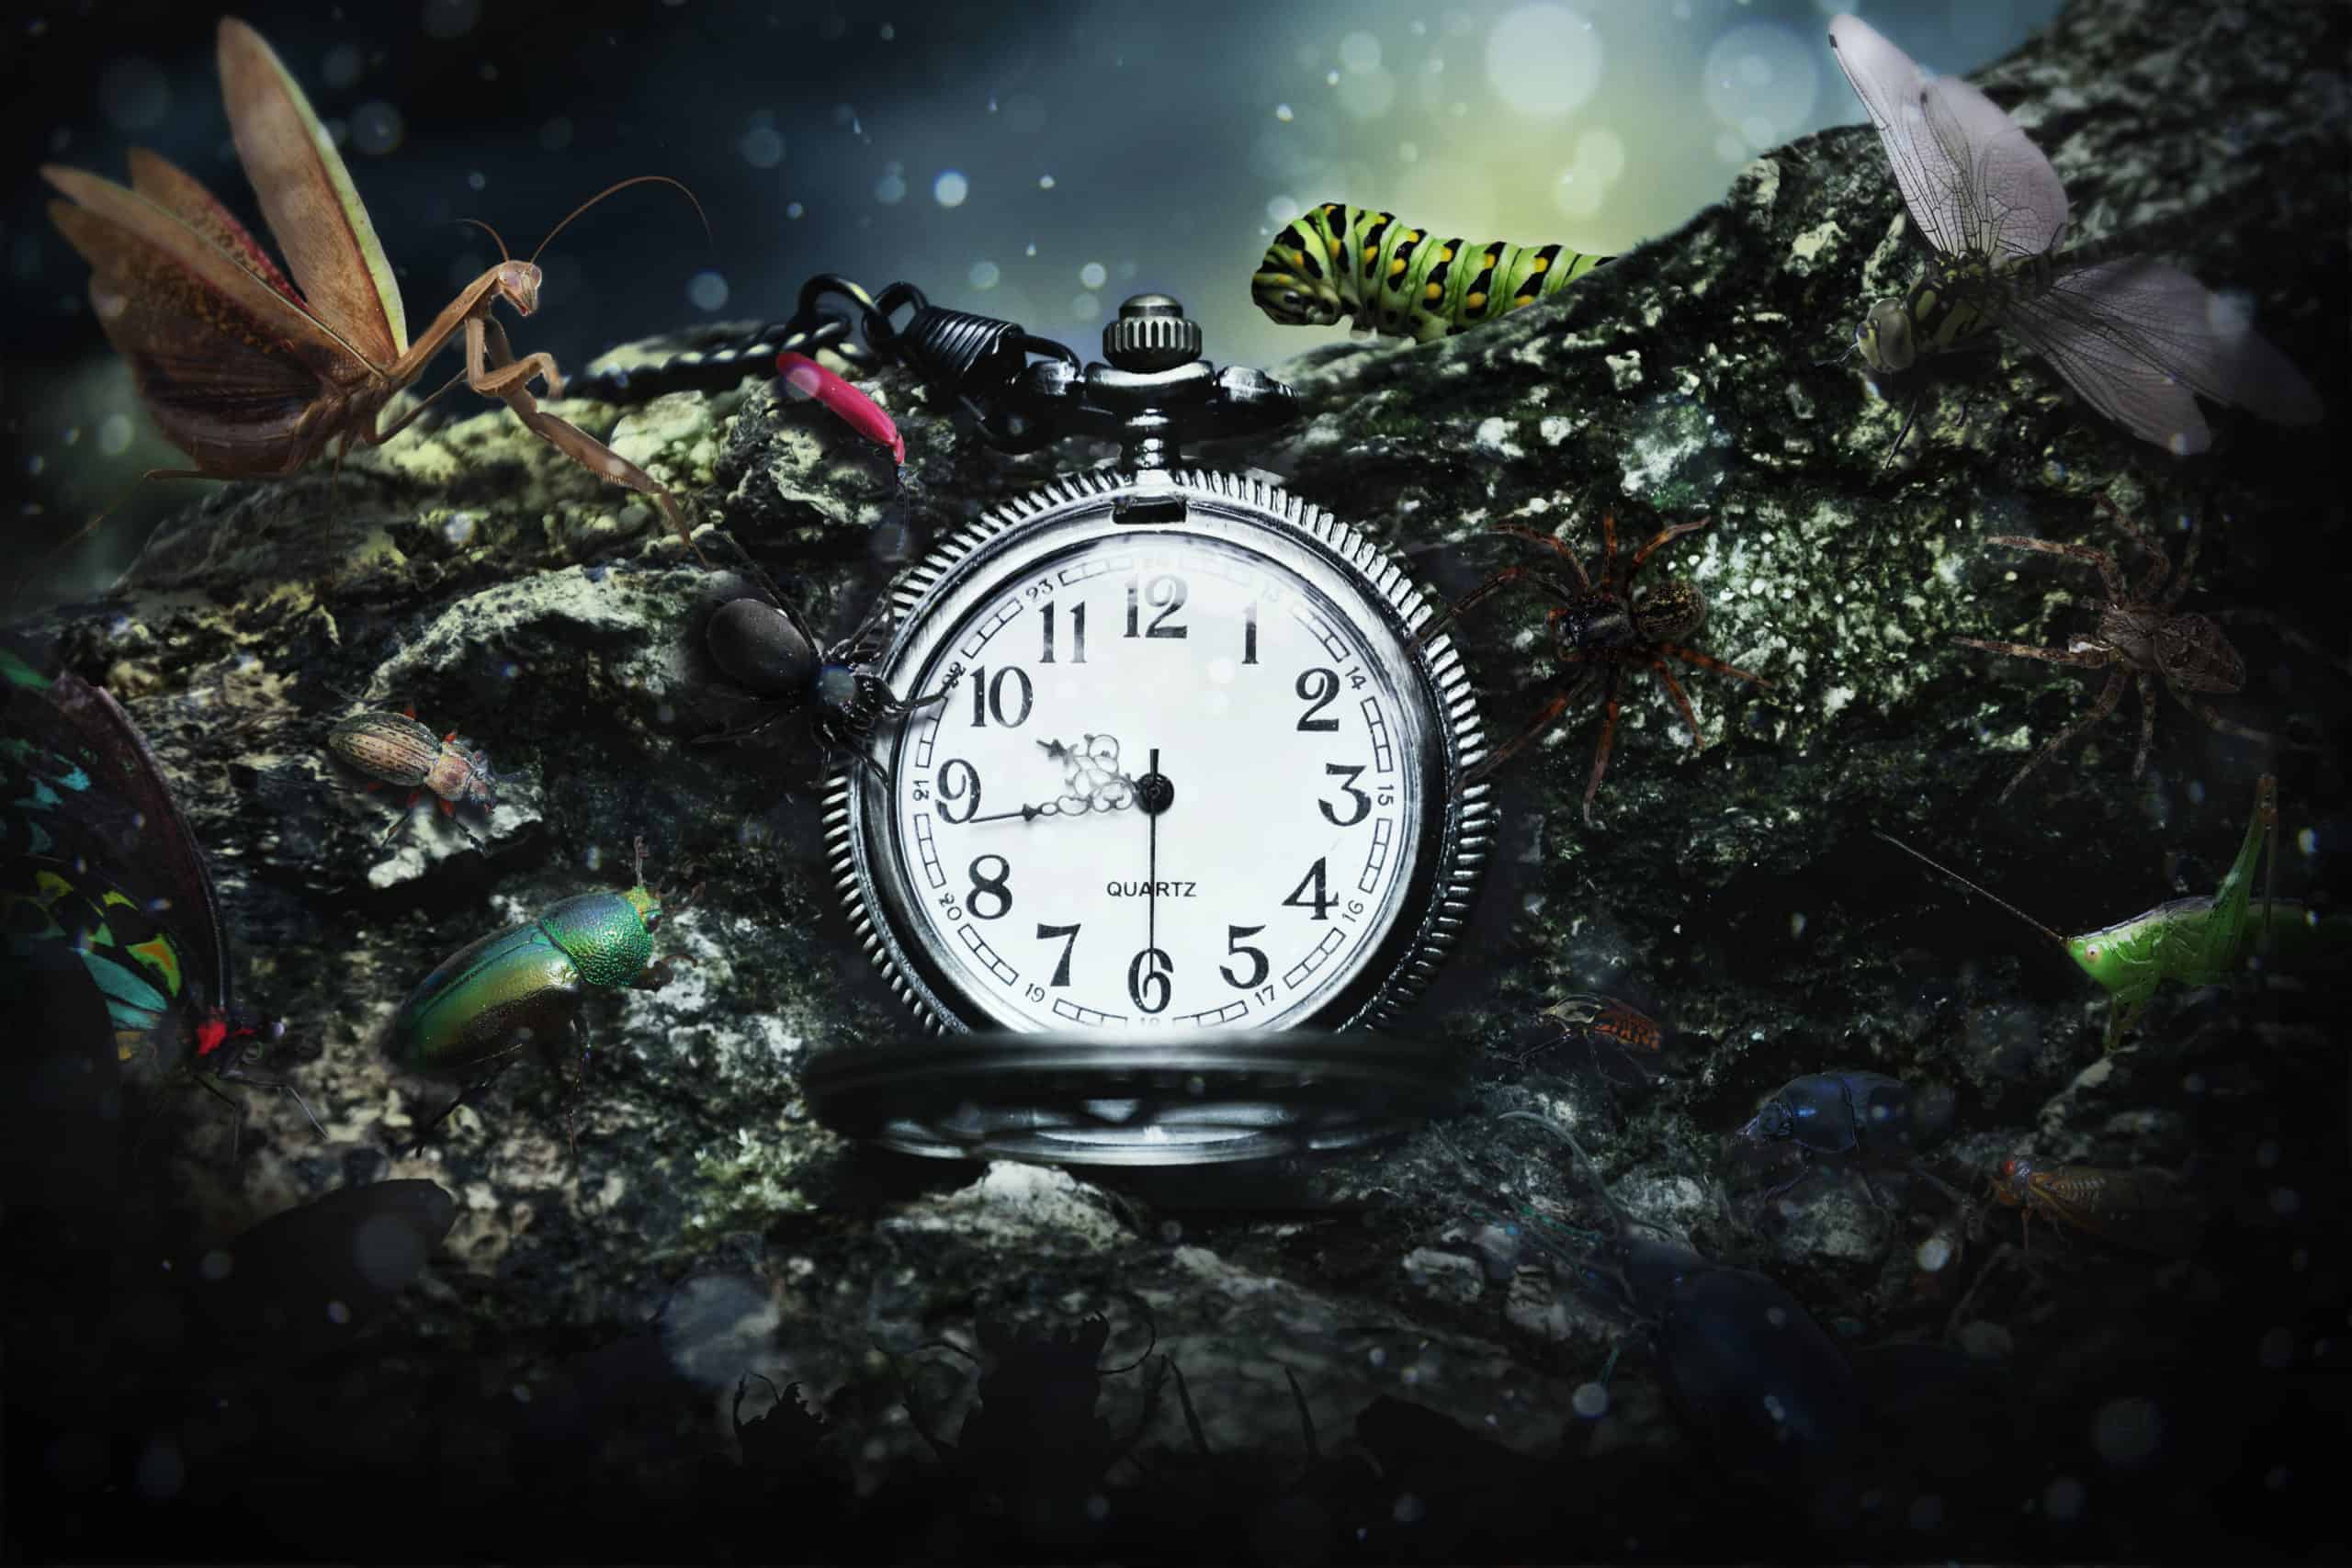
Draw, in accordance with natural light, light and are darkened space insects. Light goes from caterpillar. So all the insects on the left side more lighted, on the right is darker. Here’s how I did this shadow.

Set the Opacity to this layer to 50%.

Step 22
That’s result after drawing of light and shadow.

Step 23
Now wanted to create the effect of mystery and curiosity. For this, I made ??the circuit of insects peeking out of the shadows. First, create a new layer, clicking on layer icon in Layer panel.

Select the Brush Tool (B) on the toolbar. Set it to the following settings: Size: 700px. Hardness: 0% Opacity: 100% flow: 100%. Use black color (D).

Draw the dark, as shown in the figure. Be sure to draw the edges of the image, but do not touch the top of the image.

Step 24
Now add a layer mask to this layer.

Set the following settings for the Brush Tool.

Set black color main (D), select the layer mask and remove the darkness, as shown in Figure.
9 responses to “How to Add Creepy Bugs to Your Photos”
-

Fabulous and clear tutorial . Congratulations Maria !!!
👍👍👍👍👍👍👍👍👍❤😉 -
Hey there, You’ve done an excellent job. I will certainly
digg it and personally suggest to my friends. I am sure they
will be benefited from this site. -
Thank you for the great tutorial! It has been very helpful to see a few techniques in action.
-
One of the best collection , I seen on internet , Thanks for sharing
-
very nice
-
Great tutorial!
-
didnt work.
-
yes it did g , try harder
-
-
nice work
Leave a Reply