
Step 48
Select the Brush Tool (B) on the toolbar. Set it to the following settings: Size: 200px. Hardness: 0% Opacity: 40% flow: 100%. Be sure to set the background color (the color that you will work) to black by pressing D on keyboard.

And get with a dark vignette partially texture. No need to clean up everything, just some of the places do not stand out so.

Step 49
Now change the texture contrast to make the background invisible, and circles a precise bright. Add an adjustment layer to a group. Go to Layer > New Adjustment Layer > Brightness/Contrast… or click on icon New Adjustment Layer and in list, select Brightness/Contras. In window that appears, set the following settings: Brightness: 63, Contrast 100.

Step 50
Now I want to make the color deeper texture with blue tint. I believed that in the picture lacking blue tones. Next adjustment layer is Color Balance… Go to Layer > New Adjustment Layer > Color Balance… or click on icon New Adjustment Layer and in list, select Color Balance…

Step 51
Now I want to make the color deeper texture with blue tint. I believed that in the picture lacking blue tones. In the window that appears, select the settings for Shadows, Highlight and Midtones as shown in Figure.

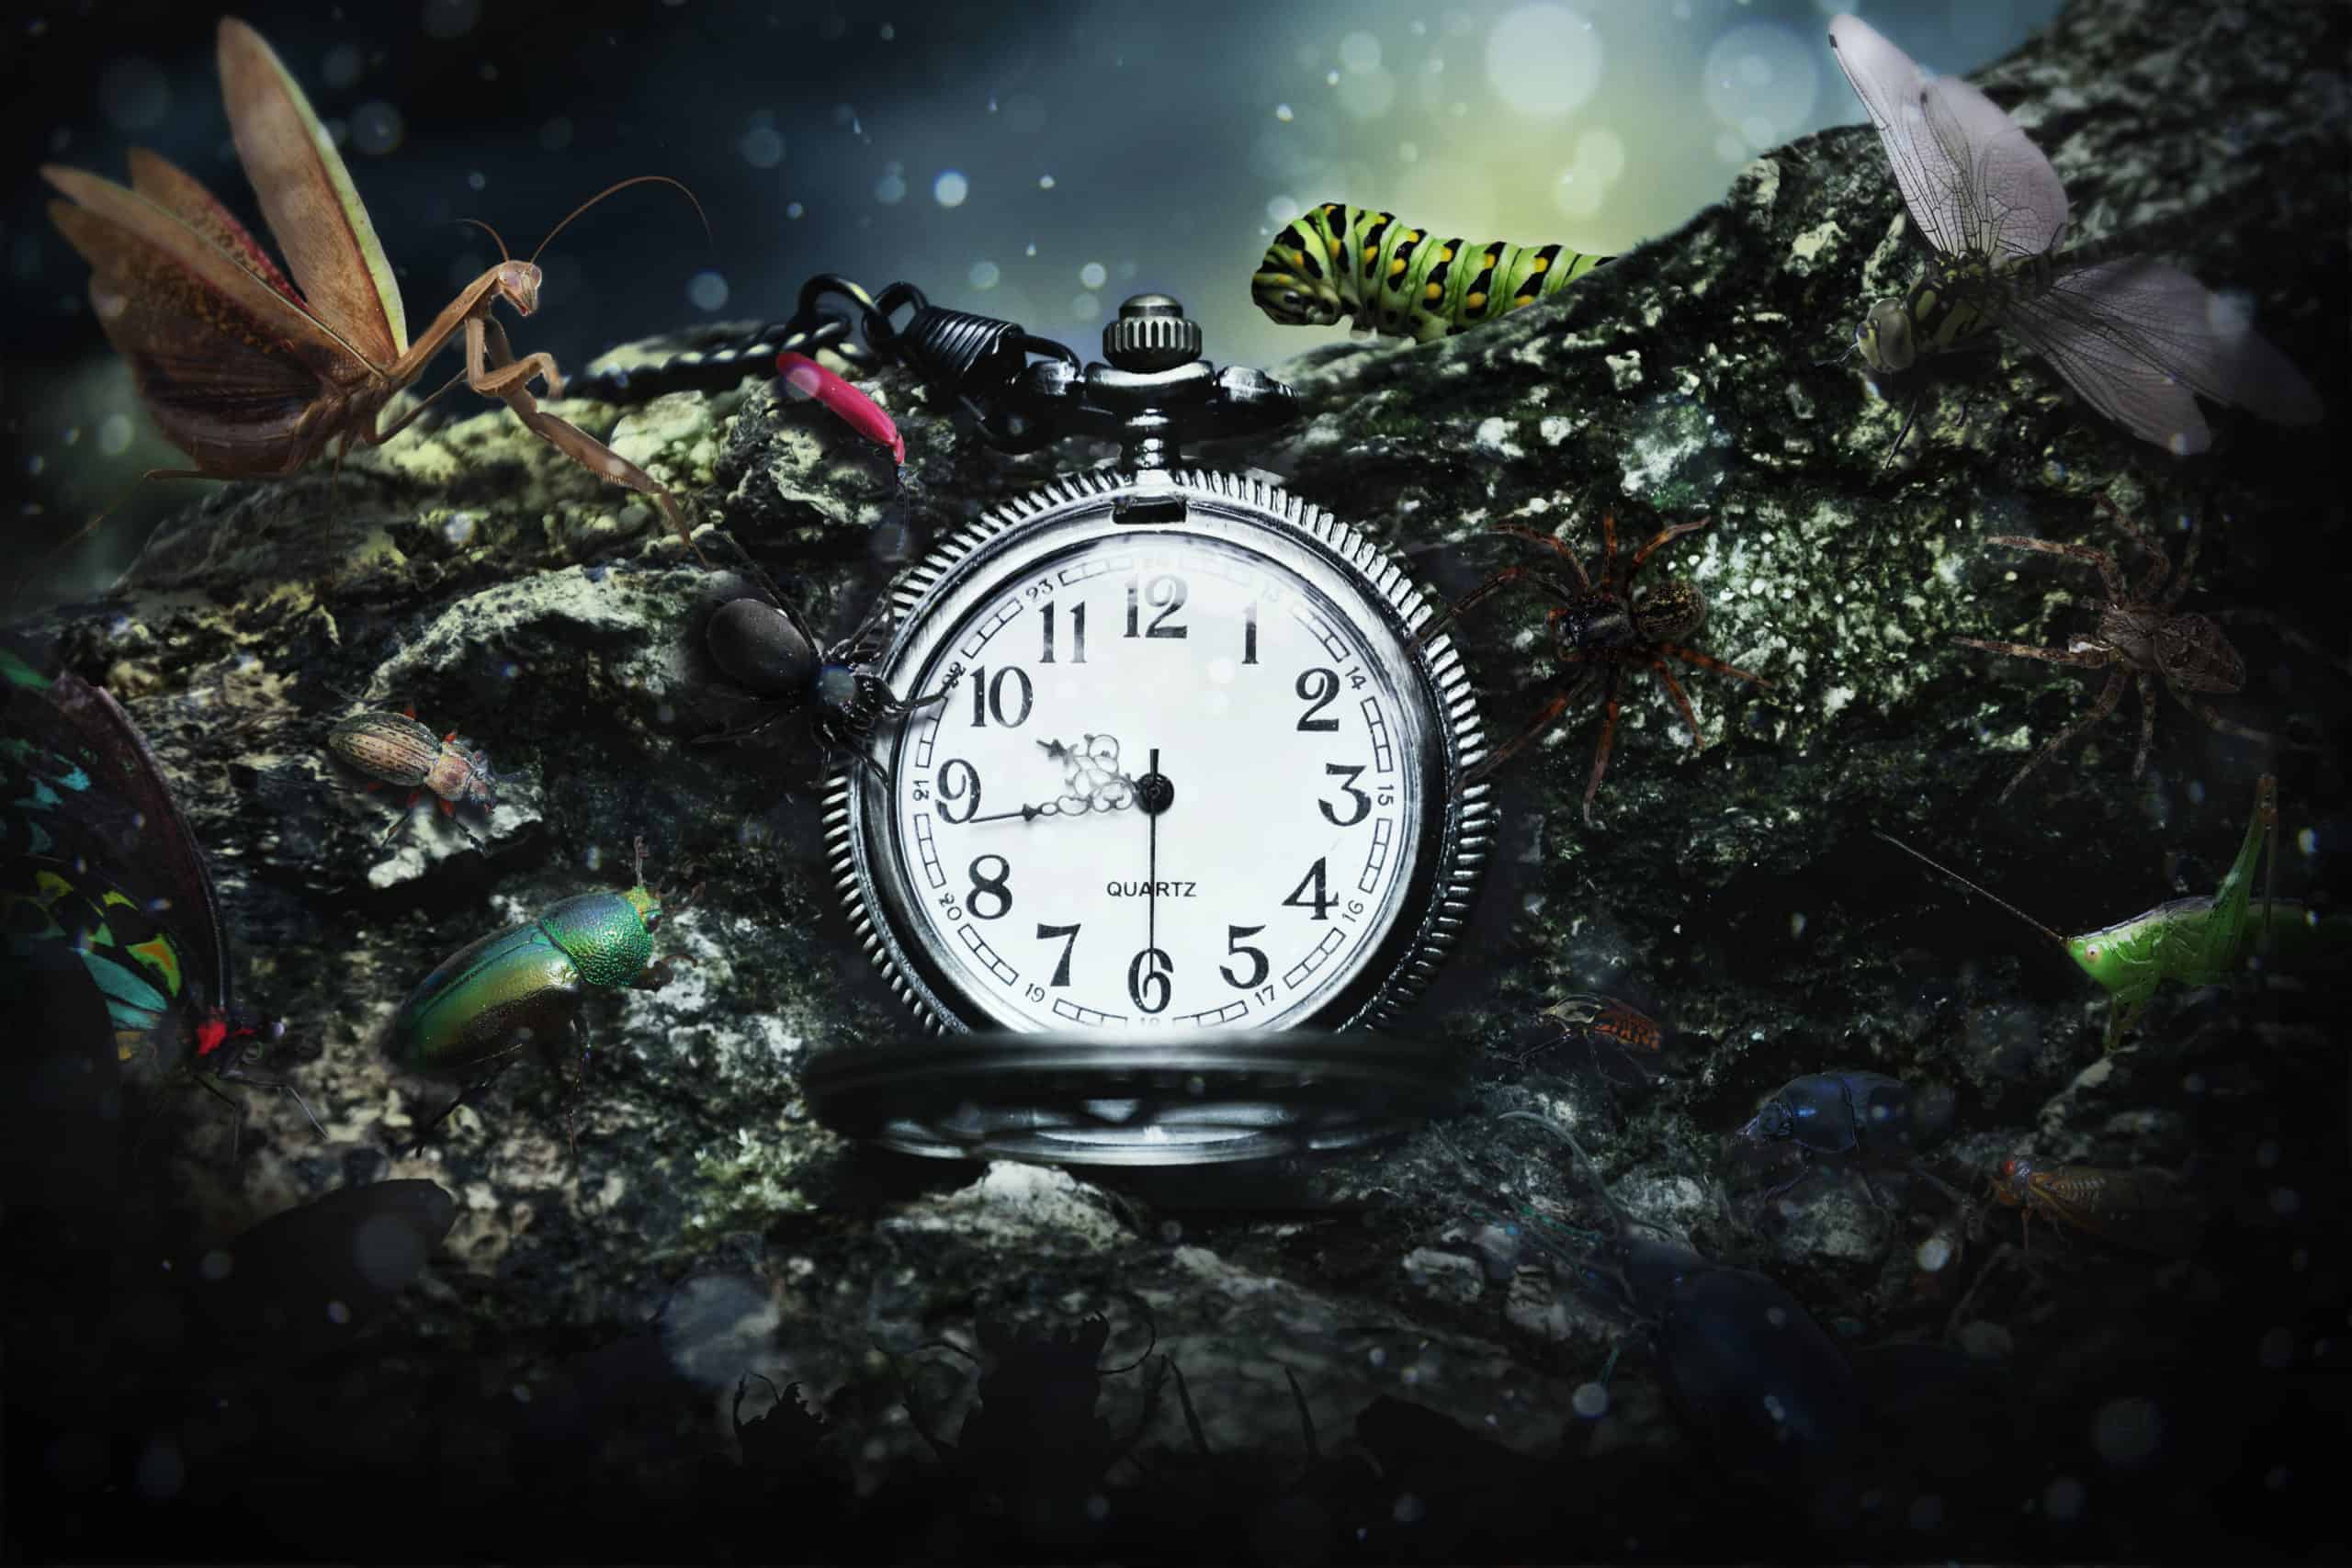
Step 52
Here’s a get results after applying adjustment layers.

Step 53
Now we need make more light on insects. To do this, create a new layer by clicking Cmd/Ctrl+ Shift+ N and set the settings as show in Figure.

Now use Dodge Tool (O) for make light and Burn Tool (O) for shadow. More subtle elaboration of light and shadow. I’ll focus on the caterpillar and beetle blue in foreground.

Step 54
I want to make the image bluer further to make the transition shades. So add another adjustment layer. Go to Layer > New Adjustment Layer > Curves… or click on icon New Adjustment Layer and in list, select Curves…

Step 55
To help us make the colors bluer need to put the point the blue channel in the middle of the curve and move it slightly upwards. To make softer shade of blue, go to the red channel. A dot on the middle of the curve and move it quite a bit to the right and down.
9 responses to “How to Add Creepy Bugs to Your Photos”
-

Fabulous and clear tutorial . Congratulations Maria !!!
👍👍👍👍👍👍👍👍👍❤😉 -
Hey there, You’ve done an excellent job. I will certainly
digg it and personally suggest to my friends. I am sure they
will be benefited from this site. -
Thank you for the great tutorial! It has been very helpful to see a few techniques in action.
-
One of the best collection , I seen on internet , Thanks for sharing
-
very nice
-
Great tutorial!
-
didnt work.
-
yes it did g , try harder
-
-
nice work
Leave a Reply