Step 7
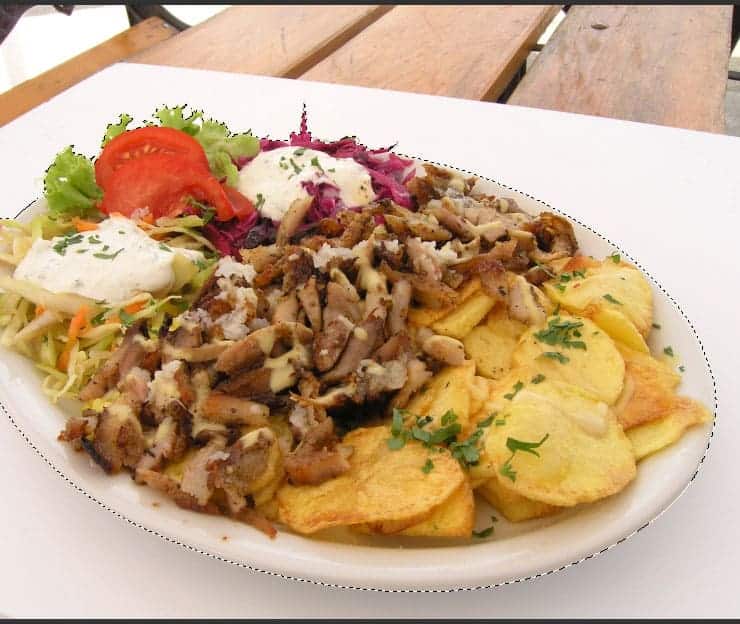
Go back to our artboard document, press CTRL+V to paste selected food bowl image. Before downscaling the food bowl, convert it into a Smart Object first.

Step 8
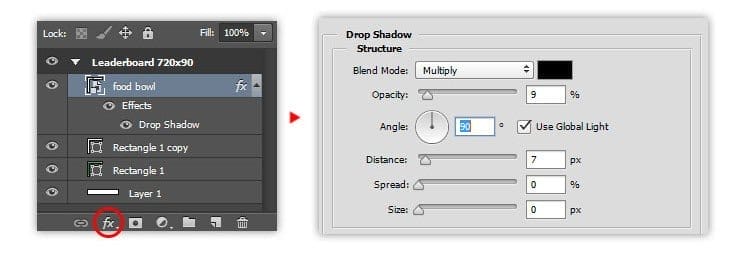
Add Drop Shadow layer style for food bowl layer. Set the Opacity: 9%, Angle: 90, Distance: 7 and Size: 0.
Step 9
Click OK to apply drop shadow layer style. Below, you can see the result.

Step 10
We’re going to make a vector sunburst effect. For your convenience, let’s do this on a new document. Create another document, set the width and height to 800 pixels each. Click OK.

Step 11
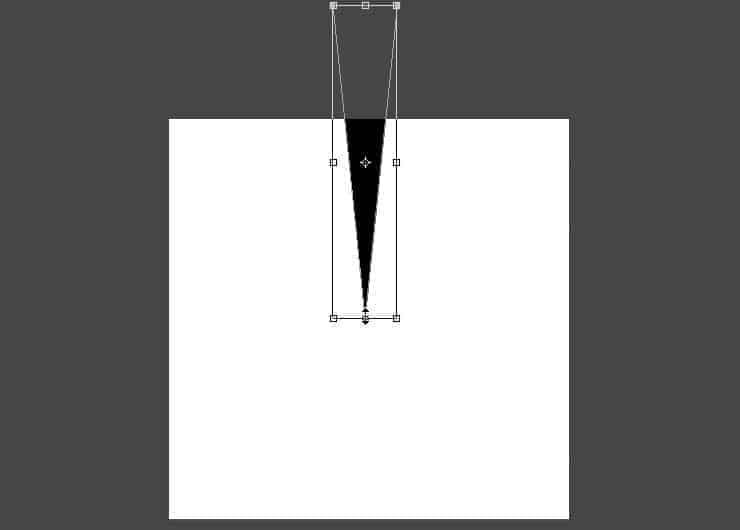
Use the Polygon tool to create a black triangle shape with no stroke.

Step 12
Press CTRL+T to transform triangle shape, make it taller. See image below as your reference. Don’t hit ENTER yet.
Step 13
From option bar, change the reference point to center-bottom. Tilt the triangle clockwise around 15 degree. Hit ENTER to apply transformation.

Step 14
We can repeat transformation and also copy the shape at the same time by pressing ALT+SHIFT+CTRL+T. Do this once to see how it works.

Step 15
Repeat copying and transforming triangle shape until you got a full-round circle.

Step 16
In order to make the background transparent, remove the background layer. Save this document into .psd file with appropriate name like ‘sunburst’ or something like that.

Step 17
Go back to our artboard document. Insert the sunburst.psd file using the File> Place Embedded menu.

Step 18
Upscale sunburst image until it large enough to cover the artboard length. Don’t forget to drag sunburst layer inside artboard group, place it between rectangle copy and food bowl layer.

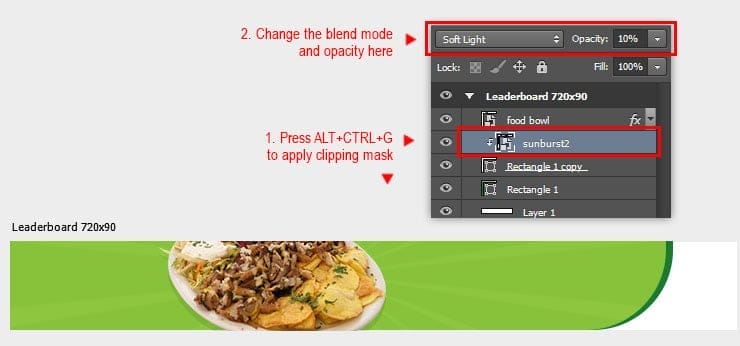
Step 19
Change sunburst layer into a clipping mask by pressing ALT+CTRL+G. Change sunburst layer blend mode to Soft Light and lower the Opacity to 10%.
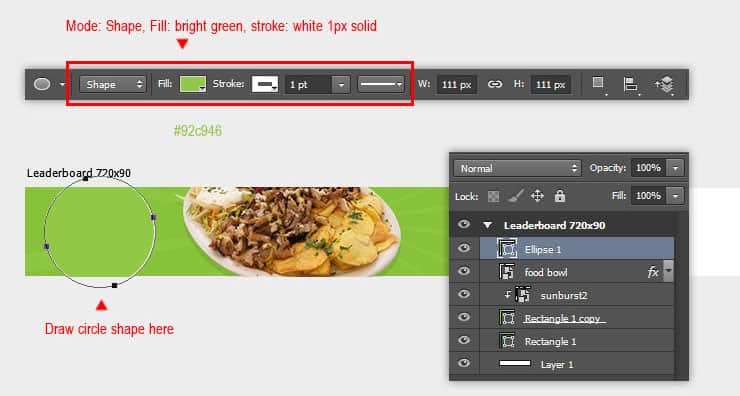
Step 20
Draw a circle shape using Ellipse tool. Set the fill color to bright green (#92c946) and set the Stroke to 1 pt solid white.
Step 21
Grab the Polygon tool, select Combine shape button from the option bar (this way, new polygon shape will created within the same layer as ellipse shape).
Draw a small triangle with the Polygon tool. See image below for your reference.
11 responses to “Creating Multiple Banner Ads Layout Using Artboard in Photoshop CC 2015”
-

Excellent guide, thanks
-
Keren mas bro..
-
I am stuck at this step
“We can repeat transformation and also copy the shape at the same time by pressing ALT+SHIFT+CTRL+T. Do this once to see how it works.”using latest photoshop version
-
In web design, it is essential to be able to get the banners all similar. This makes it much easier.
-
Very nice tutorial. I like making banner ads in photoshop, but I never have put them all on the same file. Thanks!
-
Your tutorial is so easy to understand and you express it very cleanly. Photoshop is really a wonder.
-
????
-
-
Thank your for sharing this information. Great tutorial
-
Great tutorial
-
Considero el banner muy sencillo pero efectivo, facil de elaborar bajo una idea sencilla y practica gracias
-
Great tutorial, Jayan! Having read many, many tutorials and created some myself, your attention to detail, along with screenshots, is wonderful. I am familiar with artboards in Illustrator, but have yet to work with them in Photoshop. I love what I am seeing and look forward to working through your tutorial for creating social media posts in different sizes for the different social media platforms. Thanks so much!
Leave a Reply