Step 52
Another way to copy elements from another artboard is dragging it from the layers panel. First, duplicate the layer (in this example, duplicate the sunburst layer).
Drag the sunburst copy layer from large rectangle group across to skycrapper group.

Step 53
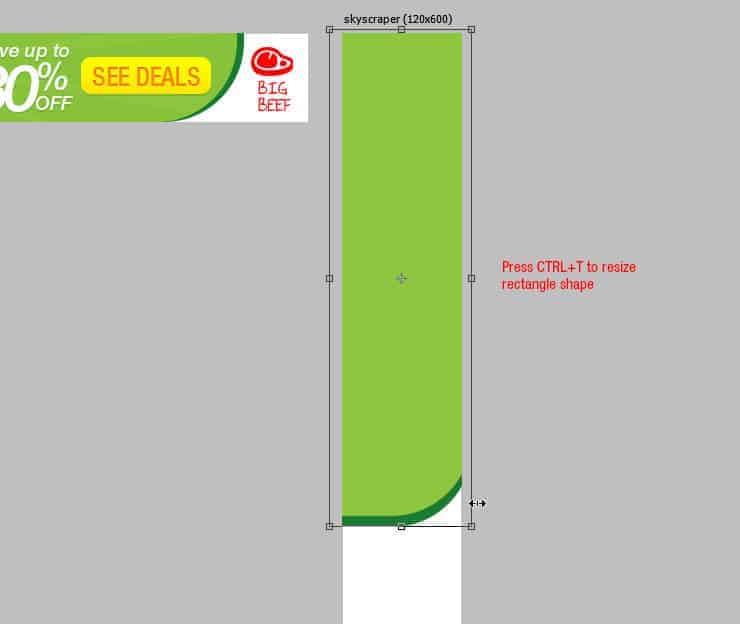
Repeat Step 50 or Step 52 until all layers is copied into skycrapper artboard. Make some adjustment with the image and text. See image below for composition layout reference.

Step 54
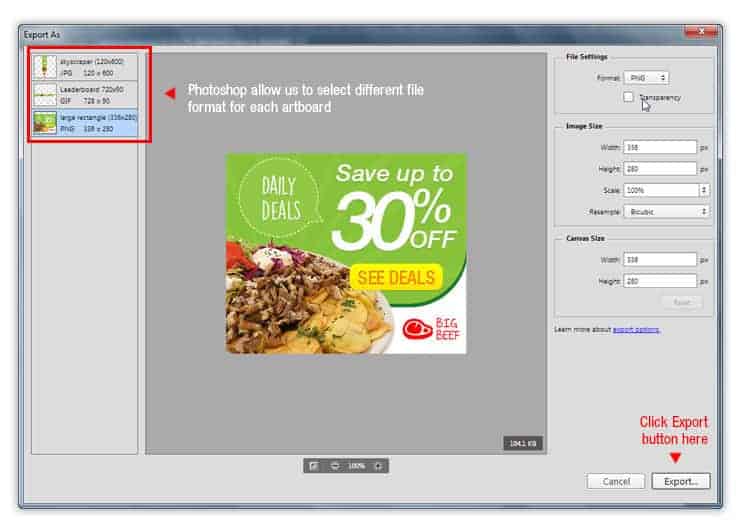
Once everything is set and done, we can export the artboard. Do this by going to File> Export> Export As. Inside Export As window, we can select the file format for each artboard.

Step 55
Photoshop CC 2015 allow us to to save each artboard with different file format and quality. So in this example, I choose .jpg for skycrapper artboard, .gif for leaderboard artboard and .png for large rectangle artboard.
Once you’re ready, click the Export button.
Step 56
Photoshop will ask destination folder to save the files. Click Export button to start exporting.

Step 57
Once done, you can check the export location. If done correctly, you will get 3 different file types for each artboard.

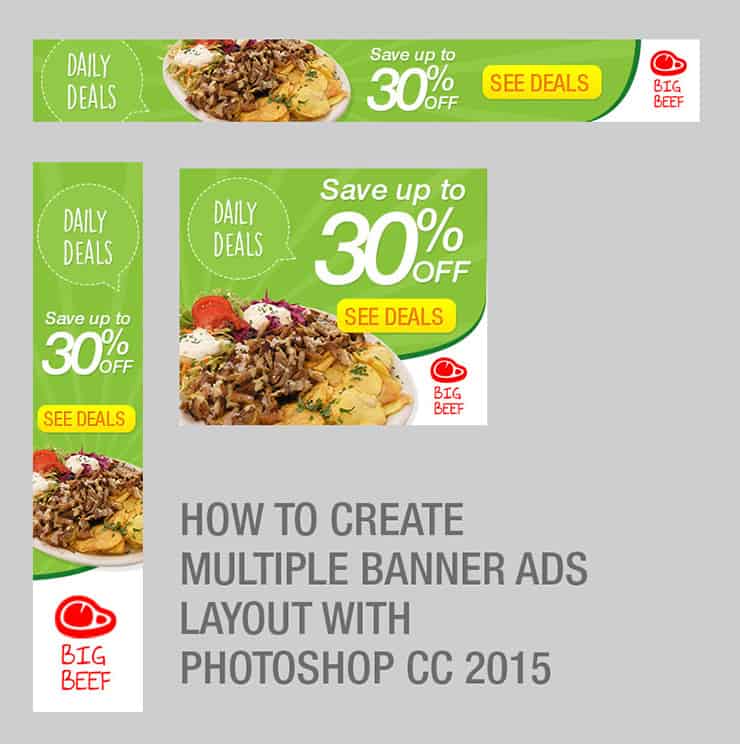
Final Results
Download the PSD
[vc_column width=”1/1″ el_position=”first last”] [vc_cta_button title=”Download” href=”https://downloads.photoshoptutorials.ws/Banner Ads.zip” color=”btn” size=”btn-large” icon=”none” target=”_self” position=”cta_align_right” call_text=”Banner Ads.zip | 7.92 MB” width=”1/1″ el_position=”first last”] [/vc_column]
Tutorial by Jayan Saputra

Thank you for following this tutorial! i hope you can find something useful after practicing every steps in it. If you get inspired by this, that is some good news because I love to see your work, so feel free to post it here. Anyway, you can find me on jayicesight.deviantart.com or contact me at [email protected]
– Jayan Saputra
11 responses to “Creating Multiple Banner Ads Layout Using Artboard in Photoshop CC 2015”
-

Excellent guide, thanks
-
Keren mas bro..
-
I am stuck at this step
“We can repeat transformation and also copy the shape at the same time by pressing ALT+SHIFT+CTRL+T. Do this once to see how it works.”using latest photoshop version
-
In web design, it is essential to be able to get the banners all similar. This makes it much easier.
-
Very nice tutorial. I like making banner ads in photoshop, but I never have put them all on the same file. Thanks!
-
Your tutorial is so easy to understand and you express it very cleanly. Photoshop is really a wonder.
-
????
-
-
Thank your for sharing this information. Great tutorial
-
Great tutorial
-
Considero el banner muy sencillo pero efectivo, facil de elaborar bajo una idea sencilla y practica gracias
-
Great tutorial, Jayan! Having read many, many tutorials and created some myself, your attention to detail, along with screenshots, is wonderful. I am familiar with artboards in Illustrator, but have yet to work with them in Photoshop. I love what I am seeing and look forward to working through your tutorial for creating social media posts in different sizes for the different social media platforms. Thanks so much!
Leave a Reply