

Then go back to Photoshop and grab your Text Tool from the Tools Panel. Change the Font settings as shown:

Now paste the icon you just copied from the cheatsheet. (Right Click > Paste..)

Step 8
Repeat the previous step until you have pasted all the icons you would like to use.
Step 9
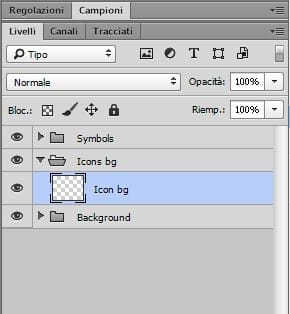
Create a new group and rename it to ‘icon bg’ and place it below the ‘symbols’ Group

Step 10
Create a new layer and place it into the group we just created. I renamed the layer to ‘icon bg’.
Step 11
Using the Rectangular Circle Shape Tool (located at the Tools Panel below the Text Tool) I created the background of the icons following the guides we did earlier. Create the background on that layer only to make your work easier to look at.

Here are all the colors I used:
Twitter:#6bd1f4;
Facebook:#5a93cb;
Tumblr:#3c6a9c;
Google +:#e44940;
Instagram:#9bd29d;
Youtube:#f4504c;
Twitch:#a96db6;
Dropbox:#81d5ed;
Deviantart:#6e8e61;
Pinterest:#f25f5f;
Skype:#67d5f4;
Feed:#e9951d;

Now you don’t specifically have to use the same colors as I did, you are obviously free to change the colors and use whichever color you prefer to make your work more original.
If you don’t like the look of the rectangular circles, you can always use other shapes like a square or circle. To make a perfect circle or square, be sure to hold the SHIFT key as you are making them.

Step 12
If you are already pleased with what we have just done, you can stop here but if you would like to spice up the icons some more go on and continue reading. We shall start by adding some Drop Shadow to the icons. Open the ‘symbols’ group, select one of the icons and click the fx icon > Drop Shadow. Use the following settings:

Step 13
Repeat the previous step with the rest of the icons. To make your work a lot easier, right click on the layer > Copy Layer Style. Then select the rest of the icons/symbols layers, right click > Paste Layer Style.
Step 14
Now add some Inner Shadow to the background of each icon. So open up the ‘icons bg’ group, select the layer and click the fx icon > Inner Shadow. Use the following settings:
3 responses to “Learn How to Create Some Flat Social Media Icons Using the Free Font Awesome Font in Photoshop”
-

how do u do that
-
Thanks for sharing
-
I love it ^^!
Leave a Reply