
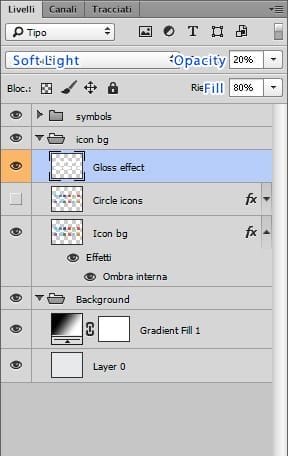
Step 15
Create a new layer and name it Gloss Effect. Change the foreground color to #ffffff; using the Rectangular Marquee Tool, create some rectangles that is just half the size of your icon (approx. 50x25pixels). Do this for all of the icons.

Then Change the Blend Mode to Soft Light and Opacity to 20% and Fill to 80%.
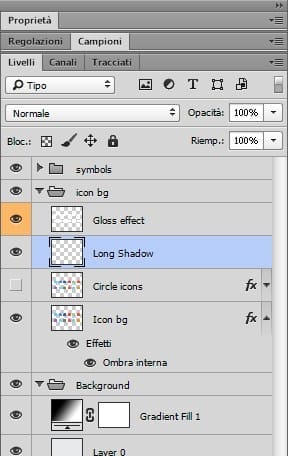
Step 16
(If you are doing this step, be sure to not show the Gloss Effect) Create a new layer and name it to Long Shadow. This step is a bit harder compared to rest of the effects. Place the new layer below the Gloss Effect layer.
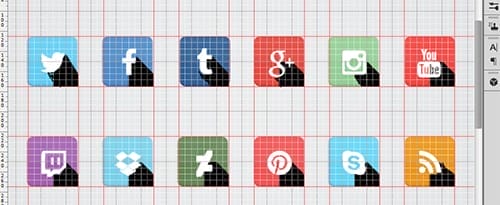
Step 17
Grab the Polygonal Lasso Tool and start creating some tilted rectangles: start by following the shape of your icon only from the bottom-right side then make a diagonal line until it reaches the bottom-right end of the icon’s background,make a straight line just until it reaches the center of the background then connect the lines.
Step 18
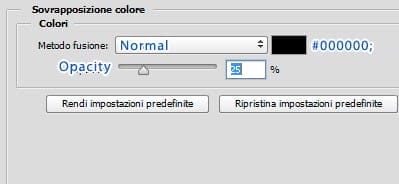
Last step! Change the layer’s opacity to 10% and it’s fill to 0%.
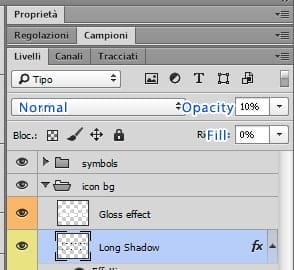
Now Click on the fx icon and select Color Overlay…. Use the following settings:
Now Select Gradient Overlay.. and use these settings:

Final Results


Download the PSD
[vc_column width=”1/1″ el_position=”first last”] [vc_cta_button title=”Download” href=”https://downloads.photoshoptutorials.ws/Social Media Icons.zip” color=”btn” size=”btn-large” icon=”none” target=”_self” position=”cta_align_right” call_text=”FILENAME.zip | 5.6 MB” width=”1/1″ el_position=”first last”] [/vc_column]
Tutorial by x–tenshii
3 responses to “Learn How to Create Some Flat Social Media Icons Using the Free Font Awesome Font in Photoshop”
-

how do u do that
-
Thanks for sharing
-
I love it ^^!
Leave a Reply