
Now grab your Eraser ( Press E | brush size at around 5-8px; must be smaller than your brush tool, hardness at 100% and spacing at 1%) and start erasing ( in a curved motion, make S shapes etc) until they start looking like drips. I recommend occasionally changing the brush size.

I also added drips around the text. And to make it look 3D, select the drip, fx > Bevel and Emboss:

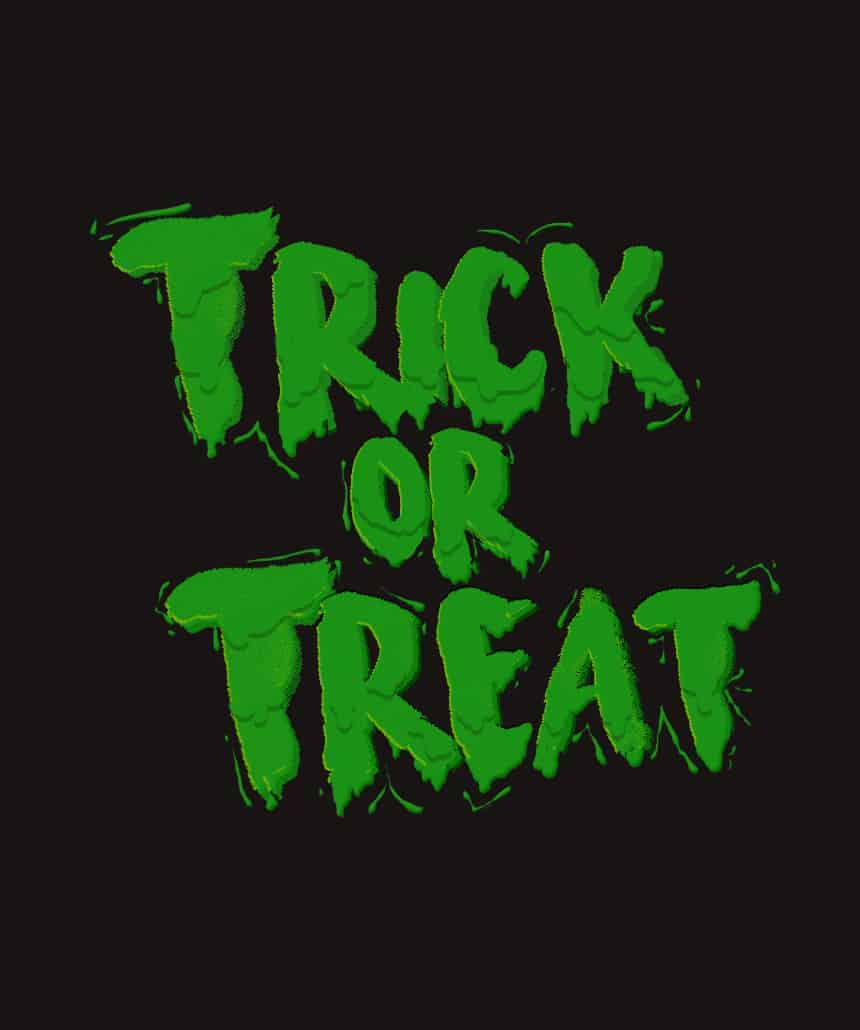
Once you’re done, repeat with the other text layers. Take your time doing this step; don’t just erase randomly. I zoomed in the whole canvas to around 300-400% and had a Navigator tab open so I can see how the whole canvas looks like while I was working. * Right click > Copy Layer Effect | Right Click > Paste Layer Effect is really useful.
Step 11
Now time for the Highlights.
Select the Text layer, duplicate it, place it below the ‘Drips’ layer and rename it to ‘ Highlights’.

fx > Color Overlay: #6aaf05
(Hide the Gradient Overlay layer text effect)
Move this layer to the left side (try nudging it a couple of times). Remove parts of the highlights that might contrast with the drippings using the Layer Mask (located between the fx and Adjustments Layer Icon at the bottom of the Layers Panel).

Repeat with the other text layers. * Right click > Copy Layer Effect | Right Click > Paste Layer Effect is really useful.
Step 12
Shadows.
Duplicate the text layer once again, place it below the Highlights layer and rename it to ‘Shadows’.

fx > Color Overlay: #147a11
fx > Drop Shadow:

(Hide the Gradient Overlay layer text effect)
Move this layer more to the right side and like with the highlights, remove parts of it that might contrast with the drippings effect; use the layer mask to do so as we are working with Smart Objects.

Repeat with the other text layers. * Right click > Copy Layer Effect | Right Click > Paste Layer Effect is really useful.
Step 13
Slime.
Create a New Layer and place it above all the groups you made for each text layer. Rename it to ‘Slime’. Change the layer’s Opacity to 80% | Fill to 0%

fx > Drop Shadow:
2 responses to “Learn How to Create This Very Cool Halloween-Inspired Typography in Photoshop”
-

good job
-
Unable to download last resource.
Leave a Reply