
fx > Inner Shadow:
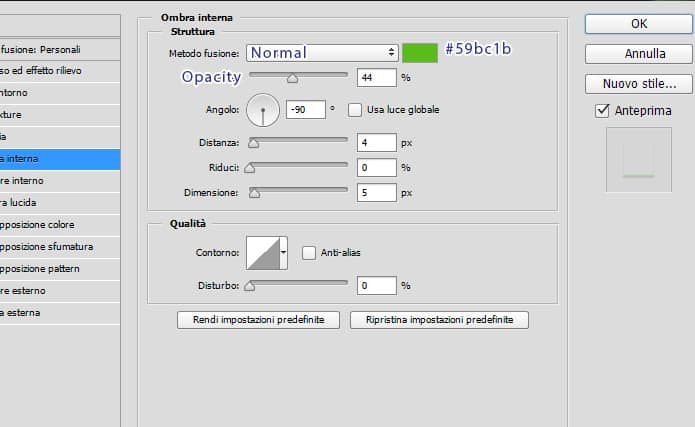
Grab the brush tool and repeat the steps we did to make the drippings, but this time use a slightly bigger brush size (around 10-13px) and create the effect inside the text to give the impression of slimes dripping.
Step 14
Almost done. Create a New Group place it above all your groups and rename it to ‘Overlay’. Open the texture pack ( I used 5, 4, 3) and place it like so:
Texture 4: Opacity 25% | Fill 30% | Blend Mode Multiply
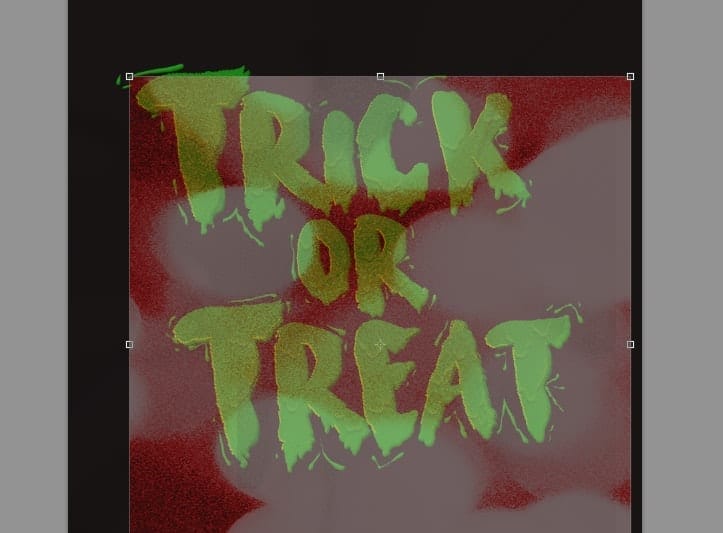
Texture 5: Opacity 25% | Fill 30% | Blend Mode Multiply
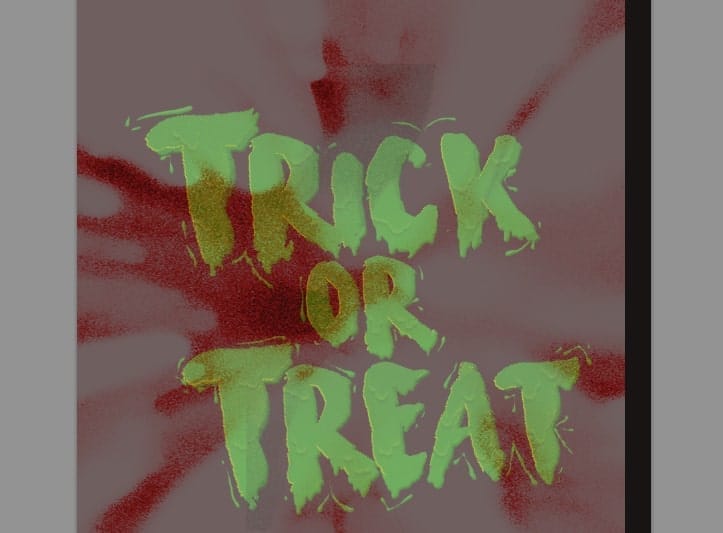
Texture 3: Opacity 25% | Fill 75% | Blend Mode Darken
If you’re not fond of the texture pack used for this tutorial, you can always replace it with watercolor/ink splatter brushes (there are some here @PhotoshopTutorials.ws) or other textures. I think grain textures would be good too.
Step 15
[OPTIONAL : OTHER COLORS]
If you don’t like the color green that was used for this tutorial, here are some easy ways to change it to other colors.
First, Create a New Group and place it below the ‘Overlay’ group, you can rename it however you want. I renamed it ‘OTHER COLORS’. Duplicate the Text group and then merge it.(I recommend duplicating it first so you can make certain changes to the text). Rename it to ‘MERGED TEXT’ and place it on the group we just made.

Step 16
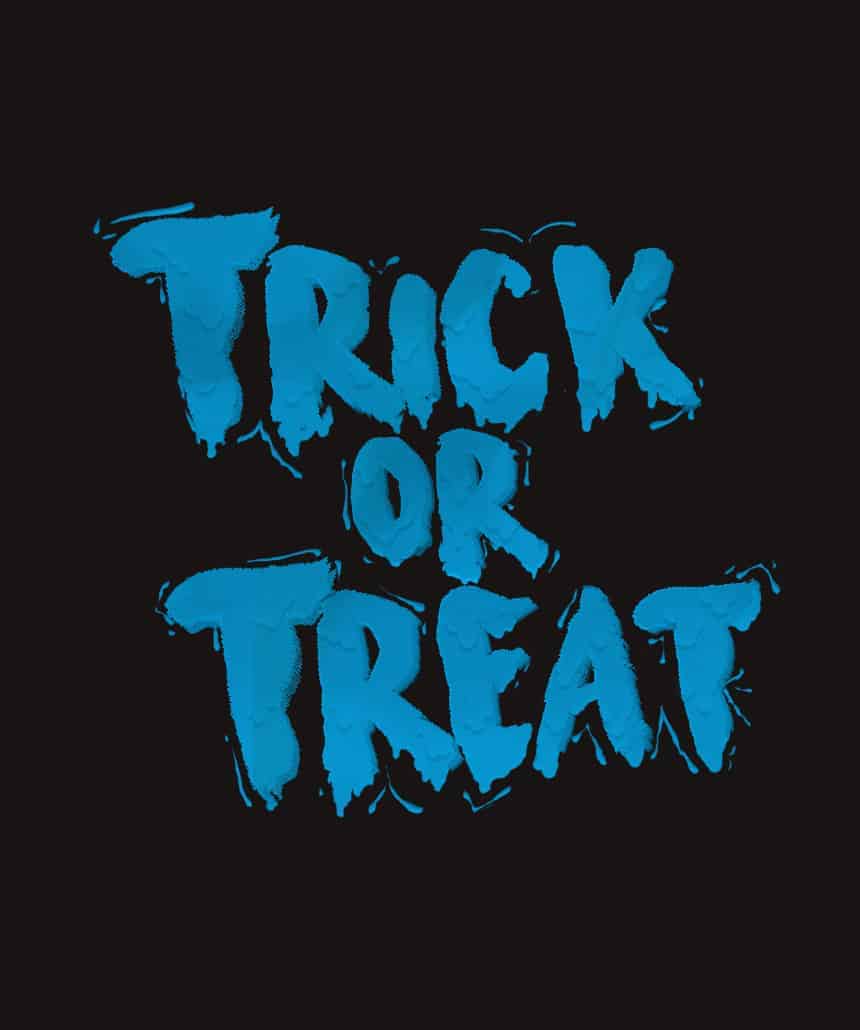
If you want a Blue color, click on the Adjustments Layer Icon > Hue/Saturation… :

*After that, select the adjustment layer we just made, right click > Create Clipping Mask.
Step 17
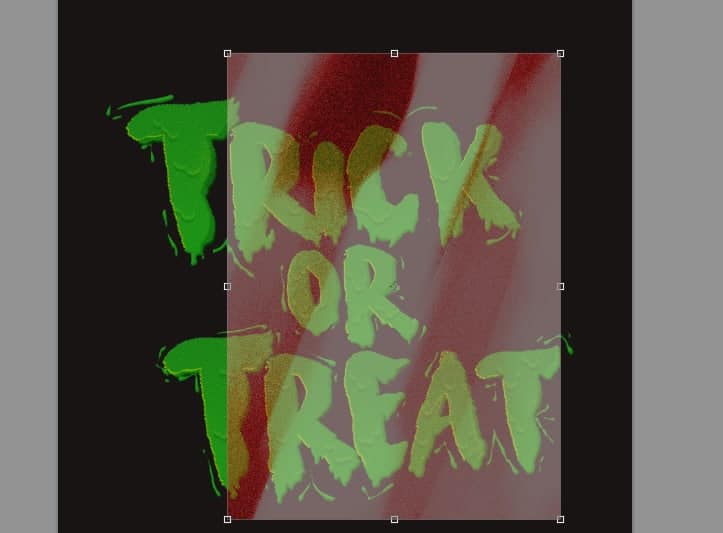
If you want a Mustard color, Click on the Adjustments Layer Icon > Gradient Map:
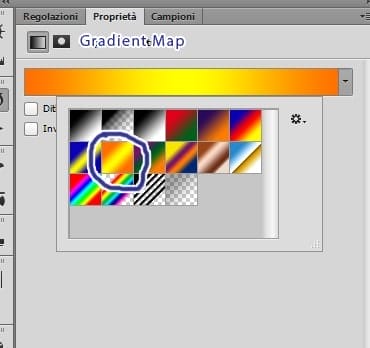
Click on the Adjustments Layer Icon > Curves:

Step 18
If you want a Blood-like color, click on the Adjustments Layer Icon > Solid Color: #a8090d. Change it’s Blend Mode to : Color.
Then use the Curves Adjustment we just made to create the Mustard color.
*Only use the Curves Adjustment with the Yellow and Red color.
Step 19
If you want to add Cracks, use the cracks brush pack (use the same color as the background) and place it like so:

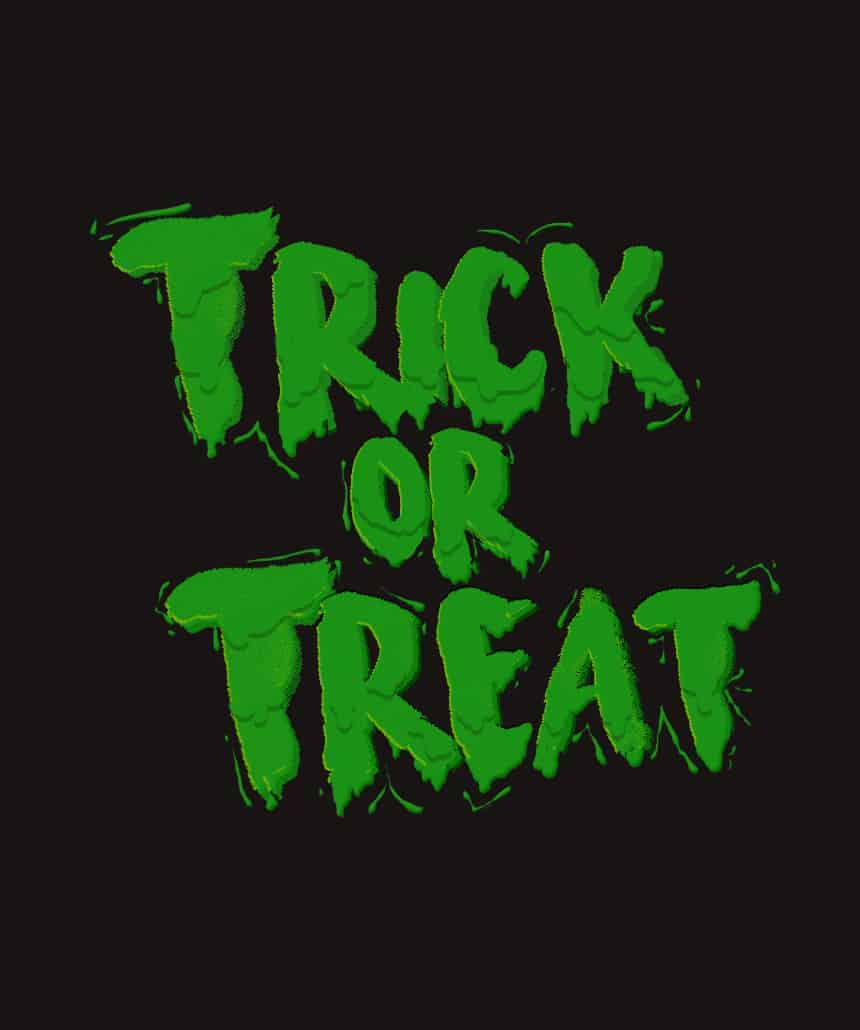
Final Results


Download the PSD
[vc_column width=”1/1″ el_position=”first last”] [vc_cta_button title=”Download” href=”https://downloads.photoshoptutorials.ws/Halloween Text.zip” color=”btn” size=”btn-large” icon=”none” target=”_self” position=”cta_align_right” call_text=”Halloween Text.zip | 4.28 MB” width=”1/1″ el_position=”first last”] [/vc_column]
Tutorial by x–tenshii
2 responses to “Learn How to Create This Very Cool Halloween-Inspired Typography in Photoshop”
-

good job
-
Unable to download last resource.
Leave a Reply