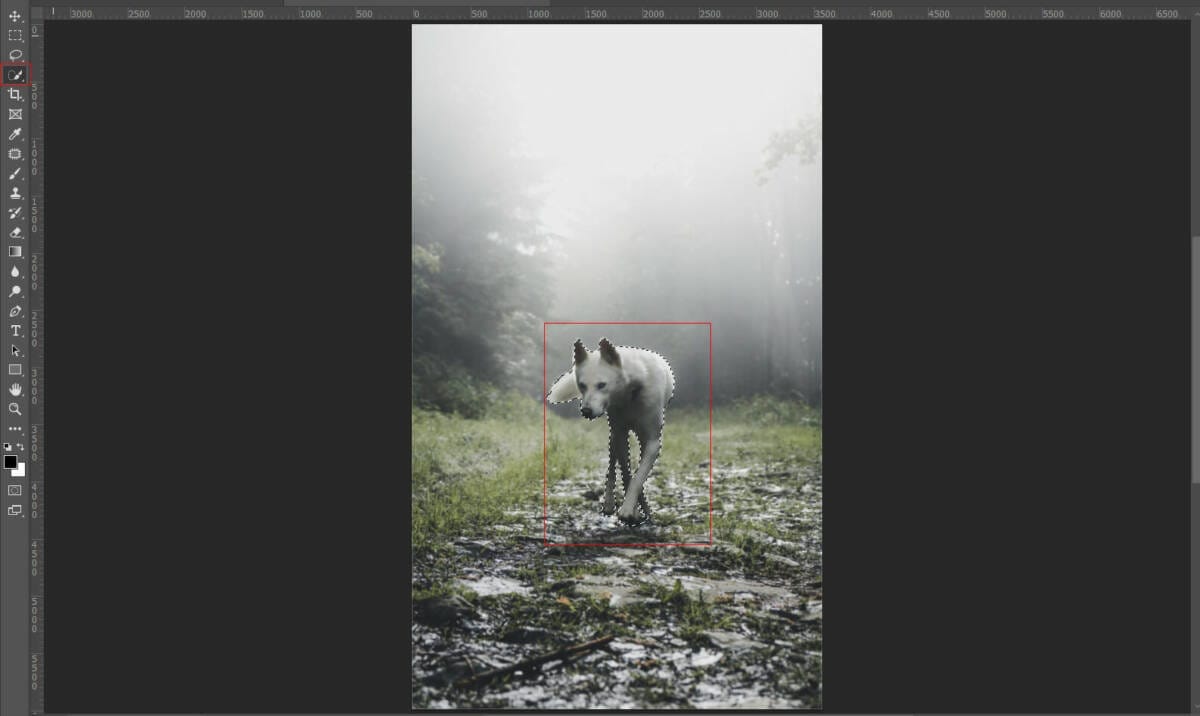

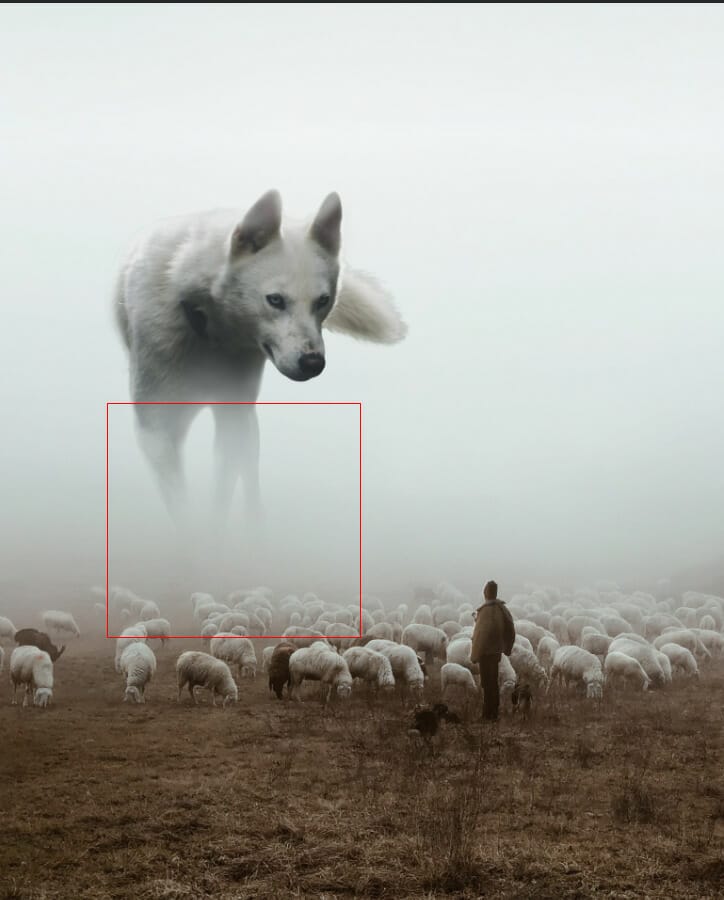
Now create a layer mask and with a soft round brush tool(B) with foreground color black paint on the legs. The opacity of the layer reduces to 22%.
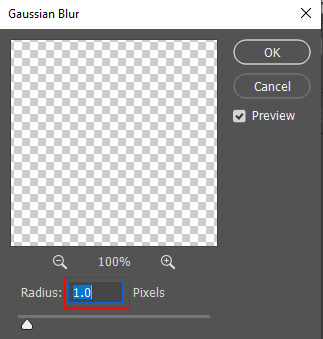
Add blur filter, Go to Filter > Blur > Gaussian Blur, and set radius to 1px.

Step 6
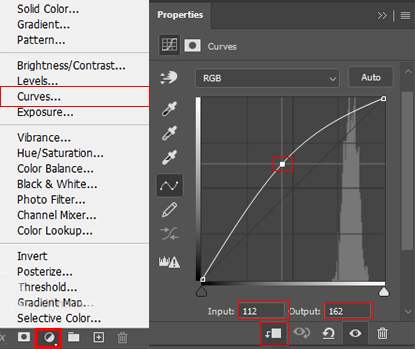
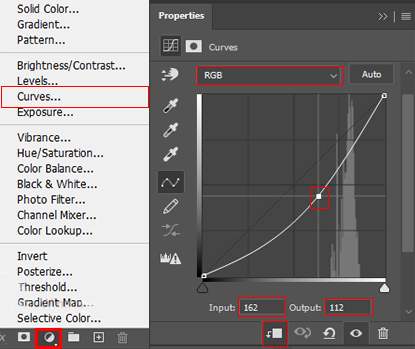
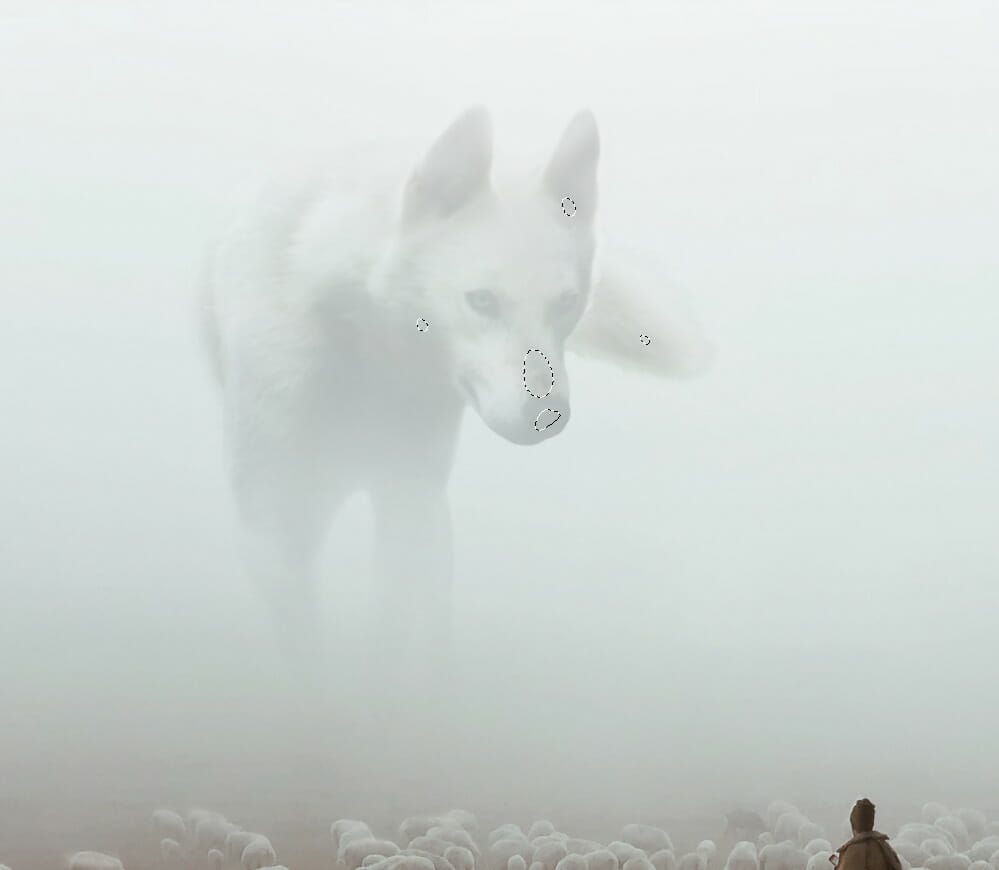
Add Adjustment Layer “Curves” and press Ctrl/Cmd + I to invert. Then use Brush Tool(B) Soft Round with foreground color white and paint on highlight parts.

Step 7
Add Adjustment Layer “Curves” and press Ctrl/Cmd + I to invert. Then use Brush Tool(B) Soft Round with foreground color white and paint on dark parts.
Step 8
Add Adjustment Layer “Color Balance”

Step 9
Add Adjustment Layer “Hue/Saturation”

Step 10
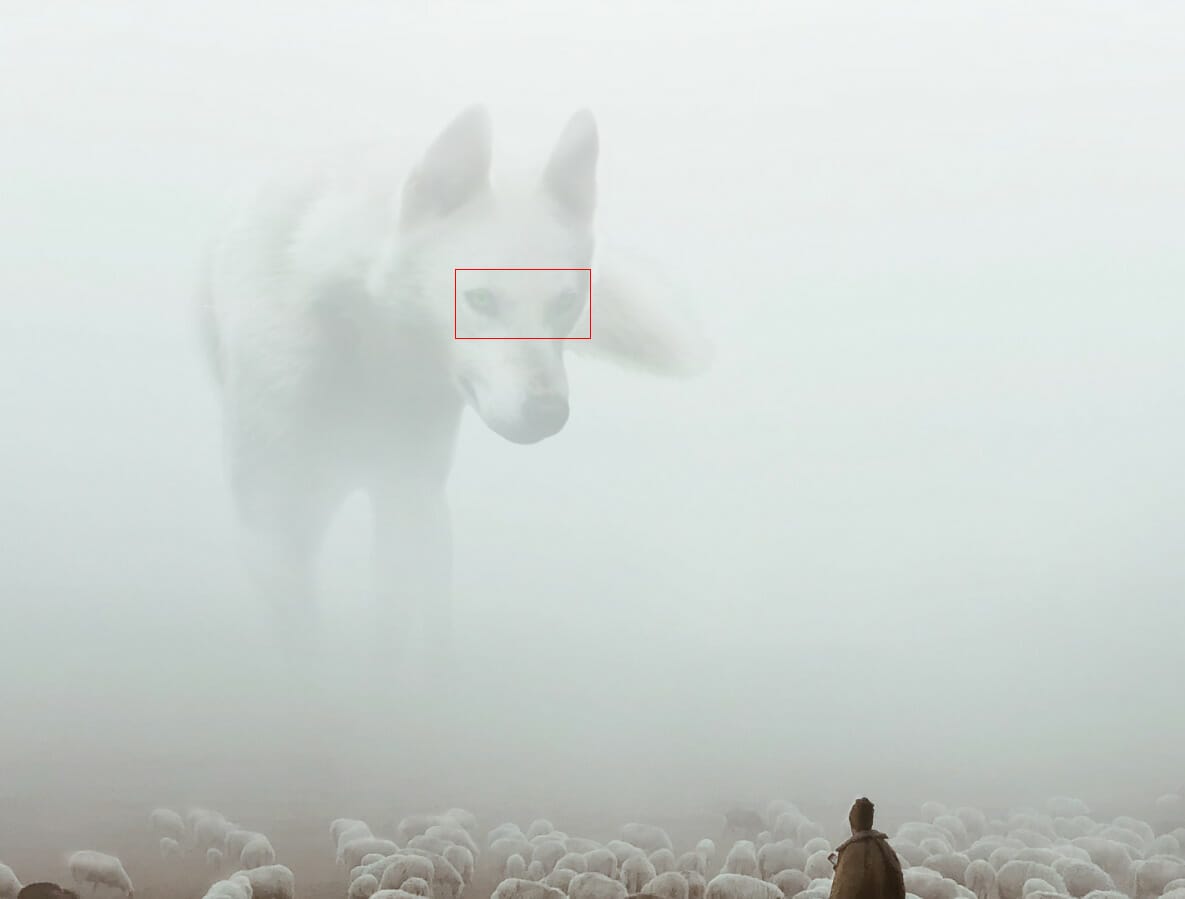
Now add the effect of eyes. First, create a new layer and use Brush Tool(B) Soft Round with the foreground color green #4fc027 and paint on the eyes. Blend mode change to Soft Light with opacity of 22%.

Step 11
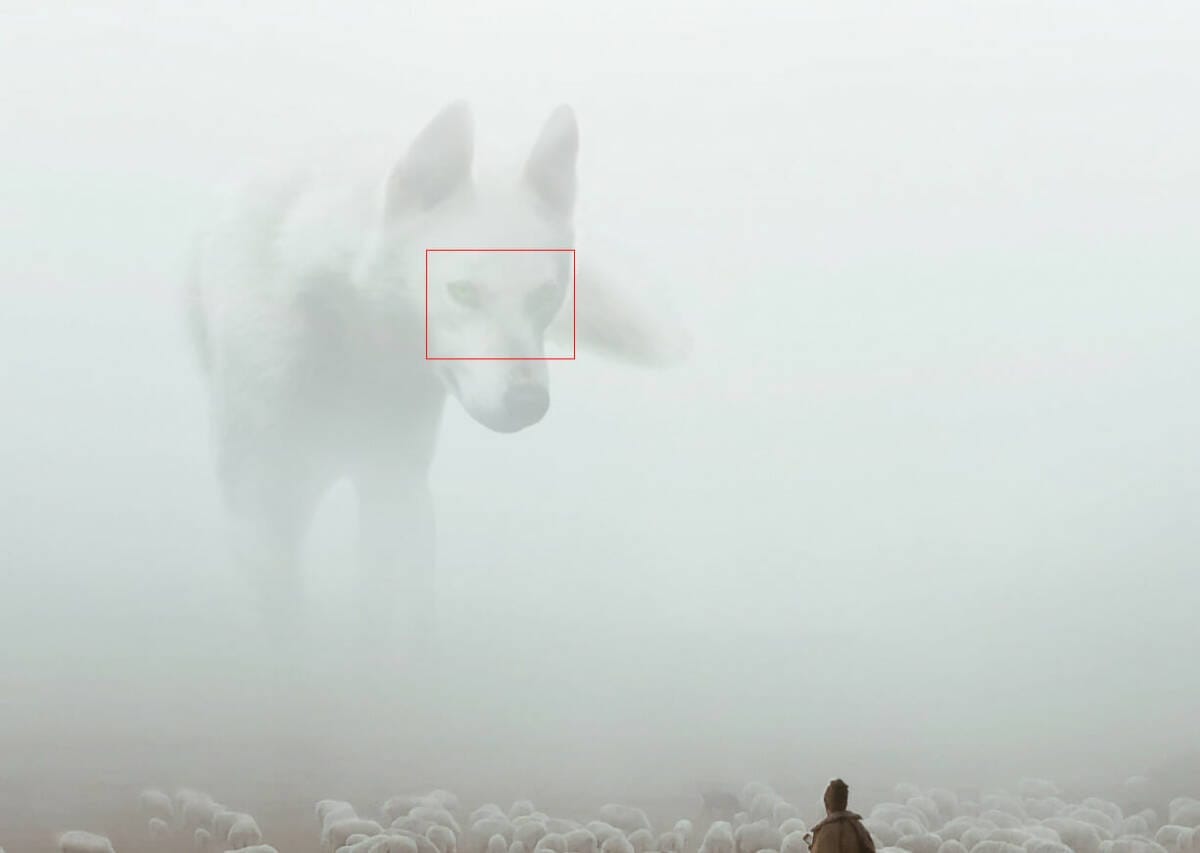
Now repeat the same process, create a new layer and use Brush Tool(B) Soft Round with foreground color green #accba9 and paint over the eyes, but brush size set to larger than in the previous layer. Blend mode change to Linear Dodge (Add) with Opacity of 50%.

Step 12
Now, create another layer and add more lights.
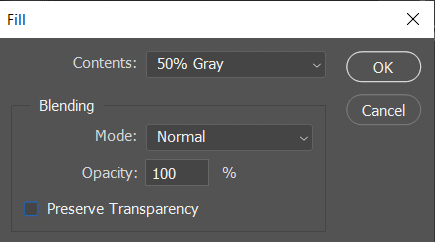
Then go to Edit > Fill and Contenst: 50% Gray and press Ok.
Now use Brush Tool(B) Soft Round with foreground color white and Brush Opacity set to 10-20%. Then start painting. Take a look at the example in the picture below how much you need to paint, where there is the most white color, draw the most.


Blend mode change to Overlay with an opacity of 60%.
Step 13
Next, we need Clouds for brushes but first, we need to import brushes. Select a Brush Tool(B) and right-click on the background. Now click on the gear icon and Import Brushes (Select a downloaded brush).
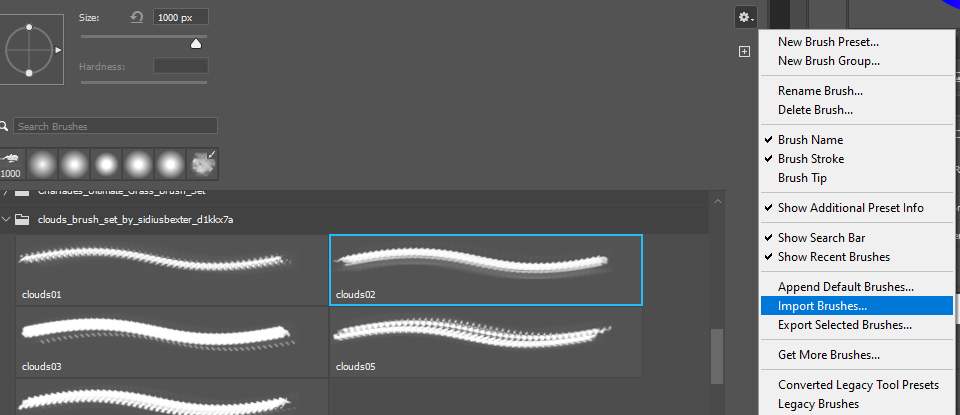

Create a new layer and use “clouds_brush_set_by_sidiusbexter ” number 2 and start painting the cloud. Foreground color set to white. Opacity set to 70%.

Step 14
Open Birds and hold Ctrl/Cmd and click on the layer after the selection area has been created, simply copy (Ctrl / Cmd + C) and Paste (Ctrl / Cmd + V) it to our work canvas. Then position the image with the transform tool (Ctrl / Cmd + T). Hold Alt + Shift and resterize like image below. In Photoshop CC only hold Alt to resterize al sides together. Opacity reduces to 10%.
One response to “Create a Gigantic Wolf Scene in Photoshop”
-
nice :) just fix your link psd , problbem with it :)


Leave a Reply