
“Amidst the boundless expanse of the cosmic desert, where stars flicker like distant mirages, we wander as seekers of truth, adventurers in the realm of the unknown. In the silent embrace of the universe, where time and space converge, we are but specks in the tapestry of existence, yearning to unravel the mysteries that lie beyond the horizon. With each step through the shifting sands of eternity, we seek not just answers, but the very essence of meaning itself, knowing that amidst the cosmic desert, our journey is as endless as the stars that guide our path.” In this photoshop Tutorial we will learn how to create a fantasy scene. We created a epic scene of desert, stars and planets.
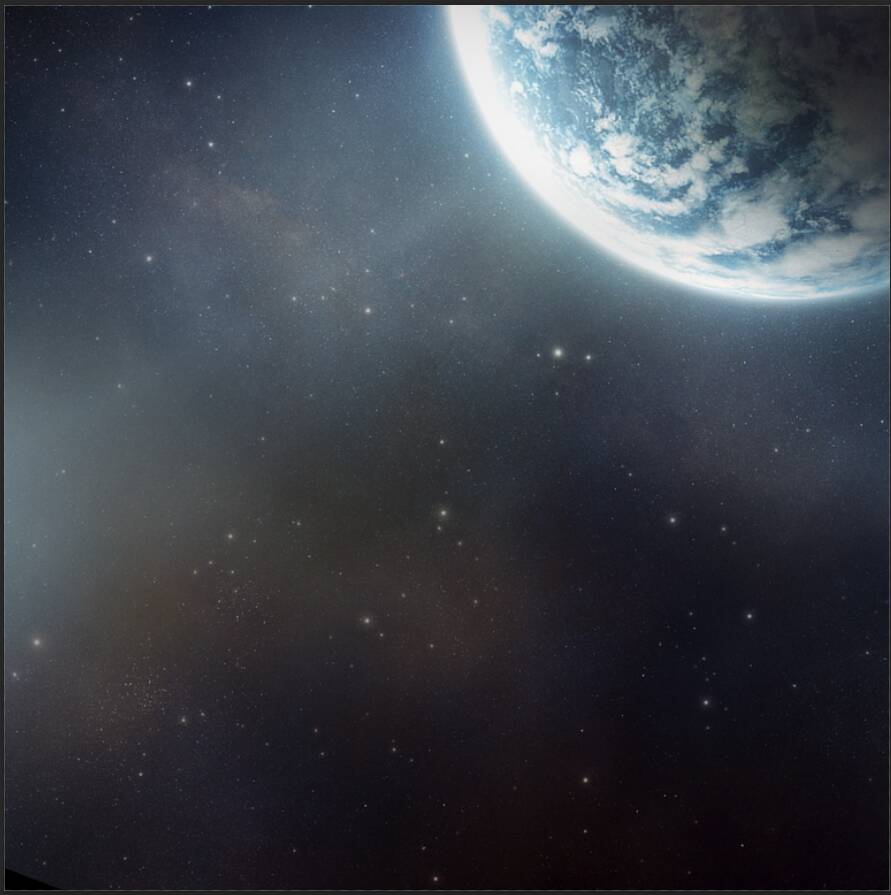
Preview of Final Image

Tutorial Resources
Step 1
Now, let’s start by creating a new image file, go to the Menu bar and click File > New, and then input the following values on their respective fields
- Preset: Custom
- Width: 3080px
- Height: 3850px
- Resolution: 300px
- Color Mode: RGB Color 8 bit
- Background Contents: Transparent

Step 2
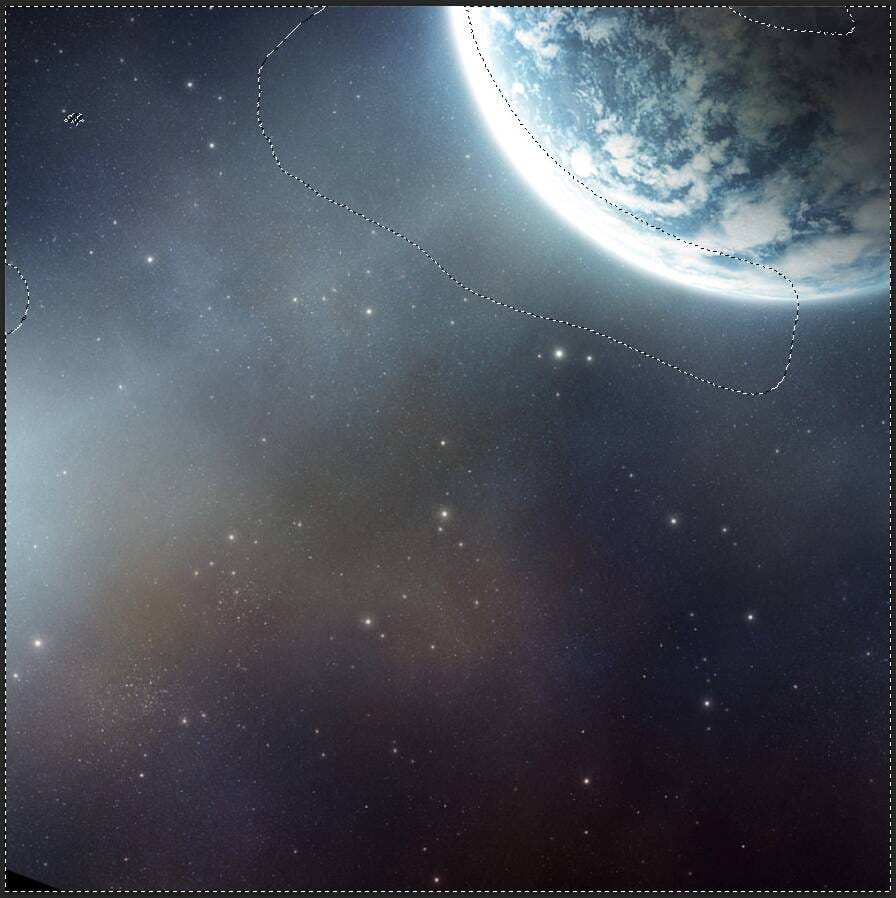
Next we will open Planet image. After you open the image, use Rectangular Marquee Tool(M).

After the selection area has been created, simply copy (Ctrl / Cmd + C) and Paste (Ctrl / Cmd + V) it work canvas. Then position the image with the transform tool (Ctrl / Cmd + T). Hold Alt + Shift and resterize like image below. In Photoshop CC only hold Alt to resterize al sides together.

Step 3
Add Adjustment Layer “Curves” and press Ctrl/Cmd + I to invert. Then use Brush Tool(B) Soft Round with foreground color white and paint highlight parts.

Step 4
Add Adjustment Layer “Exposure” and press Ctrl/Cmd + I to invert. Then use Brush Tool(B) Soft Round with foreground color white and paint highlight parts.


Step 5
Next, place MilkyWay Go to File > Place and select. Then place it to our work canvas and position the image with the transform tool (Ctrl / Cmd + T). Hold Alt + Shift and rasterize like the image below. In Photoshop CC only hold Alt to rasterize all sides together.

Now create a layer mask and use Soft Round brush tool(B) with foreground color black and start paint like on image example.
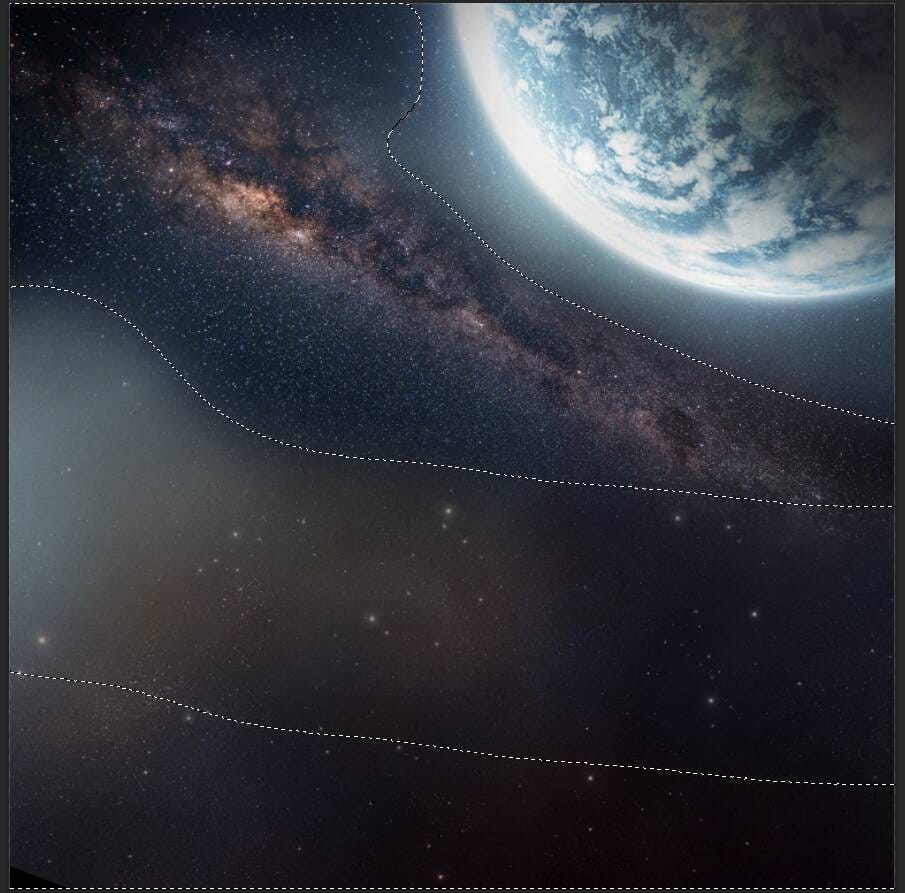
Blend mode change to Screen with opacity of 20%.
Step 6
Add Adjustment Layer “Curves”
Leave a Reply