Step 7
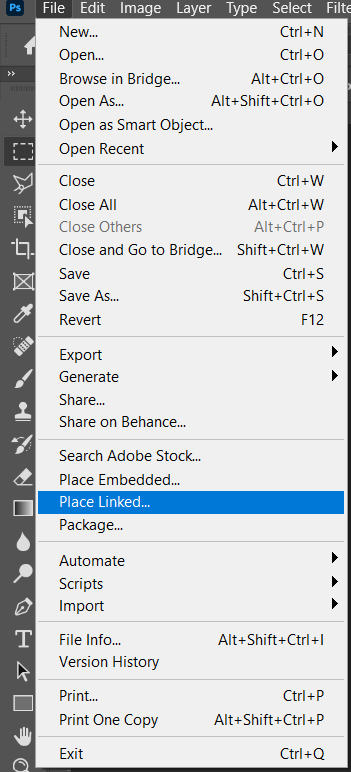
Next, place Moon Go to File > Place and select Moon. Then place it to our work canvas, position the image with the transform tool (Ctrl / Cmd + T). Hold Alt + Shift and rasterize like the image below. In Photoshop CC only hold Alt to rasterize all sides together. Blend mode change to Screen with opacity 70%.


Step 8
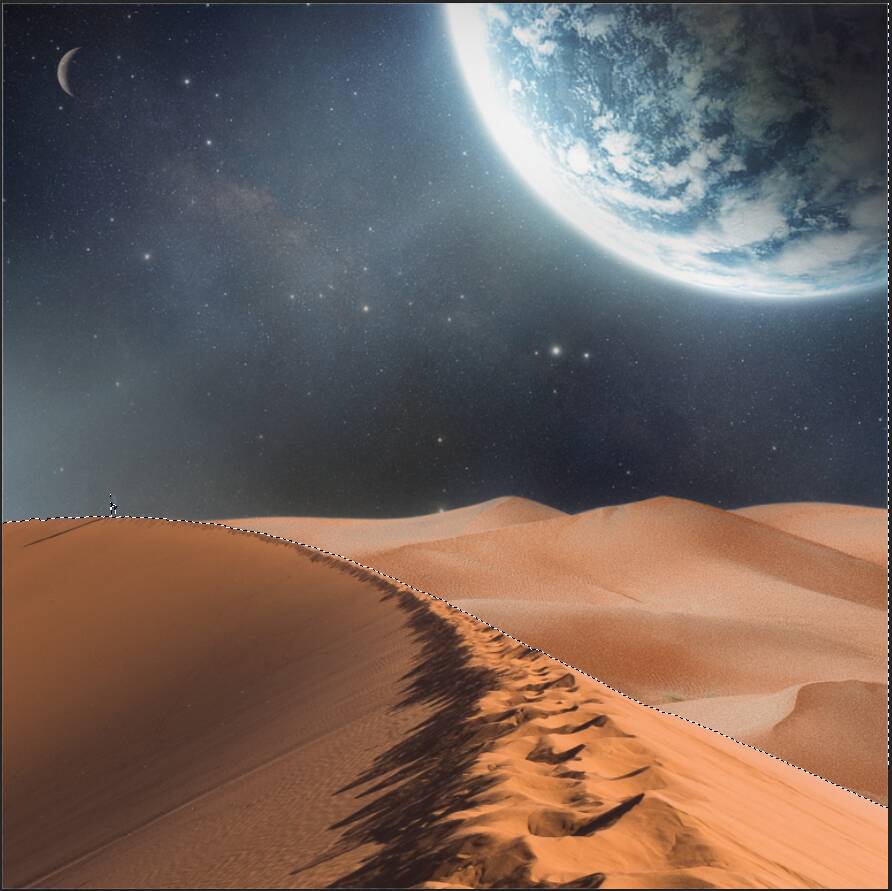
Now, place Desert 1 Go to File > Place and select Desert, then place it to our work canvas, position the image with the transform tool (Ctrl / Cmd + T). Hold Alt + Shift and rasterize like the image below. In Photoshop CC only hold Alt to rasterize all sides together.

Now use Magic Wand Tool(W) and select sky, after that create a layer mask to delete sky.


Step 9
Add Adjustment Layer “Curves” and use Brush Tool(B) Soft Round with foreground color black and paint selected area.


Step 10
Add Adjustment Layer “Color Balance” Opacity set to 60%

Step 11
Now, place Desert 2 Go to File > Place and select Desert 2. Then place it to our work canvas and position the image with the transform tool (Ctrl / Cmd + T). Hold Alt + Shift and rasterize like the image below. In Photoshop CC only hold Alt to rasterize all sides together.


Next, use Quick Selection Tool(W) and select sky. After that create layer mask.


Step 12
Add Adjustment Layer “Hue/Saturation”

Step 13
Add Adjustment Layer “Curves” and use Brush Tool(B) Soft Round with foreground color black and paint selected area.


Step 14
Next, we add clouds but first we need to import brushes. Select a Brush Tool(B) and right click on background. Now click on the gear icon and Import Brushes (Select a downloaded brush).


Create a new layer with Foreground color White. Select Brush Tool(B) and right click on background to select Clouds folder then start paint clouds.


Step 15
Add Adjustment Layer “Color Lookup” FuturisticBleak. Opacity set to 70%.

Step 16
Add Adjustment Layer “Gradient Map” Overlay 59% Opacity.

Step 17
Add Adjustment Layer “Curves” Opacity 27%.

Step 18
Add Adjustment Layer “Gradient Map” Blend mode: Soft Light Opacity: 40%

Step 19
Add Adjustment Layer “Curves” and press Ctrl/Cmd + I to invert. Then use Brush Tool(B) Soft Round with foreground color white and paint on Highlight parts.


Leave a Reply