

Duplicate this layer and move it to the lower section of the foreground. Change the layer mask to make it visible on the edge of the land near the foreground.

Step 32
Select all the landscape 4 layers and hit Ctrl+Gto make a group for them. Change the group’s mode to Normal 100%and make a new layer within this group. Select the Clone Toolto correct some unwanted details.

Step 33
Make a Color Balanceadjustment layer and change the Midtones settings:

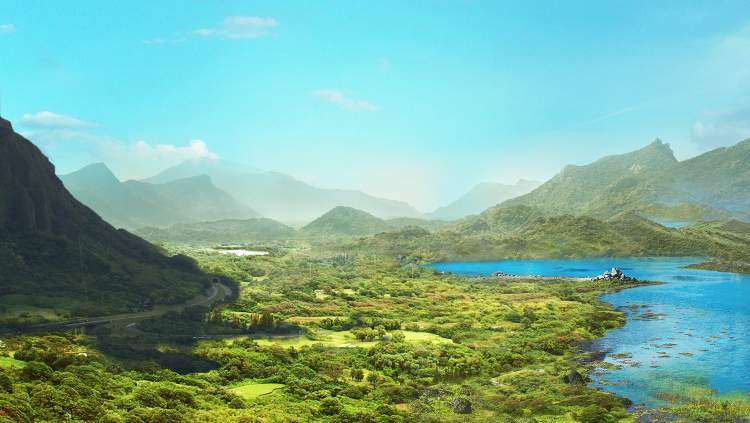
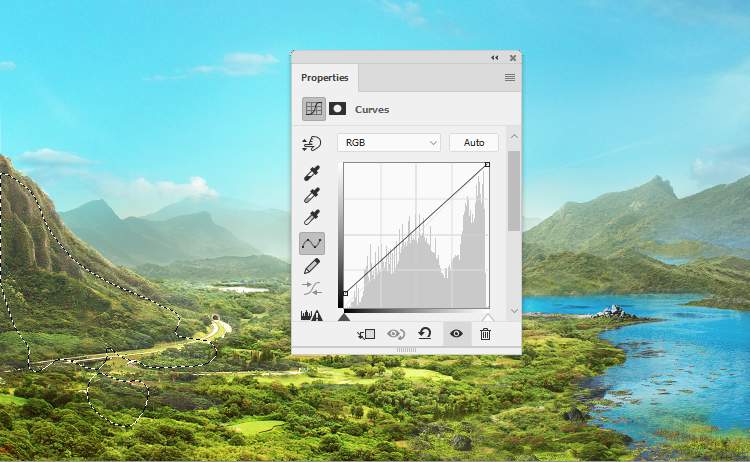
Create a Curvesadjustment layer to brighten the landscape as it’s too dark compared with the background. On the layer mask, paint on the part on the corner of the right bottom to remove the light there.

Add a Levelsadjustment layer to brighten the landscape more. Paint on the part besides the mountain 2 so it won’t be brightened by this adjustment layer.

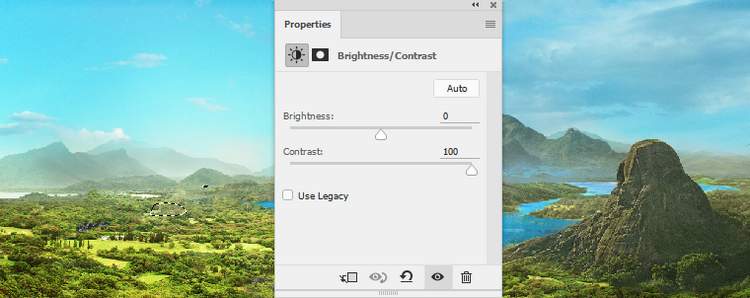
Create a Brightness/Contrastadjustment layer to increase the contrast of the landscape. Use a soft black brush to remove the contrast of the part on the background to keep its softness.
Step 34
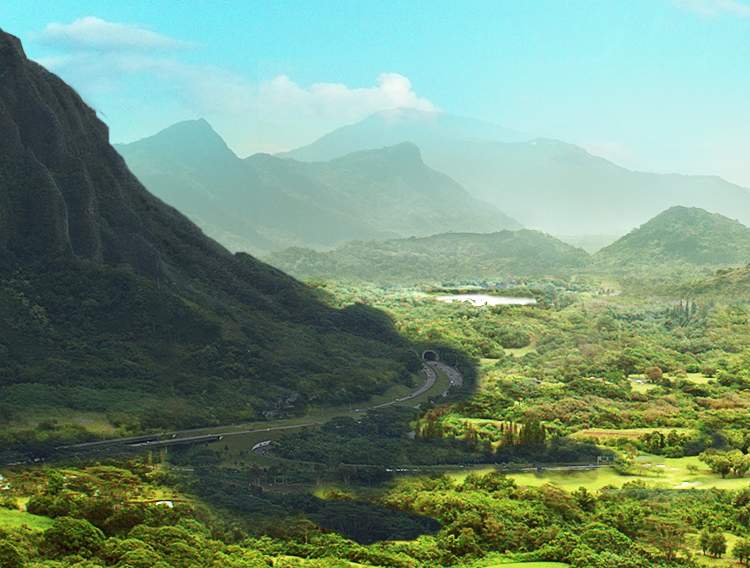
Add the landscape 5 to the left side of the canvas and convert this layer to a Smart Object. Use a layer mask to remove most of the background, leaving the mountain and some part of the ground visible only.

Apply an Unsharp Maskfilter with the same settings done in the step 29.

Step 35
Make a new layer and use the Clone Toolto remove the line on the mountain.

Step 36
Create a new layer, change the mode to Overlay 40%and fill with 50%gray. Use the Dodgeand Burn Tool to paint more details and texture on the mountain.

Step 37
Add a Color Balanceadjustment layer and alter the Midtonesvalues:

Use a Curvesadjustment layer to increase the contrast of the mountain.

Make another Curvesadjustment layer to give the front of the mountain some dreamy effect. Paint on the rest so they won’t be affected by this adjustment layer.
Step 38
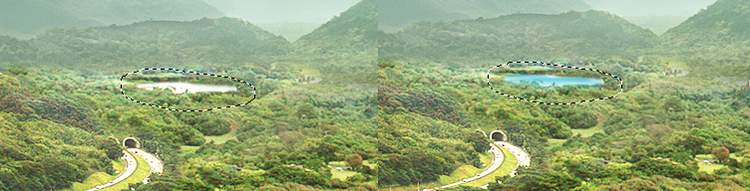
Make a new layer on top of the layers and use a small hard brush with the color #46c9deto paint a blue surface for the small pond on the left. Lower the opacity of this layer to 90%.
Step 39
Isolate the birds from the background and place them on the left of the sky.
12 responses to “Create a Stormy Fantasy Scene of a Fairy in Photoshop”
-

Zip files on this website are never password protected. Your computer probably has a virus.
-
Do you have Vedic in you tube.
-
Great tutorial loved thnks
-
I’m unable to access the crow picture… :(
-
очень красиво и не сложно!!!!!!!!!! спасибо.
-
thanks for lesson.I got a lot of fun doing this lesson I want to show you my pic http://j-p-g.net/if/2015/09/13/0829976001442163363.jpg
-
Excellent top notch work was very impresesd.
-
-
It is a very nice tutorial – just a shame, that I am not able to open the zip file. It tells me that I have the wrong pasword
-
Excuse me its not working for me
-
-
Now anything becomes a tutorial on this site.
This is sad :(.-
Dank voor de mooie les
-
-
just wow
Leave a Reply