


Step 19
Next, select another leaf. Use Quick Selection Tool(W) and start selecting leaf.
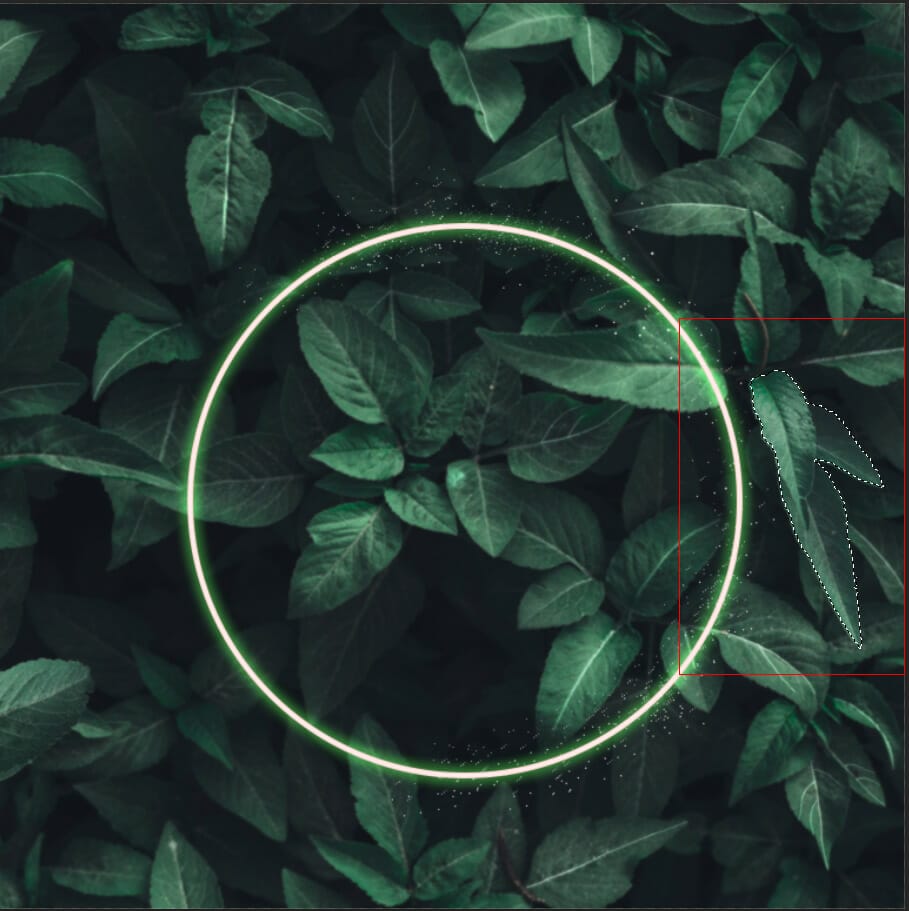
After the selection area has been created, simply duplicate it (Ctrl / Cmd + J) and place it above leaf 1 layer. Then position the image with the transform tool (Ctrl / Cmd + T). Hold Alt + Shift and resterize like the image below. In Photoshop CC only hold Alt to resterize al sides together.

Go to Filter > Blur > Gaussian Blur and set the radius to 2px.
Step 20
Add Adjustment Layer “Levels” and select layer mask, then use the soft round brush tool with the foreground color black and paint leaf (highlight part).


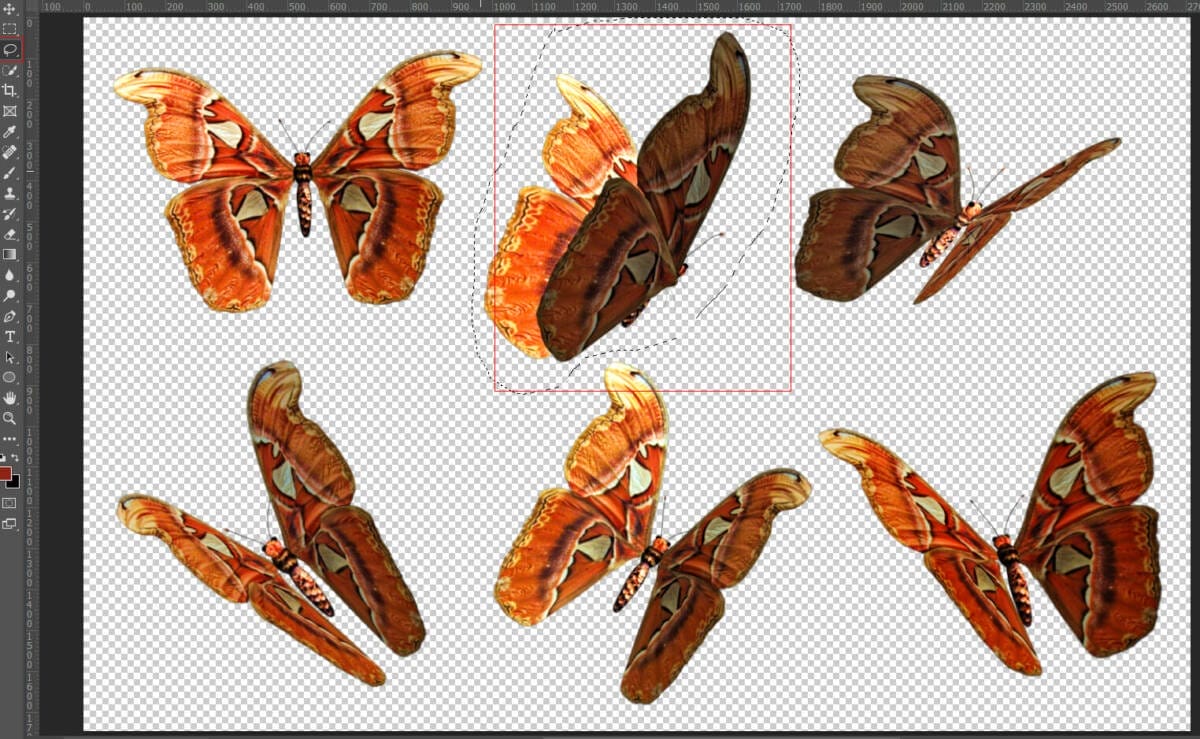
Step 21
Next, we will open Butterfly. After you open the image, use Lasso Tool(L) and start selecting butterfly. After the selection area has been created, simply copy (Ctrl / Cmd + C) and Paste (Ctrl / Cmd + V) it to our work canvas. Then position the image with the transform tool (Ctrl / Cmd + T). Hold Alt + Shift and resterize like the image below. In Photoshop CC only hold Alt to resterize al sides together.

Step 22
Add Adjustment Layer “Hue/Saturation”

Step 23
Create a new layer and use Soft Round brush tool(B) with foreground color white and paint in the green circle. After that convert to Smart Object and go to Filter > Blur > Gaussian Blur and set radius to 3.3px. Opacity of layer set to 4%.


Step 24
Create a new layer and change blend mode to Soft Light with the opacity of 25% then use a Brush Tool(B) Soft Round with foreground color orange #f8e9d9 and Size to max(5000px). Then paint to the right corner.
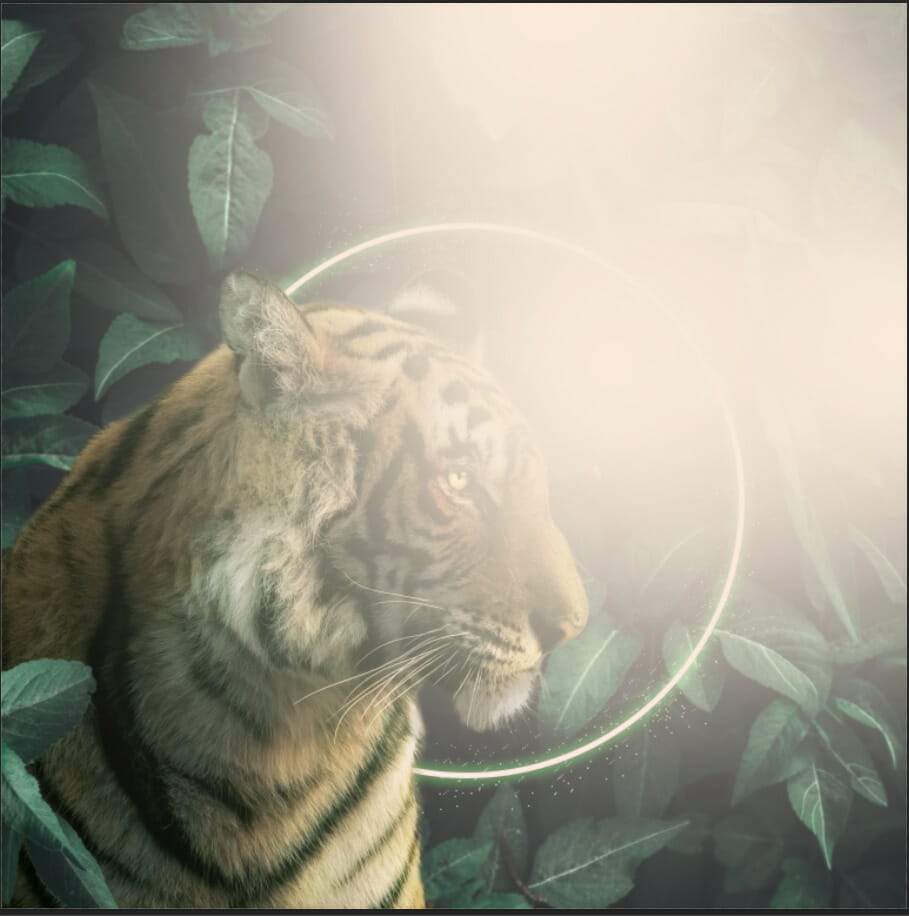

Step 25
Now repeat the same process, use foreground color black and paint in the left corner. Blend mode change to Soft Light with the opacity of 30%.


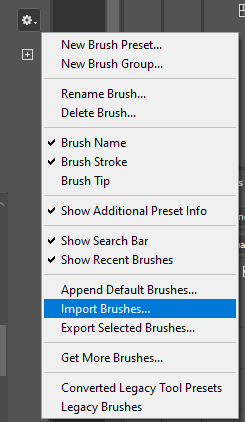
Step 26
Next, we will add Ray Highlights but first, we need to import brushes. Select a Brush Tool(B) and right-click on the background. Now click on the gear icon and Import Brushes (Select a downloaded brush).
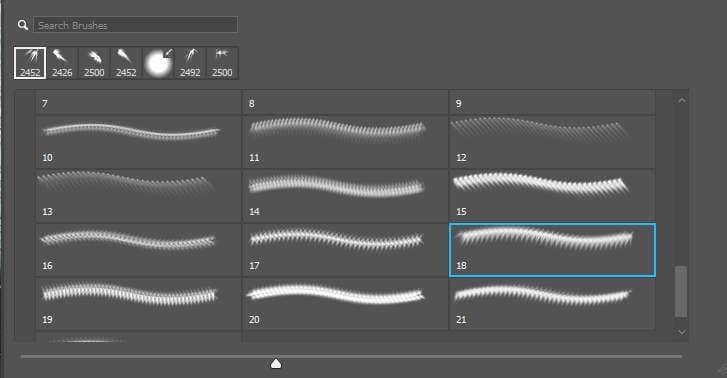

Foreground color set to orange #b6afa4 blend mode: Soft Light Opacity: 50%
Step 27
Now add more particles, create a new layer, and select particles(starry night brushes) and paint.
3 responses to “Create a Tiger Eclipse Portrait Photo Manipulation in Photoshop”
-

Pity the link to the png file does not work, looks a great tutorial
-
💯
-
Good outcome. The color grading at the end should have been done with other layers. Using a lut and then camera raw is too much. You need to merge the layers to use camera raw so it is better to stick with adjustment layers.
Leave a Reply