

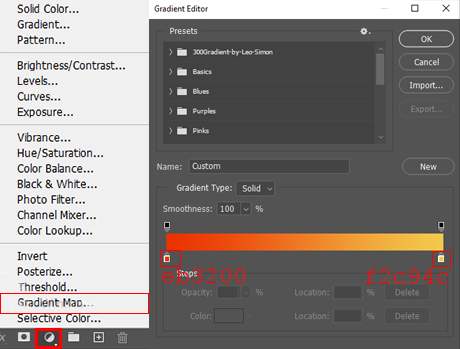
Step 28
Add Adjustment Layer “Gradient Map” Blend mode: Hue
Step 29
Add Adjustment Layer “Color Lookup” Opacity set to 40%.

Step 30
Add Adjustment Layer “Vibrance”

Step 31
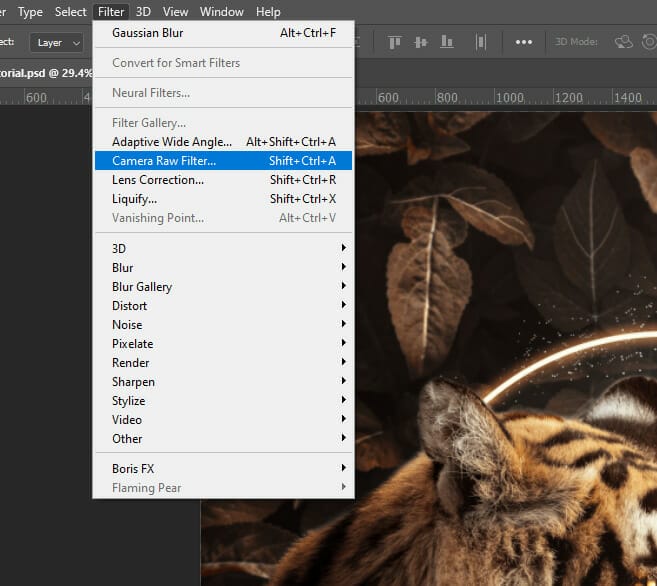
When we finished all this, now merge all layers into one. Select the last layer and hold CTRL/CMD + SHIFT + ALT + E. Now we have a final layer, right-click on mouse and select Convert to Smart Object. Then go to Filter > Camera RAW Filter. At its most basic, the Photoshop Camera Raw filter allows you to use the functions of the ACR interface at any time within Photoshop.
Step 32
Now in Camera Raw Filter, set the Value: Basic
- Temp: +4
- Exposure: -0.20
- Contrast: +5
- Highlights: +10
- Shadows: -5
- Whites: +5
- Blacks: -4
- Texture: +15
- Clarity: +15
- Vibrance: +20

Color Mixer Hue
- Reds: -15
- Oranges: -6
- Yellows: -4
Saturation
- Reds: +10
- Oranges: +3
- Yellows: +3
Luminance
- Reds: +10
- Oranges: +5
- Yellows: +10

Color Grading
- Midtones : H45 S3

And finally, everything should look like this.

Final Results

Download the PSD
3 responses to “Create a Tiger Eclipse Portrait Photo Manipulation in Photoshop”
-

Pity the link to the png file does not work, looks a great tutorial
-
💯
-
Good outcome. The color grading at the end should have been done with other layers. Using a lut and then camera raw is too much. You need to merge the layers to use camera raw so it is better to stick with adjustment layers.
Leave a Reply