


Step 16
Now we are a bit remove the previous effect. Because a strong contrast of center and edge does not look of realistic. Besides it is necessary to reduce the center. To do this I use adjustment layer “Hue/Saturation” (Layer > New Adjustment Layer > Hue/Saturation…). This layer should be above two “Luminosity” layers of DNA and set Opacity: 25%. Set the settings like shown in the image below.


Select Brush Tool (B) with settings Size: 80px, Hardness: 100%, Opacity: 100%. On a mask of adjustment layer “Hue/Saturation” remove effect from rod of DNA.


Look at my result. In my opinion looks good. I will integrate all segments of DNA into one group (Cmd/Ctrl + G or Layer > Group Layers).
Step 17
Begin to create texture on DNA and work on them of realistic. The first thing we will revise a little brightness, contrast of the entire molecule and dark portions of DNA. Add the first adjustment layer “Brightness/Contrast” (Layer > New Adjustment Layer > Brightness/Contrast…. Increase brightness and reduce the contrast as shown in the image below. Be sure to apply this layer as Clipping mask (Option/Alt+ Cmd/Ctrl + G).

Next adjustment layer is “Selective Color” . We need only black colors to lighten up a little center of the spheres.

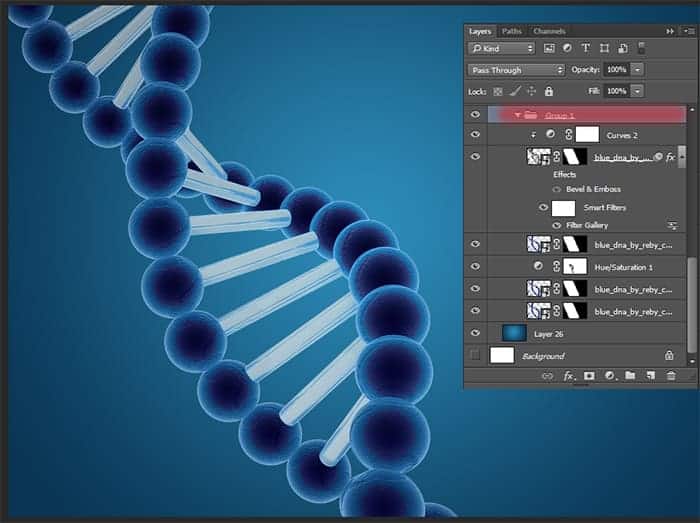
Step 18
Now you can apply a texture. We do it by means of Photoshop. Create a new layer (Cmd/Ctrl+ Shift+ N), press D then X to set Background color on black and use Cmd/Ctrl + Del to fill it black color.

Add to this layer a filter “Clouds” (Filter > Render > Clouds). This will be the basis of our texture. Convert this layer for Smart Filters (Filter > Convert for Smart Filters).

Step 19
Now add filters, go to Filter > Filter Gallery. So, add the first filter “Dry Brush” in folder “Artistic”. This filter will help to soften the texture, which will make the best overlay of the next filter. Set the settings like shown in the image below and don’t forget add a new effect layer.

But this filter does all the texture. Select filter “Accented Edges” in folder “Brush Strokes”. Set the settings and press Ok.
8 responses to “Create This Abstract Medical Image of DNA with Photoshop”
-

no
-
It’s a good thing that some images come with what’s written… Too many mistakes from picture to writting…
Even the size of the doc is wrongly written….. That’s just poorly written Tut…. -
some pic is not found, please repair it, thank you!
-
Nice one
-
What is RMB?
-
This is the right mouse button.
-
-
thx!
I’d like to learn more same techniques) -
Arne Zou, na das ist ja was für uns.^^
Leave a Reply