

Change a Blending mode to “Soft Light” and set Opacity: 70%. Make this layer as Clipping Mask (Option/Alt+ Cmd/Ctrl + G).

Step 20
There is not much to brighten dark areas of the molecule, to balance it out a little color. Create a New layer (Layer > New > Layer or Cmd/Ctrl+ Shift + N) with such settings: Mode: Overlay, set check box on “Fill with Overlay-neutral color (50% gray)”. To Brightening applied only to select DNA (hold Cmd/Ctrl, ckick on any DNA layer). Take a Dodge Tool (O) with there settings: Size: 175px, Exposure: 30%, Range: Midtones.


Draw light on DNA as shown in image. Try do not make strong light on edge of DNA because it will look realistic. Just a little bit, to give the effect of light. To deselect use Cmd/Ctrl+ D or go to Select > Deselect.

Step 21
DNA are ready and you can start create a picture. First, we need will integrate all the layers into a single molecule, because if we change the background and add other effects of its form to be constantly changing, and we need it in this form. Select all DNA layers and Background, go to Layer > Merge Layers or use Cmd/Ctrl+ E or click RMB on any layer and in list, select Merge Layers.

Use Magic Wand Tool (W) to select background. Hold Shift to add other parts to selection. Inverse selection (Shift+ Cmd/Ctrl + I), then add a layer mask to remove background.

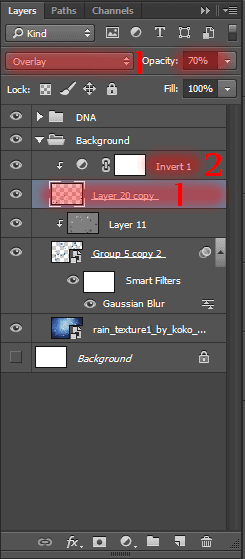
Step 22
Now add a new background. Go to File > Place, select image “rain_texture1_by_koko_stock-d63l05s”. Texture layer must be under a layer of DNA. Use Free Transform Tool (Cmd/Ctrl + T) to resize layer as shown in image.

Step 23
Now create a floating molecules. First we need to duplicate one fragment of DNA chains. Use Elliptical Marquee Tool (M) to select one molecule as shown in image. Red dot shows where you need to start to give off the molecule. Try to not add background into selection. Use Cmd/Ctrl+ J or Layer > Duplicate to duplicate fragment (Be sure to select the layer with the DNA).

Step 24
First we will create the molecule in background. It would be a bit tedious process, because you need to duplicate the molecules change their size and siting in the working document :). To quickly duplicate use Move Tool (V), hold Option/Alt and move molecule in the right place. Use Free Transform tool (Ctrl/Cmd+T or Edit > Free Transform) to change the size of the molecules, turn their bright side to the bright spot on the texture and are placed them in unusual places. So you will be able to achieve realistic and add dynamics to the picture. Hold Shift+ Option/Alt to proportional transformation.
8 responses to “Create This Abstract Medical Image of DNA with Photoshop”
-

no
-
It’s a good thing that some images come with what’s written… Too many mistakes from picture to writting…
Even the size of the doc is wrongly written….. That’s just poorly written Tut…. -
some pic is not found, please repair it, thank you!
-
Nice one
-
What is RMB?
-
This is the right mouse button.
-
-
thx!
I’d like to learn more same techniques) -
Arne Zou, na das ist ja was für uns.^^
Leave a Reply