

On the Filter Mask use a soft black brush to remove the blur effect on the midground and background and create a depth for the scene:

Step 9
I used Curved to darken the foreground. On this layer mask use a soft black brush with the opacity about 40-45% to reduce the dark effect on the part near the background:

Step 10
I used Color Balance the change the foreground color:
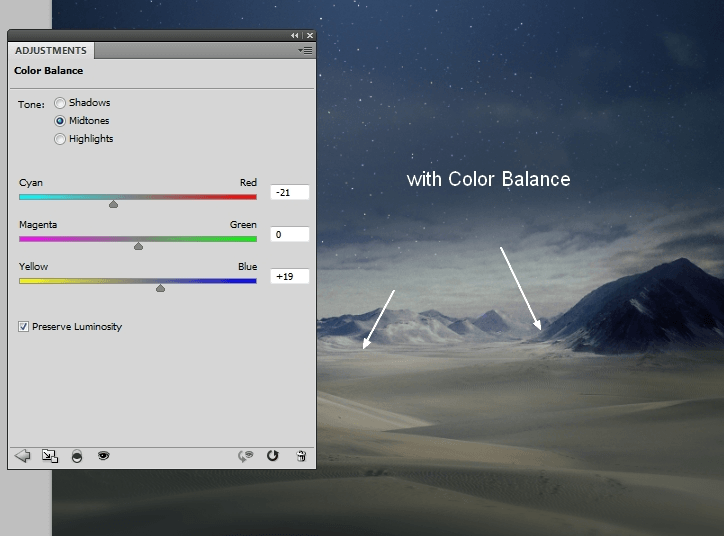
Step 11
To add some misty effect to the scene, I made a new layer, used a soft brush with the color #cadbe7, the opacity and flow about 50% to paint over the image, especially the mountains:

Step 12
Open the planet 1 file. Hide the dark background and press Cmd/Ctrl+Option/Alt+Shift+E to merge all visible layers. Move the merged planet into our main document, place it at the top right of the sky. Position this layer under the foreground and background ones.

Change the mode to Screen 100% and use a layer mask to blend the dark side of the planet with the sky:

Duplicate this layer and resize it to be smaller. Place it beside the first:

Step 13
Place the planet 2 at the left side of the image, behind the mountains, change the mode to Screen 100%. Use a layer mask to blend it with the sky:


Step 14
Open the star background pack. I chose the image “starry 5” and placed it onto the planets at the top right. Use Cmd/Ctrl+T (Warp mode) to tweak it and set this layer under the planet group:

Change the mode to Screen 100%:

Step 15
I used Hue/Saturation for this layer:

I used Levels to change the contrast of this effect:

Step 16
Place the nebula 2 image at the left side of the sky and change the mode to Screen 100%:

Use a layer mask to erase a part on the image as shown below:

Step 17
I used Hue/Saturation for this effect:

I used Levels to remove its visible edges:

Step 18
Open the nebula 3 image. Press Cmd/Ctrl+J to duplicate this layer. Go to Filter > Liquify and choose the Forward Warp Tool (W):
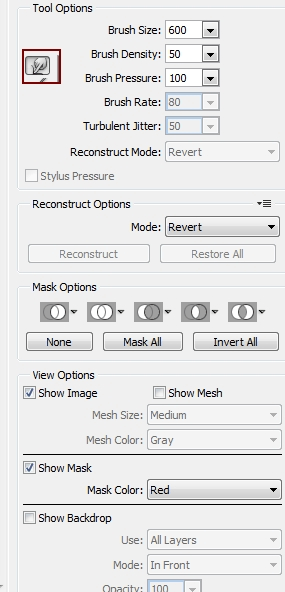
Use this tool to tweak the nebula effect as I did below:

Drag this layer into our working document and place it above the nebula 2 layer (still under the planets, foreground and background ones). Use Cmd/Ctrl+T to transform it as shown below:
14 responses to “Create an Abstract Sci-Fi Scene with Photoshop”
-

Wow, the topic was explained in a lovely way. Because it explains so beautifully step by step, that angle people can quickly grasp it. Thanks for sharing it with us.
I am also a graphic designer. I was also invited to visit my website once.
My weblink: -
hiiiiiiiiiiiiiiiiiiiiiiiiiiiiiiiiiiiiiiiiiiiiiiiiiiiiiiiiiiiiiiiiiiiiiiiiiiiiiiiiiiiiiiiiiiiiiiiiiiiiiiiiiiiiiiiiiiiiiiiiiiiiiiiiiiiiiiiiiiiiiiiiiiiiiiiiiiiiiiiiiiiiiiiiiiiiiiiiiiiiiiiiiiiiiiiiiiiiiiiiiiiiiiiiiiiiiiiiiiiiiiiiiiiiiiiiiiiiiiiiiiiiiiiiiiiiiiiiiiiiiiiiiiiiiiiiiiiiiiiiiiiiiiii lmao
-
Nice tutorial. and the final result was really awesome and mindblowing.
-
Wow, this is great! Awesome job, love the final result!
-
wow this tutorial is epic!
-
How to create ID picture step by step
-
Thank you so much. Thanks for sharing.
-
[▪☆⚠ #єиɖ_ਆ_ਗLьτ⚠☆▪]
[•●#_______ατΤ_GΔlβ∆∆τ●• ] -
Thank you very much for this tutorial
-
beautiful
-
Thank you very much for this tutorial! It was really good. I kinda nailed it, even tho’ I am a beginner. xD
-
nooooooooooooooo
-
I am a student working on Photoshop and i was wondering about how you can get the smart filter?
-
Hi there, go to the drop down menu that is above with the rest of the filters, and search there. If you are on mac you can always go to the help tool, and type in what you are looking for, and the system will pop up what you have typed in, showing you in the menu. Hope this helps!
-
Leave a Reply