
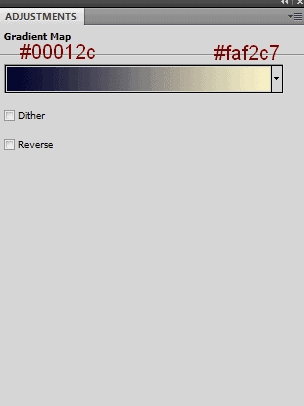
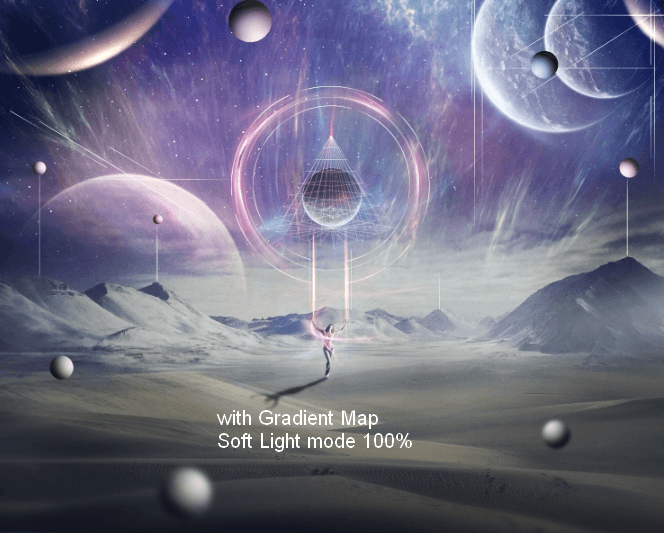
Change this layer mode to Soft Light 100%:
Step 47
I used Color Balance to add some cyan/blue to the image:
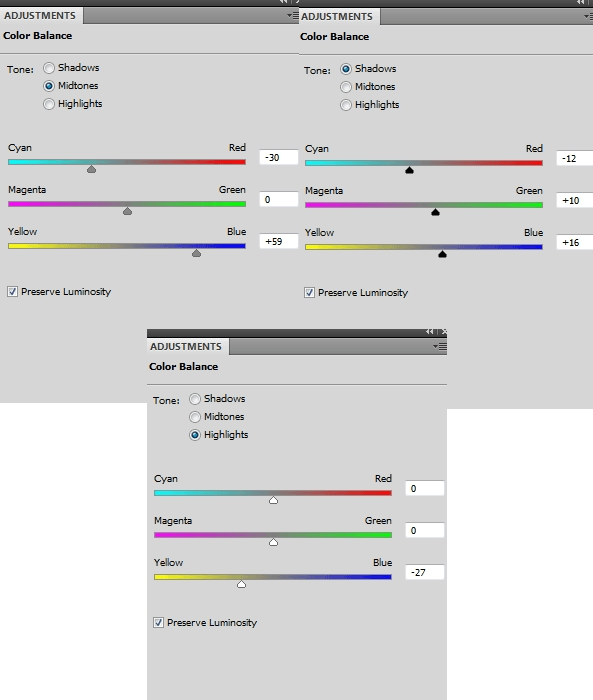
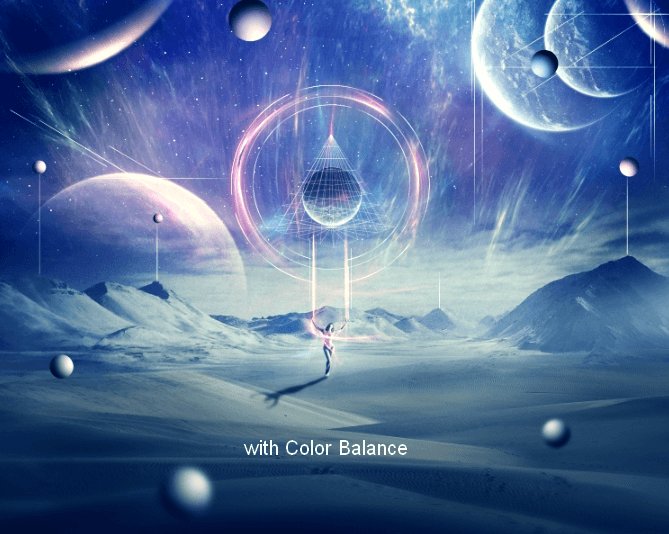
Step 48
I used Selective Color to adjust the cyan settings:


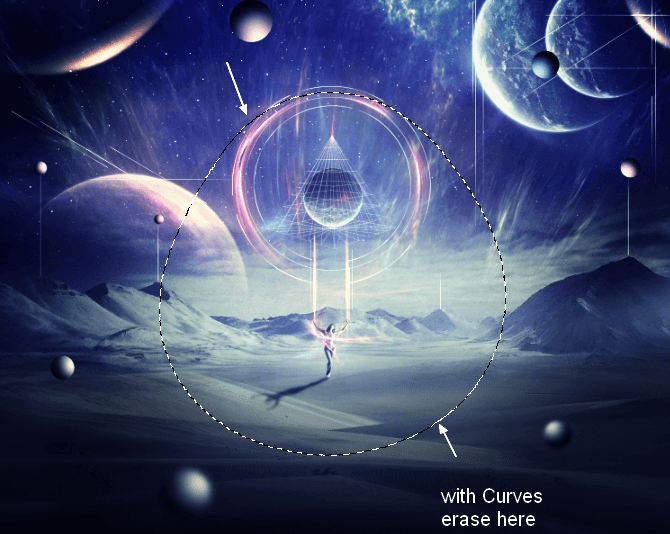
Step 49
I used Curves to increase the contrast of the scene:

On this layer mask use a soft black brush to erase the area around the model and circles to keep its lightness:
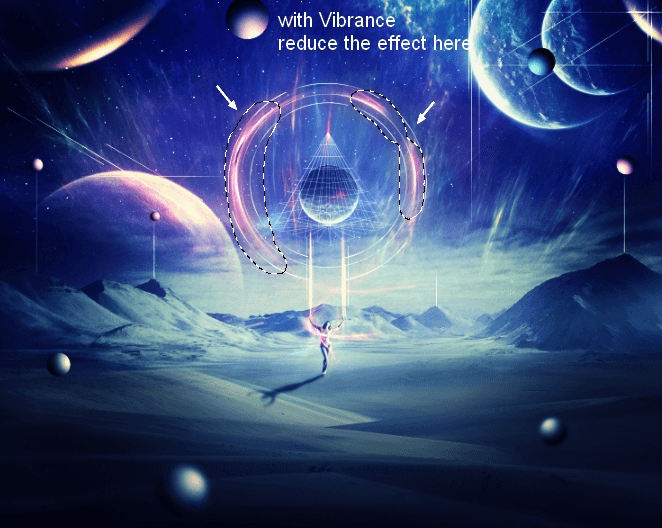
Step 50
I used Vibrance to enhance the final effect:

On this layer mask use a soft black brush with the opacity about 40% to reduce the effect on the light around the circles:
Final Results

Download the PSD
Tutorial by Jenny Le
14 responses to “Create an Abstract Sci-Fi Scene with Photoshop”
-

Wow, the topic was explained in a lovely way. Because it explains so beautifully step by step, that angle people can quickly grasp it. Thanks for sharing it with us.
I am also a graphic designer. I was also invited to visit my website once.
My weblink: -
hiiiiiiiiiiiiiiiiiiiiiiiiiiiiiiiiiiiiiiiiiiiiiiiiiiiiiiiiiiiiiiiiiiiiiiiiiiiiiiiiiiiiiiiiiiiiiiiiiiiiiiiiiiiiiiiiiiiiiiiiiiiiiiiiiiiiiiiiiiiiiiiiiiiiiiiiiiiiiiiiiiiiiiiiiiiiiiiiiiiiiiiiiiiiiiiiiiiiiiiiiiiiiiiiiiiiiiiiiiiiiiiiiiiiiiiiiiiiiiiiiiiiiiiiiiiiiiiiiiiiiiiiiiiiiiiiiiiiiiiiiiiiiiii lmao
-
Nice tutorial. and the final result was really awesome and mindblowing.
-
Wow, this is great! Awesome job, love the final result!
-
wow this tutorial is epic!
-
How to create ID picture step by step
-
Thank you so much. Thanks for sharing.
-
[▪☆⚠ #єиɖ_ਆ_ਗLьτ⚠☆▪]
[•●#_______ατΤ_GΔlβ∆∆τ●• ] -
Thank you very much for this tutorial
-
beautiful
-
Thank you very much for this tutorial! It was really good. I kinda nailed it, even tho’ I am a beginner. xD
-
nooooooooooooooo
-
I am a student working on Photoshop and i was wondering about how you can get the smart filter?
-
Hi there, go to the drop down menu that is above with the rest of the filters, and search there. If you are on mac you can always go to the help tool, and type in what you are looking for, and the system will pop up what you have typed in, showing you in the menu. Hope this helps!
-
Leave a Reply