Change the Blend Modeto Soft Light, Opacity47%

Step 19
Create more shadow at the bottom of the model and the branches on the ground with Black soft brush.

Opacity45%

Step 20
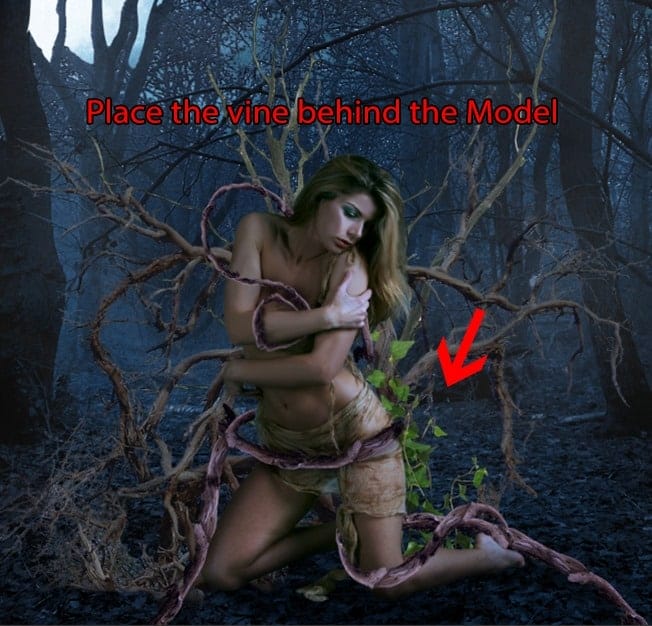
We had fun with the branches, now its time to have fun with ivies. Open the Ivy stock which has been rendered nicely for you to use. Place it behind the model.

Place more and transform them as your will as well. The more the merrier! Make them follow the branches.

Step 21
Add this Hue/Saturationadjustment layer to the ivies. Group them into one before doing this!

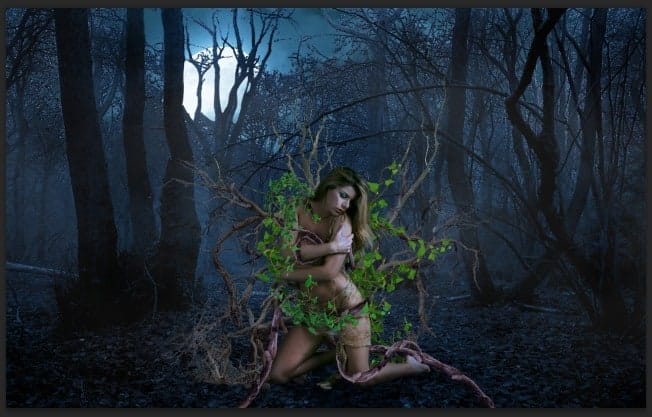
Our result so far.

Step 22
Bring more ivies to the front of the model and make them follow the branches on her body.


Step 23
Similar to step 21, add a Hue/Saturation adjustment layer to all the ivies at the front.


Step 24
With the appearance of the branches and ivies, we will need to some extra shadow to the ground since the current shadow is a little weak.

The method is similar to the way we create a shadow in the previous step. Change the Blend Mode to Soft Light.

Step 25
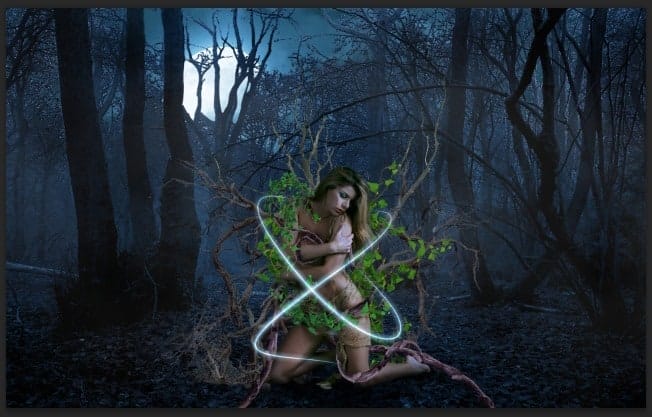
Now we will create a simple yet special effect for the model so the piece looks more…magical. Create a new layer , grab the Pen Tool and draw a curve line around her body like this :

Before continue please go to the Brush Tool, choose a 5pxround brush with 100% Hardness.
Back to the Pen Tool, right click on the curve line you just drew and chooseStroke Path. Choose Brush as Tool, tick on the Simulate Pressure.

The Stroke Path option will use your Foreground color as the stroke color so set the Foreground color as #6391b7 then click OK. Here’s what we will have :

Step 26
Apply these setting for the Curve Line layer’s Blending Option :


Change the Blend Mode to Linear Dodge and we will have a nice glowing line!

Do the same with another line.

Step 27
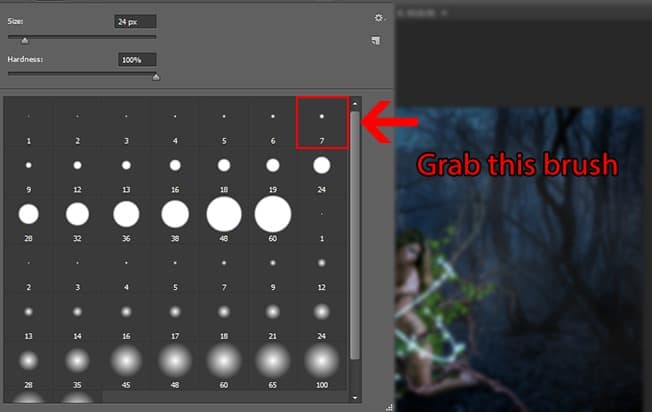
Create another new layer, use 7px round brush, 100% Hardness.

Open the Brush Panel (shortcut : F5) and adjust the setting like this :

Now paint around the model, with the setting we just had, the round will be scattered as we paint, create a bokeh-like effect. Applythe same Blending Option and color like we did with the Curve Lines.
5 responses to “Create an Alluring and Magical Forest Photo Manipulation”
-
cool Photoshop tutorial..
-
cool
-
THANK YOU!! I have been trying to learn to create fog forever
-
The pixabay link works on my side using Safari and Chrome
-
I want to try this tutorial but the images on Pixabay don’t work. It’s telling me this: “Oh snap! Something went wrong! Don’t panic!! You can try reloading this page to solve the problem.”


Leave a Reply