

We can duplicate this color layer and play around the opacity to get the desired result. Here is the result.

Step 8
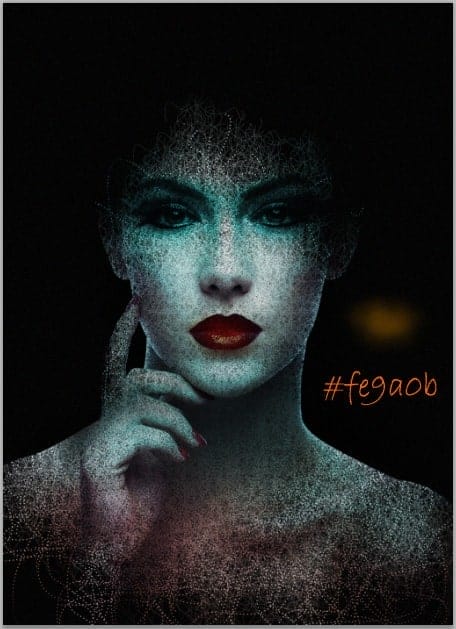
We need to give the lips a reddish tone. To do this, create a new layer with a clipping mask above the color layers. Set this new layer to color dodge. Paint soft orange color around the lips.
Step 9
Now we will blur some part around the girl’s image. Select the girl layer and go to filter > blur > Gaussian blur to give it some blur filter. Set the value below:
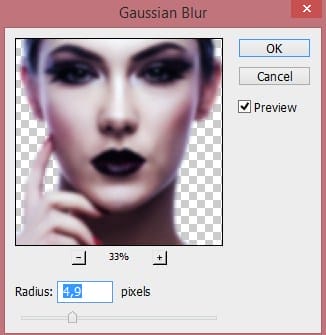
Select the filter mask thumbnail to be active on it and with a very soft round brush, mask the blur effect on areas around the face and body as indicated by the red highlight.

Here is the result. Select all the girl layers and hit Ctrl+G to group them into a folder. Name this folder, say, girl.

Step 10
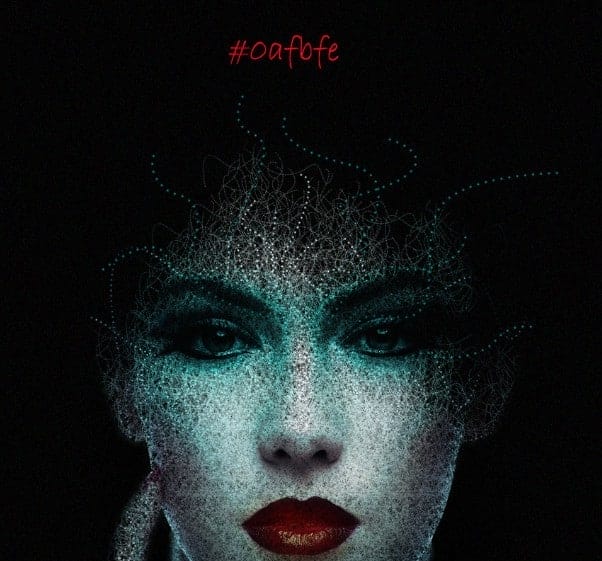
Create again a new layer (Shift+Ctrl+N) below the girl folder. Take the pen tool (P) and create paths as below. Set the brush tip as the ones in the previous step 4.

On this new layer, stroke the path. Use color #0afbfe. We can reduce the opacity of this layer if we feel the stroke of the dots is too much.
Step 11
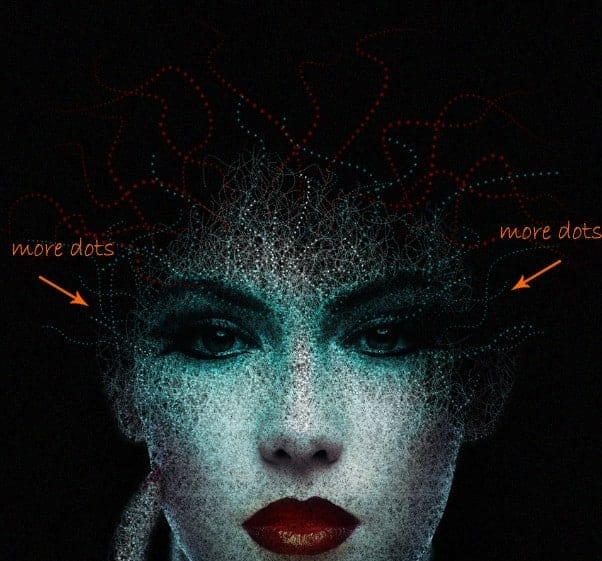
On another new layer, create some new paths like the example below:

Then stroke the paths. To vary the stroke, we can check Simulate Pressure to get narrow pointed dot lines. We may try any different color we prefer to get the desired result.

Here is the result with red color.

Step 12
Still, with the same ways, we can add more dot lines on areas around the eyes of the model.
Here is the result so far…..

Step 13
In this step, we will add some highlights around the girl. Create a new layer (Shift+Ctrl+N) above all the other layers. Fill (Shif+F5) this layer with black. Set its blending to color dodge and name it, say, highlight. Take a very soft round brush with an opacity of about 4-5%. On this layer, paint soft white color around the shoulder, neck, and other parts of the girl where needed. Here is the layer in normal blending.

And here is the result in color dodge blending.

Step 14
To adorn the scene, we may add some blinks around the girl. Create another new layer above the highlight layer. Fill this layer with black and set to color dodge blending. Name this layer, say, light. In the same way as in the previous step 13, paint combination of white and yellow color on areas around the head and the other parts needed.
14 responses to “Create an Abstract Portrait in Photoshop”
-

The steps listed don’t seem to be the ones actually used. It’s not working out at all, for example coloring over the eyes makes the eyes no longer visible.
-
WOW!!! that’s a really informative article, I am very much inspired. Your tutorial helps me as like my mentor, i am looking forward to more informative article form you.
-
I am stuck on the first step.
-
This is great, but It isn’t working for me because of the way I am drawing the texture? Are you using a tablet?
-
Having these types of skills would be very valuable!
-
I have only started using photoshop for things other than photo retouching. It is amazing how much you can do with the program once you get into it and start to use the tools the proper ways.
-
Kayanya ini orang indonesia bukan ya mas Wid, salam photoshoper mas hehe
-
This is a very cool effect, but I can’t create it in Photoshop CS5 or Photoshop CS6 or Photoshop CC2015. Do you not have an updated version?
-
I have wanted to make something like this for a project I have in school. This tutorial should do the trick!
-
This is really helpful and so easy to understand for anyone.Thanks you!!
-
Wow. This is stunning! Great job here. And thanks for sharing the steps on how you achieved this, will give it a shot when I have some spare time.
-
Nice one Dek!
-
Good one
-
One of the best portrait I have ever seen.
Leave a Reply