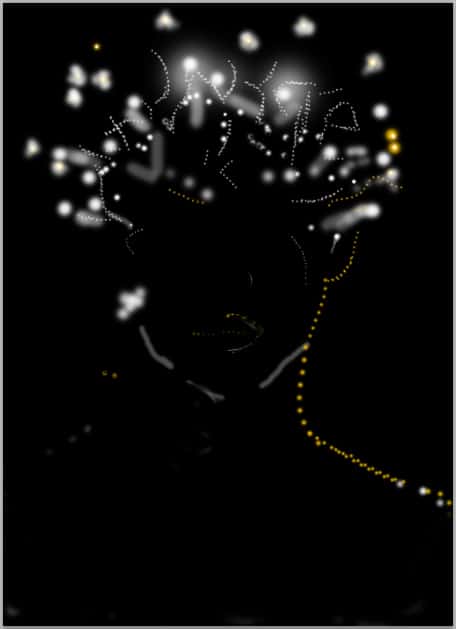
Step 15
We will do some color adjustment to the scene. Go to layer > new fill layer > solid color.

Set this color fill layer to exclusion blending at about 47-50% opacity.

Now go to layer > new adjustment layer > photo filter.

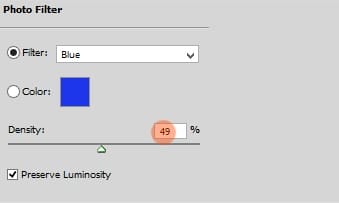
Set this photo filter layer to normal at 60% opacity.

Finally, select all visible layers and hit Shift+Ctrl+Alt+A to merge them into a new single layer. Name this layer, say, final. Go to filter > others > high pass

Set this layer blending option to overlay at 100%.

It’s Done!

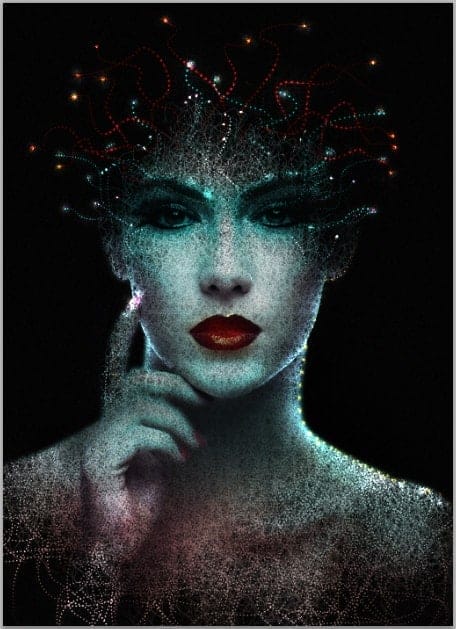
Final Results

Download the PSD
Face.zip | 32.4 MB
Tutorial by Dek Wid

Thank you for following this tutorial. I hope this tutorial will be a help for you in learning photo manipulation. Happy photoshopping.
– Dek wid
14 responses to “Create an Abstract Portrait in Photoshop”
-

The steps listed don’t seem to be the ones actually used. It’s not working out at all, for example coloring over the eyes makes the eyes no longer visible.
-
WOW!!! that’s a really informative article, I am very much inspired. Your tutorial helps me as like my mentor, i am looking forward to more informative article form you.
-
I am stuck on the first step.
-
This is great, but It isn’t working for me because of the way I am drawing the texture? Are you using a tablet?
-
Having these types of skills would be very valuable!
-
I have only started using photoshop for things other than photo retouching. It is amazing how much you can do with the program once you get into it and start to use the tools the proper ways.
-
Kayanya ini orang indonesia bukan ya mas Wid, salam photoshoper mas hehe
-
This is a very cool effect, but I can’t create it in Photoshop CS5 or Photoshop CS6 or Photoshop CC2015. Do you not have an updated version?
-
I have wanted to make something like this for a project I have in school. This tutorial should do the trick!
-
This is really helpful and so easy to understand for anyone.Thanks you!!
-
Wow. This is stunning! Great job here. And thanks for sharing the steps on how you achieved this, will give it a shot when I have some spare time.
-
Nice one Dek!
-
Good one
-
One of the best portrait I have ever seen.
Leave a Reply