
Step 27 – Put the second fish in the bulb
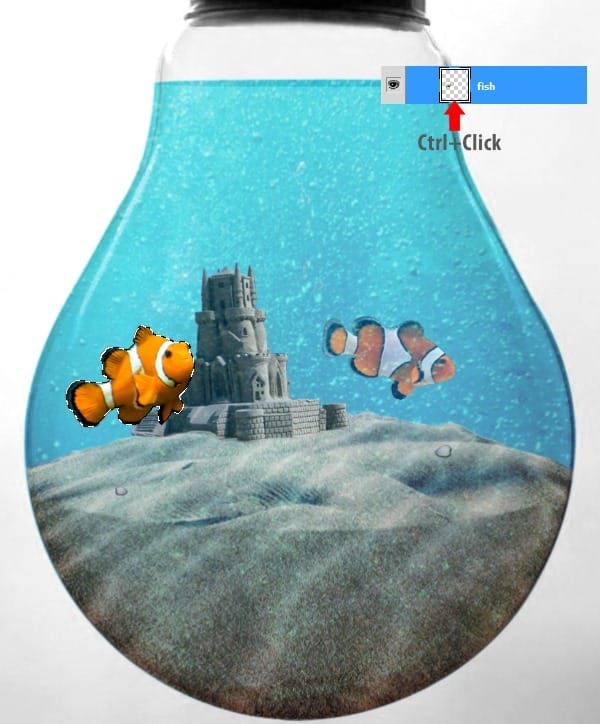
Open the photo with the second Nemo fish and pick from the menu Pen Tool (P). With the Pen tool make a new path like in the photo. Right-click and select Make Selection and set father 0,5px and press Ctrl+C to copy the fish.

Press Ctrl+V to paste the fish in the document. Go to Edit > Free Transform or press Ctrl + T and make it smaller

Step 28
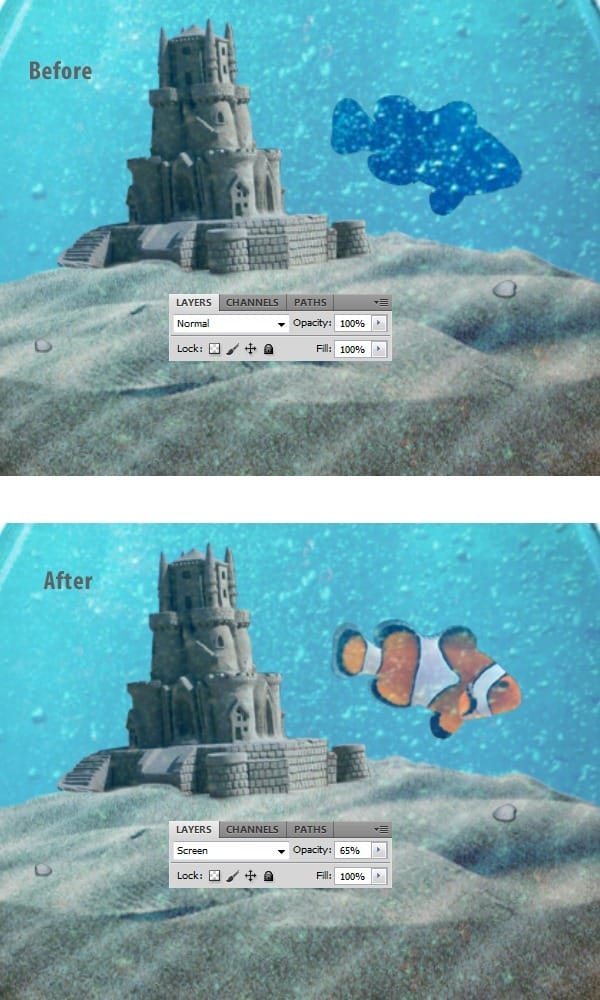
Ctrl+Click on the thumbnail of the second Nemo fish and click on the aqua reflection layer and press Ctrl+C and take a piece. Paste the texture pressing Ctrl+V and set Blending Mode of the texture on Screen and Opacity 65%


Step 29
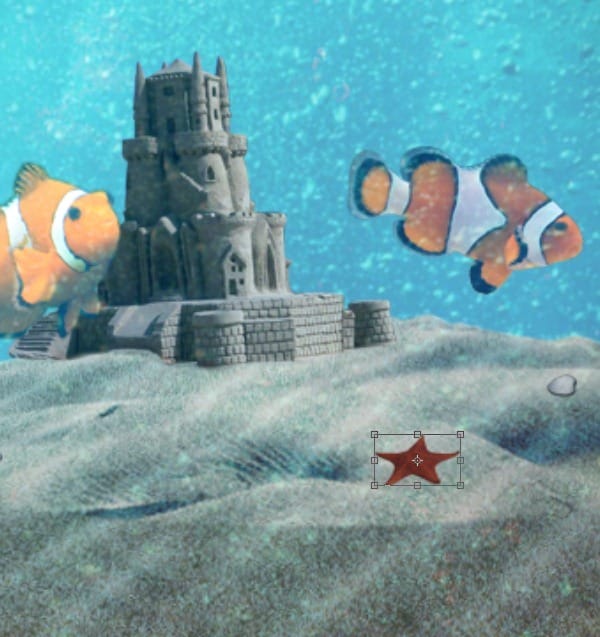
Open the photo with the starfish, select from menu Pen Tool (P), and make a new path like in the photo. Right-click and select Make Selection and set father 0,5px and press Ctrl+C to copy the starfish.

Step 30
Press Ctrl+V to paste the starfish in the document. Go to Edit > Free Transform or press Ctrl + T and make it smaller and set the Opacity at 62%


Step 31
Ctrl+Click on the thumbnail of the starfish layer and move the selection with 1px down.

Make a new layer under the layer with starfish and press Shift+D or go to Edit > Fill and select from menu Black and press OK. Set the layer Opacity at 29%

Step 32 – Make the lightbulb shinier
Hide all the layers besides the one with the bulb. Pick Pen Tool (P) from the menu and make a new path like in the image. Right-click and select make selection with father 0,5px . Go to Layer > New > Layer via Copy or press Ctrl+J and move the copy above all of the layers.

Step 33
Go to Image > Adjustments > Brightness/Contrast and use the settings in the image below. Set Blending Mode of the layer to Overlay and Opacity at 20%

Step 34
Press Ctrl+Click on the thumbnail of the previous layer to select the lightbulb and go to Edit > Fill or press Shift+F5, select from menu Color, and put this color #808080.


Step 35
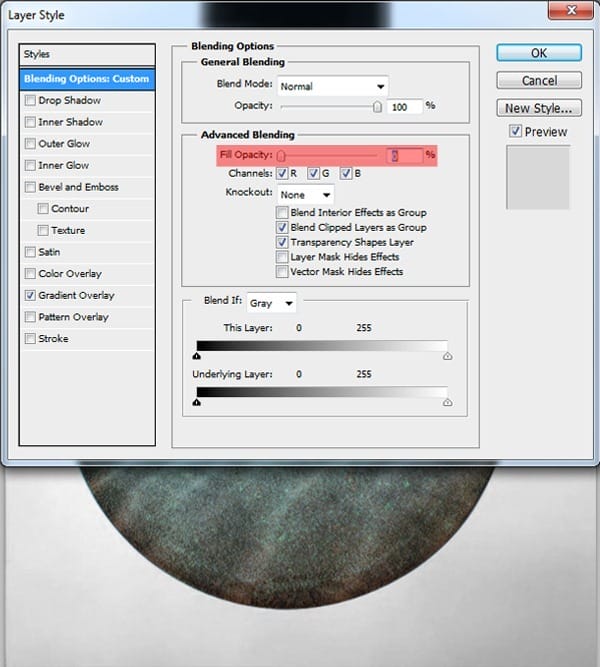
Right-click on this layer and select Blending Option, set the Fill Opacity at 0%.

Go to Gradient Overlay and make new Gradient with these settings.

Set Blend Mode of the Gradient on Overlay, Opacity 50%, Style Radial, set Gradient on Reverse, Angle 90 degrees and Scale at 97%
17 responses to “Create an Aquarium Inside a Light Bulb with Photoshop”
-
selamm
-
yanii idare ederimsiii
-
wooww yes
-
-
I think the steps should be more detailed for example, try giving better pictures and deeper instructions for beginners.
-
Great concept and artwork but the tutorial writing needs improvement. More effort describing each step would help.
-
period
-
-
This tutorial was slightly confusing, but by the end I got the hang of it. Thanks, the results were impressive!
-
I am a graphic designer so I just ended up using this as a basic guideline since following these directions was getting confusing. I do like the result though. Thanks for the tut.
-
Thanks
-
:p :)
-
-
Chitea…a mí me gustó ,estás en todos los detalles justo para personas que están aprendiendo como yo.Te felicito.(desde mar del plata (argentina)
-
?
<3 ;)
:) <3
-
The spelling in this is awful. It’s very confusing and doesn’t always make a lot of sense.
-
This is terrible . He calls the layers by different names the whole time, its inconsistent, confusing, and pretty vague. This tutorial will drive you crazy.
-
I was lost llike 5 or 6 times…it started off okay then it just got awful…wasted hours trying to do this smh.
-
Obrigado
-
Agreed
-


Leave a Reply