Learn how to emotional photo manipulation of an underwater dreamscape with Photoshop. In this tutorial, you’ll learn how to create a fantasy underwater scene, place a girl in the dreamscape, then complete it with some bubbles. Throughout the tutorial, you’ll learn techniques that will help you create better matte paintings and photo manipulations.
What you’ll be creating
In this tutorial we will create an emotional scene of a girl in an emotional underwater dreamscape. We will use some essential techniques for doing photo manipulation. We will use masking, brush tool, some filter, color adjustments, and textures all through the steps in this tutorial. Use Adobe Photoshop CC to fully follow this tutorial. Some filters used in this tutorial will not be available in Photoshop CS. Don’t forget a glass of coffee and optionally a pack of cigarettes for your companion. Ready..?

Tutorial Resources
Step 1
Let’s start by creating a document by opening the underwater image in photoshop (Ctrl+O). This image will be the background layer in the document on which we will create the scene.

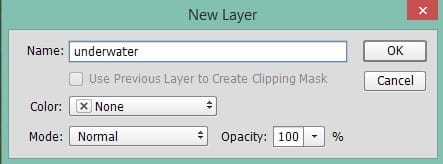
Change this background layer into a new layer by double-clicking the background thumbnail to show the new layer pop up window. Name this layer, say, underwater.
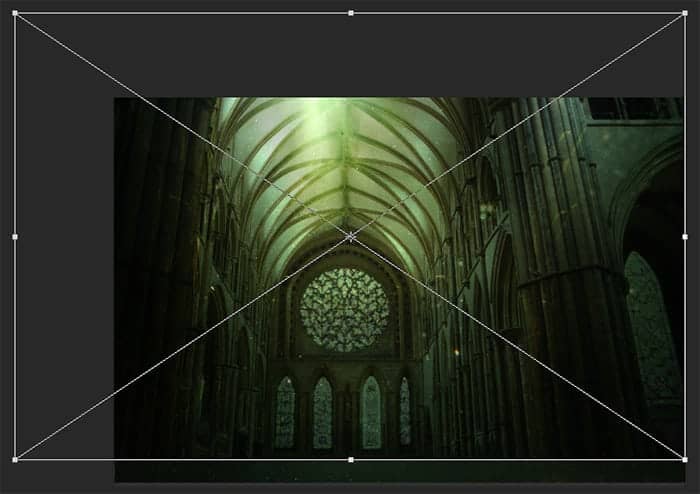
We need to alter the direction of the image by positioning the light rays on the left side. To do this, hit Ctrl+T to activate the free transform tool. Right-click on the image to show the free transform option box. Choose flip horizontal.

Finally, go to image > image size. Alter its size to 1800 pixels wide and 1200 pixels high.

Step 2
Add the cathedral image into the document by hold-clicking and dragging the image from the folder in our PC where we have saved it to the open document in photoshop.

Change this cathedral layer to overlay blending mode. Scale its size to the size needed and move it to the position where the ceiling is on the light rays.
Finally, set the opacity of this layer to about 20%.

We need to hide some parts of the cathedral image. We will give this layer a layer mask. Go to layer > layer mask > reveal all to give it a layer mask. Take brush tool (B) and choose a very soft round brush (0% hardness) set to about 15-20% opacity. With black color, stroke the brush on areas around the window, lower parts and left side of the building, and the ceiling a bit as well to mask them. The red highlighted parts are areas covered with a mask.
17 responses to “Create an Underwater Dreamscape in Photoshop”
-

DAYUMMM bro ! you give us every detail in every step AWOSEM
-
really good one. i’ve learnt a lot from this tutorial-
-
you are the best. thanks a lot
-
Can not see the tutorial. how do I see it?
-
The detail with the hair is something I would not have even messed with. Thank you for the tips on that!
-
The first time I ever heard of Photoshop actions I never thought I would use them. Now, I cannot get through a project without using at least one.
-
The best tutorial I’ve found! You didn’t leave out any steps. Everything was thorough both in explanation and in photos. If only I could get the hair paths to look more natural… :X
-
Nice tutorial, but a lot of unnecessary steps. The pic from the original girl that we cropped to the girl we added 20 different steps to enhance her has very little difference.
-
This would be a really cool album cover or the cover of a fantasy styled book. Great tutorial!
-
super awesome!!
-
I love your work, I’m new at this, your tutorial is very clear, I followed your guide and I made it,I hope you can make more tutorial like this, thank you very much.
-
I feel the same way. It is amazing how easy these tutorials are to follow.
-
-
Wow. This is stunning! Great job here. And thanks for sharing the steps on how you achieved this, will give it a shot when I have some spare time.
-
Great :)
-
Enjoy
-
Cineamtic
-
Awesome..
Leave a Reply