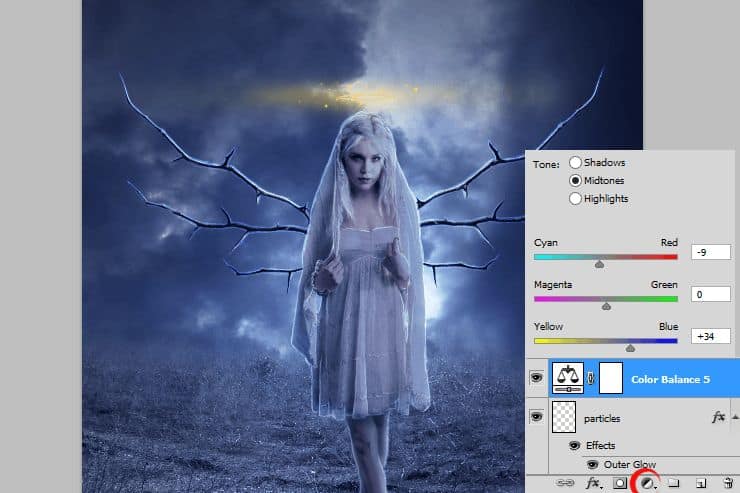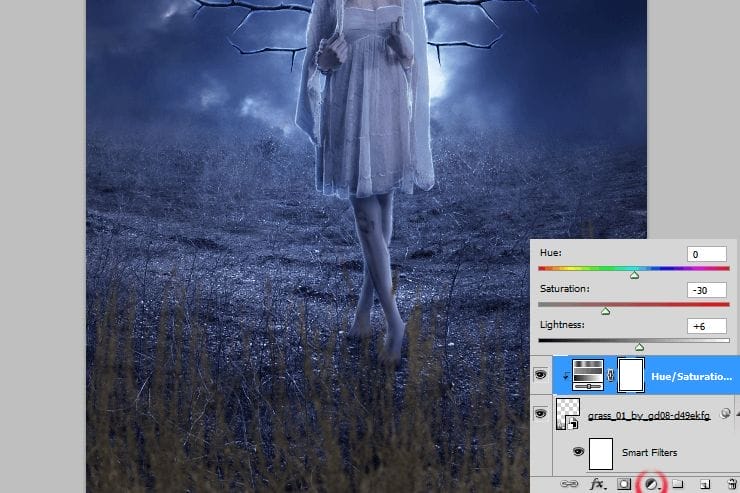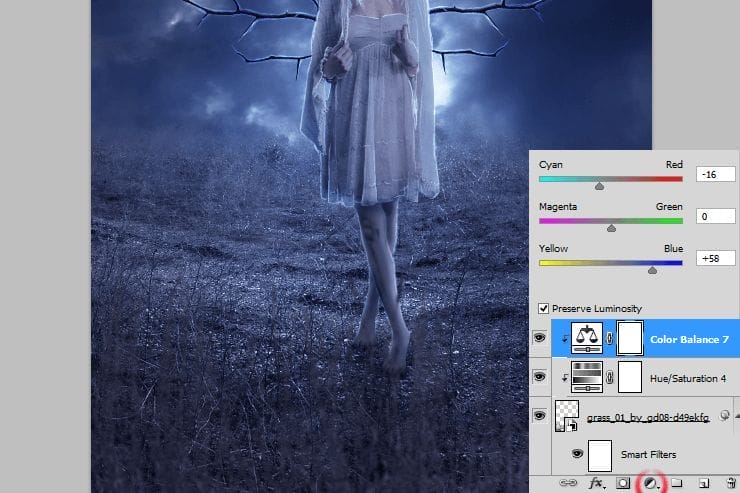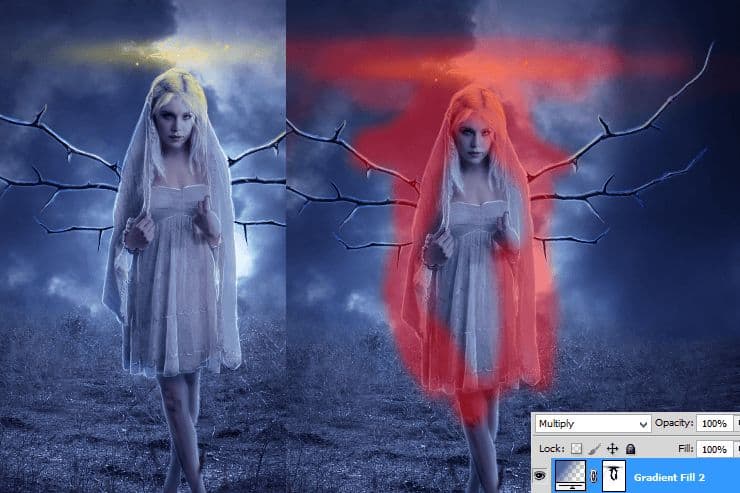
Step 45
For colors harmony, add Color/Balance adjustment layer.
Step 46
Add new layer. Draw lights on wings and hair. Use small, light-yellow brush. Then decrease opacity to 70%.
Step 47
Place grass stock on the bottom of the picture.
Step 48
From top menu choose Filter > Blur > Gaussian blur. Set it as is shown.
Step 49
Grass is totally another of whole image. At first decrease saturation and make lightness bigger, by adding hue/saturation adjustment layer. Make it clippy (RMB > Create clipping mask).


Step 50
Add adjustment layer with Gradient fill. Set it as is shown. Change blending mode to Multiply.

Step 51
You’ll make glow on aura. Pick big, soft round brush with light-yellow color. Draw dot on the aura.

Step 52
Create new layer. Choose soft brush and use yellow and blue colors. Draw as shown:


Step 53
Duplicate this layer and change blending mode to Soft light. Decrease opacity to 17%.
Step 54
Create Adjustment layer with Selective Color.
Step 55
At the end, add adjustment layer with Brightness/Contrast
Final Results
![final-results[1] final-results[1]](https://cdn.photoshoptutorials.ws/wp-content/uploads/2014/06/finalresults1-1.jpg?strip=all&lossy=1&webp=82&avif=82&w=1920&ssl=1)
Download the PSD
DownloadTutorial by Monika Nowakowska
5 responses to “How to Create a Beautiful Moonlight Angel Photo Composite”
-
amazing
-
Wow, these are really creative! They remind me of those Chip Fosse drawings from Overhauling’. Great work!
-
Really great tutorial about photo manipulation.
-
Can’t open battle skies pic!!
-
opens no problem, they are in a zip file
-


Leave a Reply