
Use this brush and paint on layer mask with white color.
Just move brush above the place you want to uncover and click once or twice.


Use this brush and paint on layer mask with white color.


Step 3
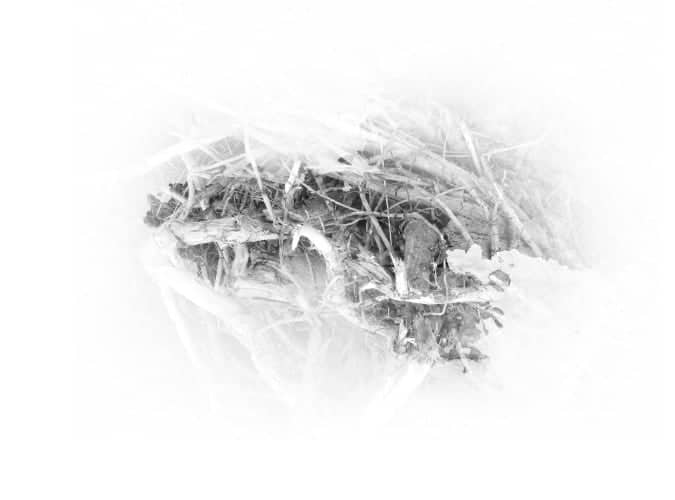
In this step you will apply a Roots photo layer (Folder: Resources/IMG_5602) to the Horse layer.
Add roots photo above Horse layer.

Right click on your layer and choose “Convert to Smart Object”. Now we are ready to add some Shadow/Highlights (Image > Adjustments > Shadow/Highlights).
Settings:


Use Oil paint filter. Filter/Oil paint.
Settings:


Apply a Roots photo layer to the Horse layer
To do this, press and hold Ctrl/Cmd and point your cursor above the red line. You will see an icon – click on it.


Change blending mode on the Roots layer to Soft Light

Above roots layer add new layer (Layer > New > Layer or Shift+Ctrl+N). Now go to Edit > Fill, set the contents to 50% Gray, then click OK.

Apply 50% Gray layer to the Roots layer.
Set the layers blending mode to Overlay and opacity to 100%. Now use Dodge Tool (soft brush) and paint on this layer. For the brush settings, I used an exposure of around 20-50%.


This is the layer set to Normal

By mistake I deleted layer with this Horse version, so my horse looks like this.

Layers structure at this stage.

Info: Cienie / Podświetlenie mean Shadow/Highlights (Sorry about that, I use the Polish version of Photoshop)
Step 4
In this step I will add more roots. It is really hard to repeat all painting steps, so I will show how I do this in the following example.
Open IMG_5598 Folder: Resources/IMG_5598

Add layer mask.
Click on the “Add layer mask” icon on the bottom of your Layers palette.
![image025[1] image025[1]](https://cdn.photoshoptutorials.ws/wp-content/uploads/2013/08/image0251.jpg?strip=all&lossy=1&webp=82&avif=82&w=1920&ssl=1)
Use soft brush, opacity 50% and paint with black # 000000 on your layer mask.


Use this brush, opacity 100%, and paint with black # 000000 on the layer mask.


Use the same brush, but this time paint with white #ffffff on the layer mask.

Use this brush, opacity 100%, and paint with white # ffffff on the layer mask.


Use this brush, opacity 100%, and paint with black # 000000 on the layer mask.
21 responses to “How to Create a Breathtakingly Artistic Winter Horse Illustration in Photoshop”
-
so, for those who don’t get the line-
“Apply a Roots photo layer to the Horse layer
To do this, press and hold Ctrl/Cmd and point your cursor above the red line. You will see an icon – click on it.”
I’m using CS6 and for rest of you guys are not using this version no problem the method I’ve used compatible with all versions.
1)take lasso tool(i took polygonal lasso)
2)selection around the horse pic because we want enter the root image into the horse image.
3)take the root image file>open
4)CTRL/CMD +A to select the whole root image then CTRL/CMD+C to copy
5)edit option>paste special>paste into
6)the root image will be entered into the horse image as based on your selection -
Excellent tutorial
-
????
-
Great tutorial, really inspired me very much. Thanks a lot for sharing a nice photo manipulation tutorial with us.
-
Beautiful, creative and acutely enjoy able!
-
I don’t get this step:
“Apply a Roots photo layer to the Horse layer
To do this, press and hold Ctrl/Cmd and point your cursor above the red line. You will see an icon – click on it.”I don’t see an icon show up and I am using CS6, as shown in the tutorial. If the short cut method does not work, what is the manual process .
-
Same problem I can’t see any red line there:’)
-
-
Please tell me how you applied a root photo to the horse layer
-
Heres my attempt: http://i.imgur.com/OYcYedL.jpg
Excellent tutorial! Tanks :D
-
-
I like your results more great work!
-
-
Nice tutorial man. Cheers from Atlanta
-
thanks
-
Realy very nice. Can you pls make video for this tutorial.
-
Impressive bud
-
Thank you guys!
Follow me on facebook, new tutorials soon! :)https://www.facebook.com/markiw.design
http://www.behance.net/MarkiwDang Hien
Just paint with sharpen tool set to luminosity, use soft brush. -
Help me plz, i don’t know how the horse was maked like 2 last pics.
-
Excellent tutorial sr, inspired..
-
I agree! haven’t seen these type for a while! But I am happy to see different artists sharing their techniques and knowledge, its becoming more and more open! I appreciate every bit of it! thanks to pstutorials for grabbing this one! cheers to Markiw!
-
Hey, Do u know the link of photoshop CC? please Reply!
-
-
Great writeup – hadn’t seen this type of tutorial for awhile


Leave a Reply