
Step 12
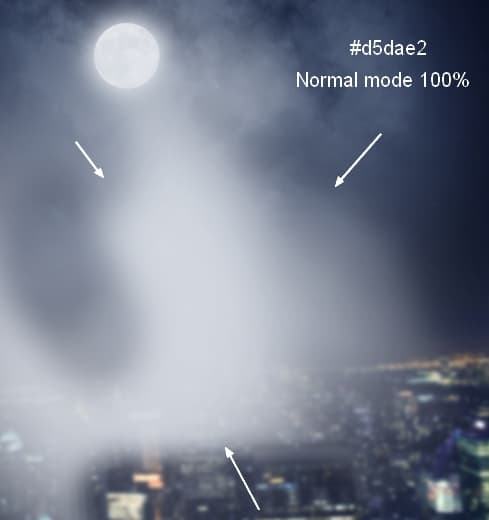
To create the moonlight reflection on the environment around, use a new layer and a soft brush with the same color to paint around the moon area and the left side of the city. Change this layer mode to Soft Light 100%:

Step 13
Place the wall 1 image at the bottom of our main document and remove the background using a layer mask. Use Cmd/Ctrl+T to rotate it as done with the city:

Step 14
Use a Hue/Saturation adjustment layer (set as Clipping Mask) to desaturate the wall:

Step 15
Use a Color Balance adjustment layer to match the wall color with the background:

Step 16
Add a Curves adjustment layer to darken the back of the wall. On this layer mask, use a soft black brush to erase the front as it gets the light from the moon:

Don’t worry about the front sides as they will be covered later.
Step 17
Make a new layer, change the mode to Overlay 100% and fill with 50% gray:

Active the Dodge and Burn Tool (O) with Midtones Range, Exposure about 20-25% to refine the light and shade on the wall. You can see how I did it with Normal mode and the result with Overlay mode:

Step 18
Add the wall 2 image to our working document and remove the background using a layer mask.

Step 19
Use a Hue/Saturation adjustment layer to desaturate the wall:

Step 20
Use a Color Balance adjustment layer to change the wall color.

Step 21
Add a Curves adjustment layer to darken the wall sides. On this layer mask, use a soft black brush to erase the outer edges to keep the light there remained.

Step 22
Make another Curves adjustment layer to brighten the outer edges. On this layer mask, use a soft black brush to erase the inner edges to keep the shade there.

Step 23
Make a new layer with the same settings as in step 17. Use the Dodge Tool to make the light on the right edge stronger and more visible.


Step 24
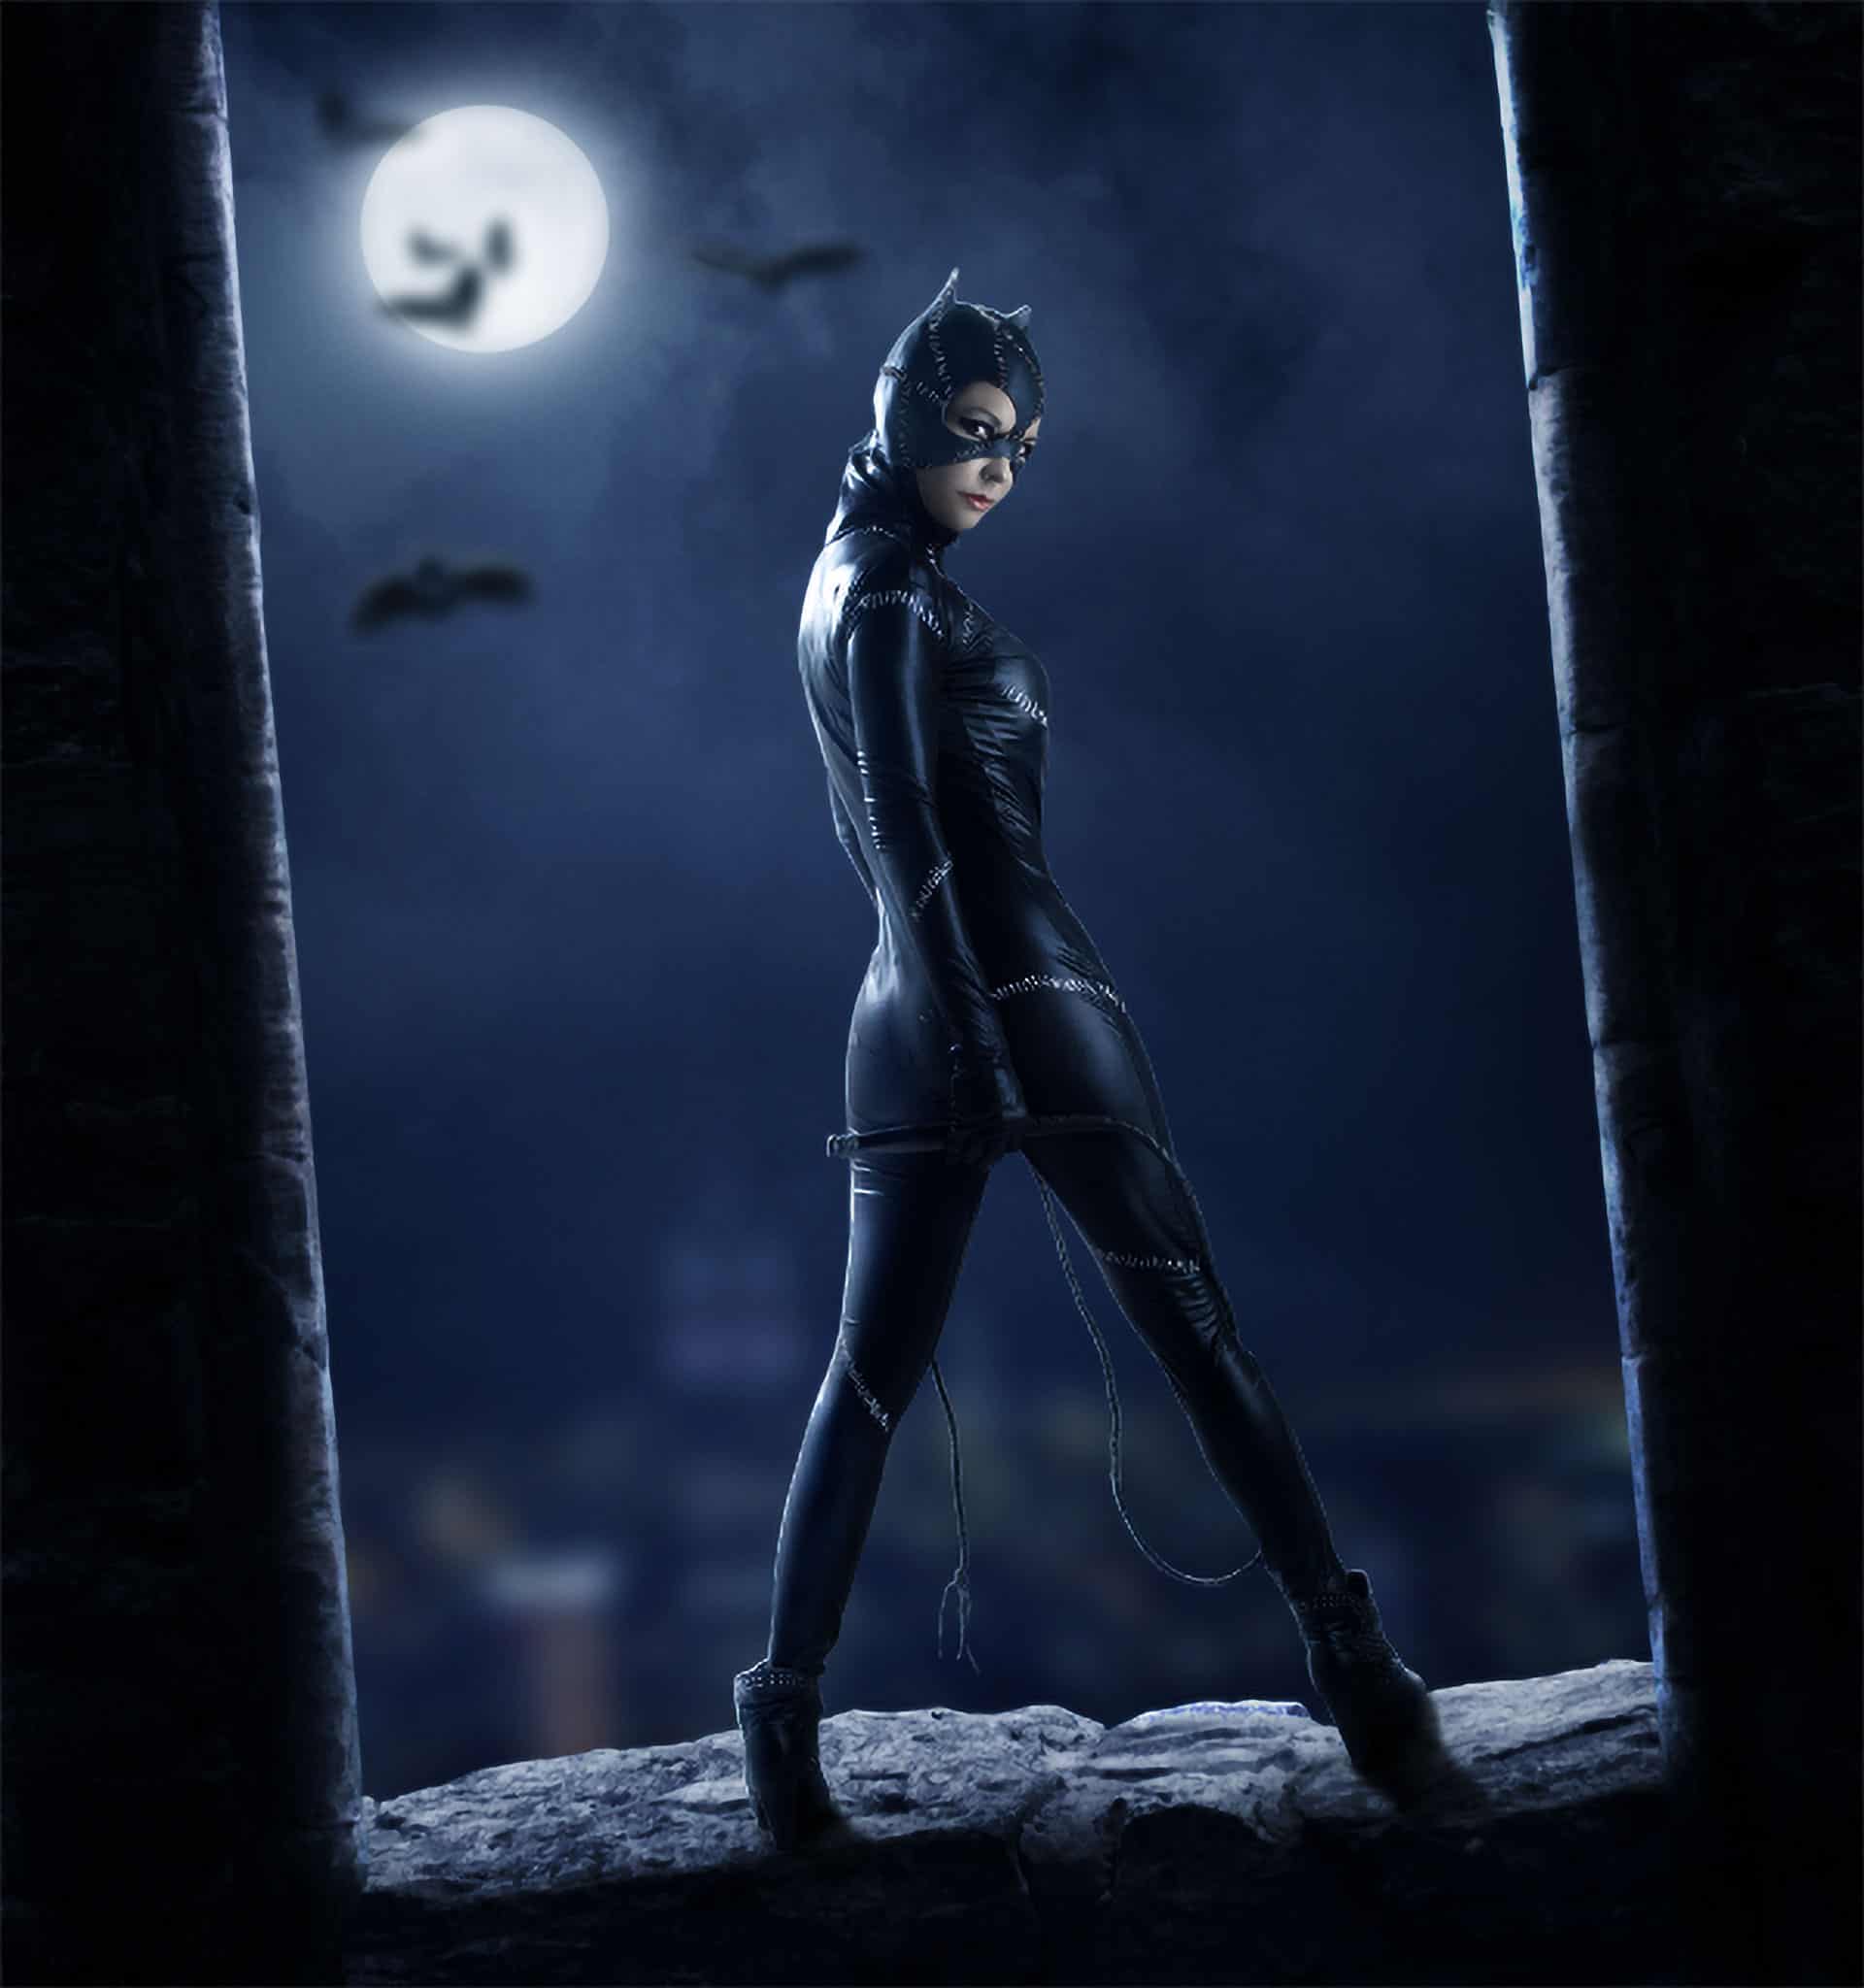
Open the model image. Press Cmd/Ctrl+J to duplicate the background layer. Go to Filter > Liquify and active the Forward Warp Tool (W) with the settings below:

Use this tool to make the waist thinner, the hip narrower, the legs slimmer and longer. Don’t overdo it as it would look unatural. Here is my result:
12 responses to “How to Create a Catwoman Poster in Photoshop”
-

un hermoso tutorial lo he hecho y es precioso ,gracias .Donde te puedo seguir?
-
Too Good…
-
thanks a million I enjoyed this tut a lot. Put it on my facebook page and also put the link to your tutorial.
-
-
nice design
-
nice design
-
How much of all this can be done with Photoshop Elements 11 (12, 13 ..)?
-
Thanks
Nice Tutorials -
Pretty cool tutorial.
-
very nice ..! thanks
-
I like this! Thanks! ^^
-
cool than qqq
-
Awesome !
Thanks…
Leave a Reply