

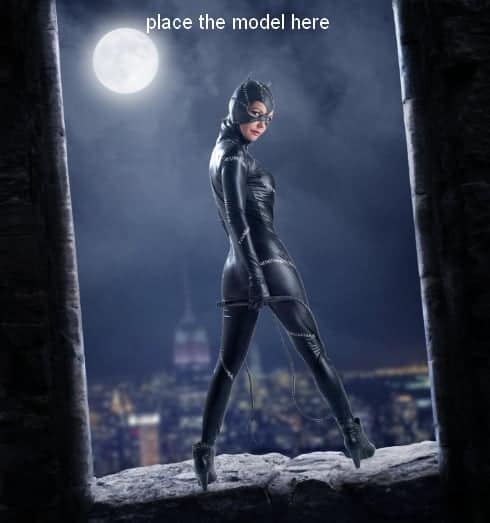
Step 25
Drag the model layer after liquifying into our main document and remove the background using a layer mask. Place her onto the wall 1.
Step 26
Make a new layer under the model one. Use a black brush with the hardness about 30-35%, the opacity about 30% to paint the shadow behind the model.

Step 27
Make a new layer (set as Clipping Mask) and use a soft brush with the color #a17572, the opacity and flow about 29% to soften the skin under the lips corner and on the forehead:

Step 28
To brighten some areas on her face, use another layer and a soft brush with the color #e3c7c3 with the same opacity and flow to paint under the chin, on the nose top and forehead.

Step 29
To refine the light and shade on the model, use a new layer with the same settings as step 23. Use the Dodge Tool to brighten the left side that is illuminated by the moonlight and the Burn Tool to darken some edges of the right side.


Step 30
Use a Hue/Saturation adjustment layer to reduce the saturation of the model skin and lips.

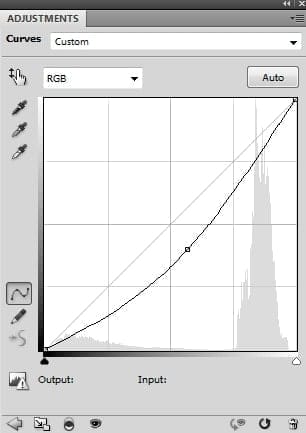
Step 31
Use a Curves adjustment layer to darken the right side of the model more. On this layer mask, use a soft black brush to erase the left and some details on the face and body to keep the lightness there.

Step 32
Make four new layers on the top. Change the brush kind to the bat ones and the foreground to #0b0d11. Paint some bats around the moon:

Apply a Gaussian Blur of 3 px to each of the bat layers:

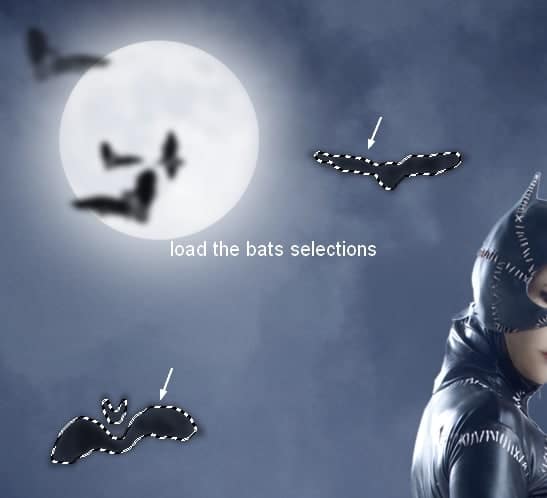
Step 33
Make a group for the bat layers. To add more light to the bats, make a new layer and hold Cmd/Ctrl+Shift and click some of the bats thumbnail layers to load their selections:
Go to Edit > Stroke and pick the color #d5dae2.

Add a mask to this layer and use a soft black brush to reduce the stroke opacity.
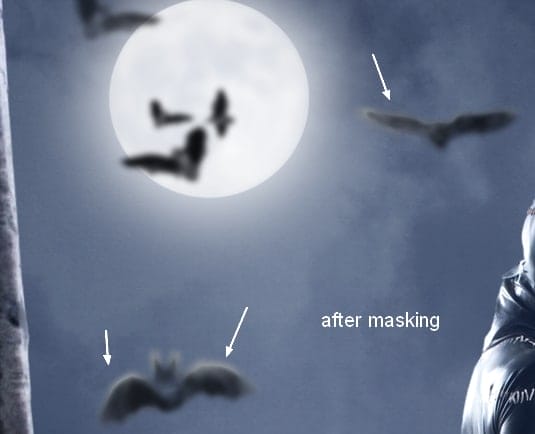
Apply a Gaussian Blur of 3 px to make the effect more natural:

Step 34
Make a Color Balance adjustment layer on the top of all layers.


Step 35
Create a Curves adjustment layer to darken the scene and increase the contrast of the whole scene. On this layer mask, use a soft black brush to erase around the moon area and the model to keep the light there.


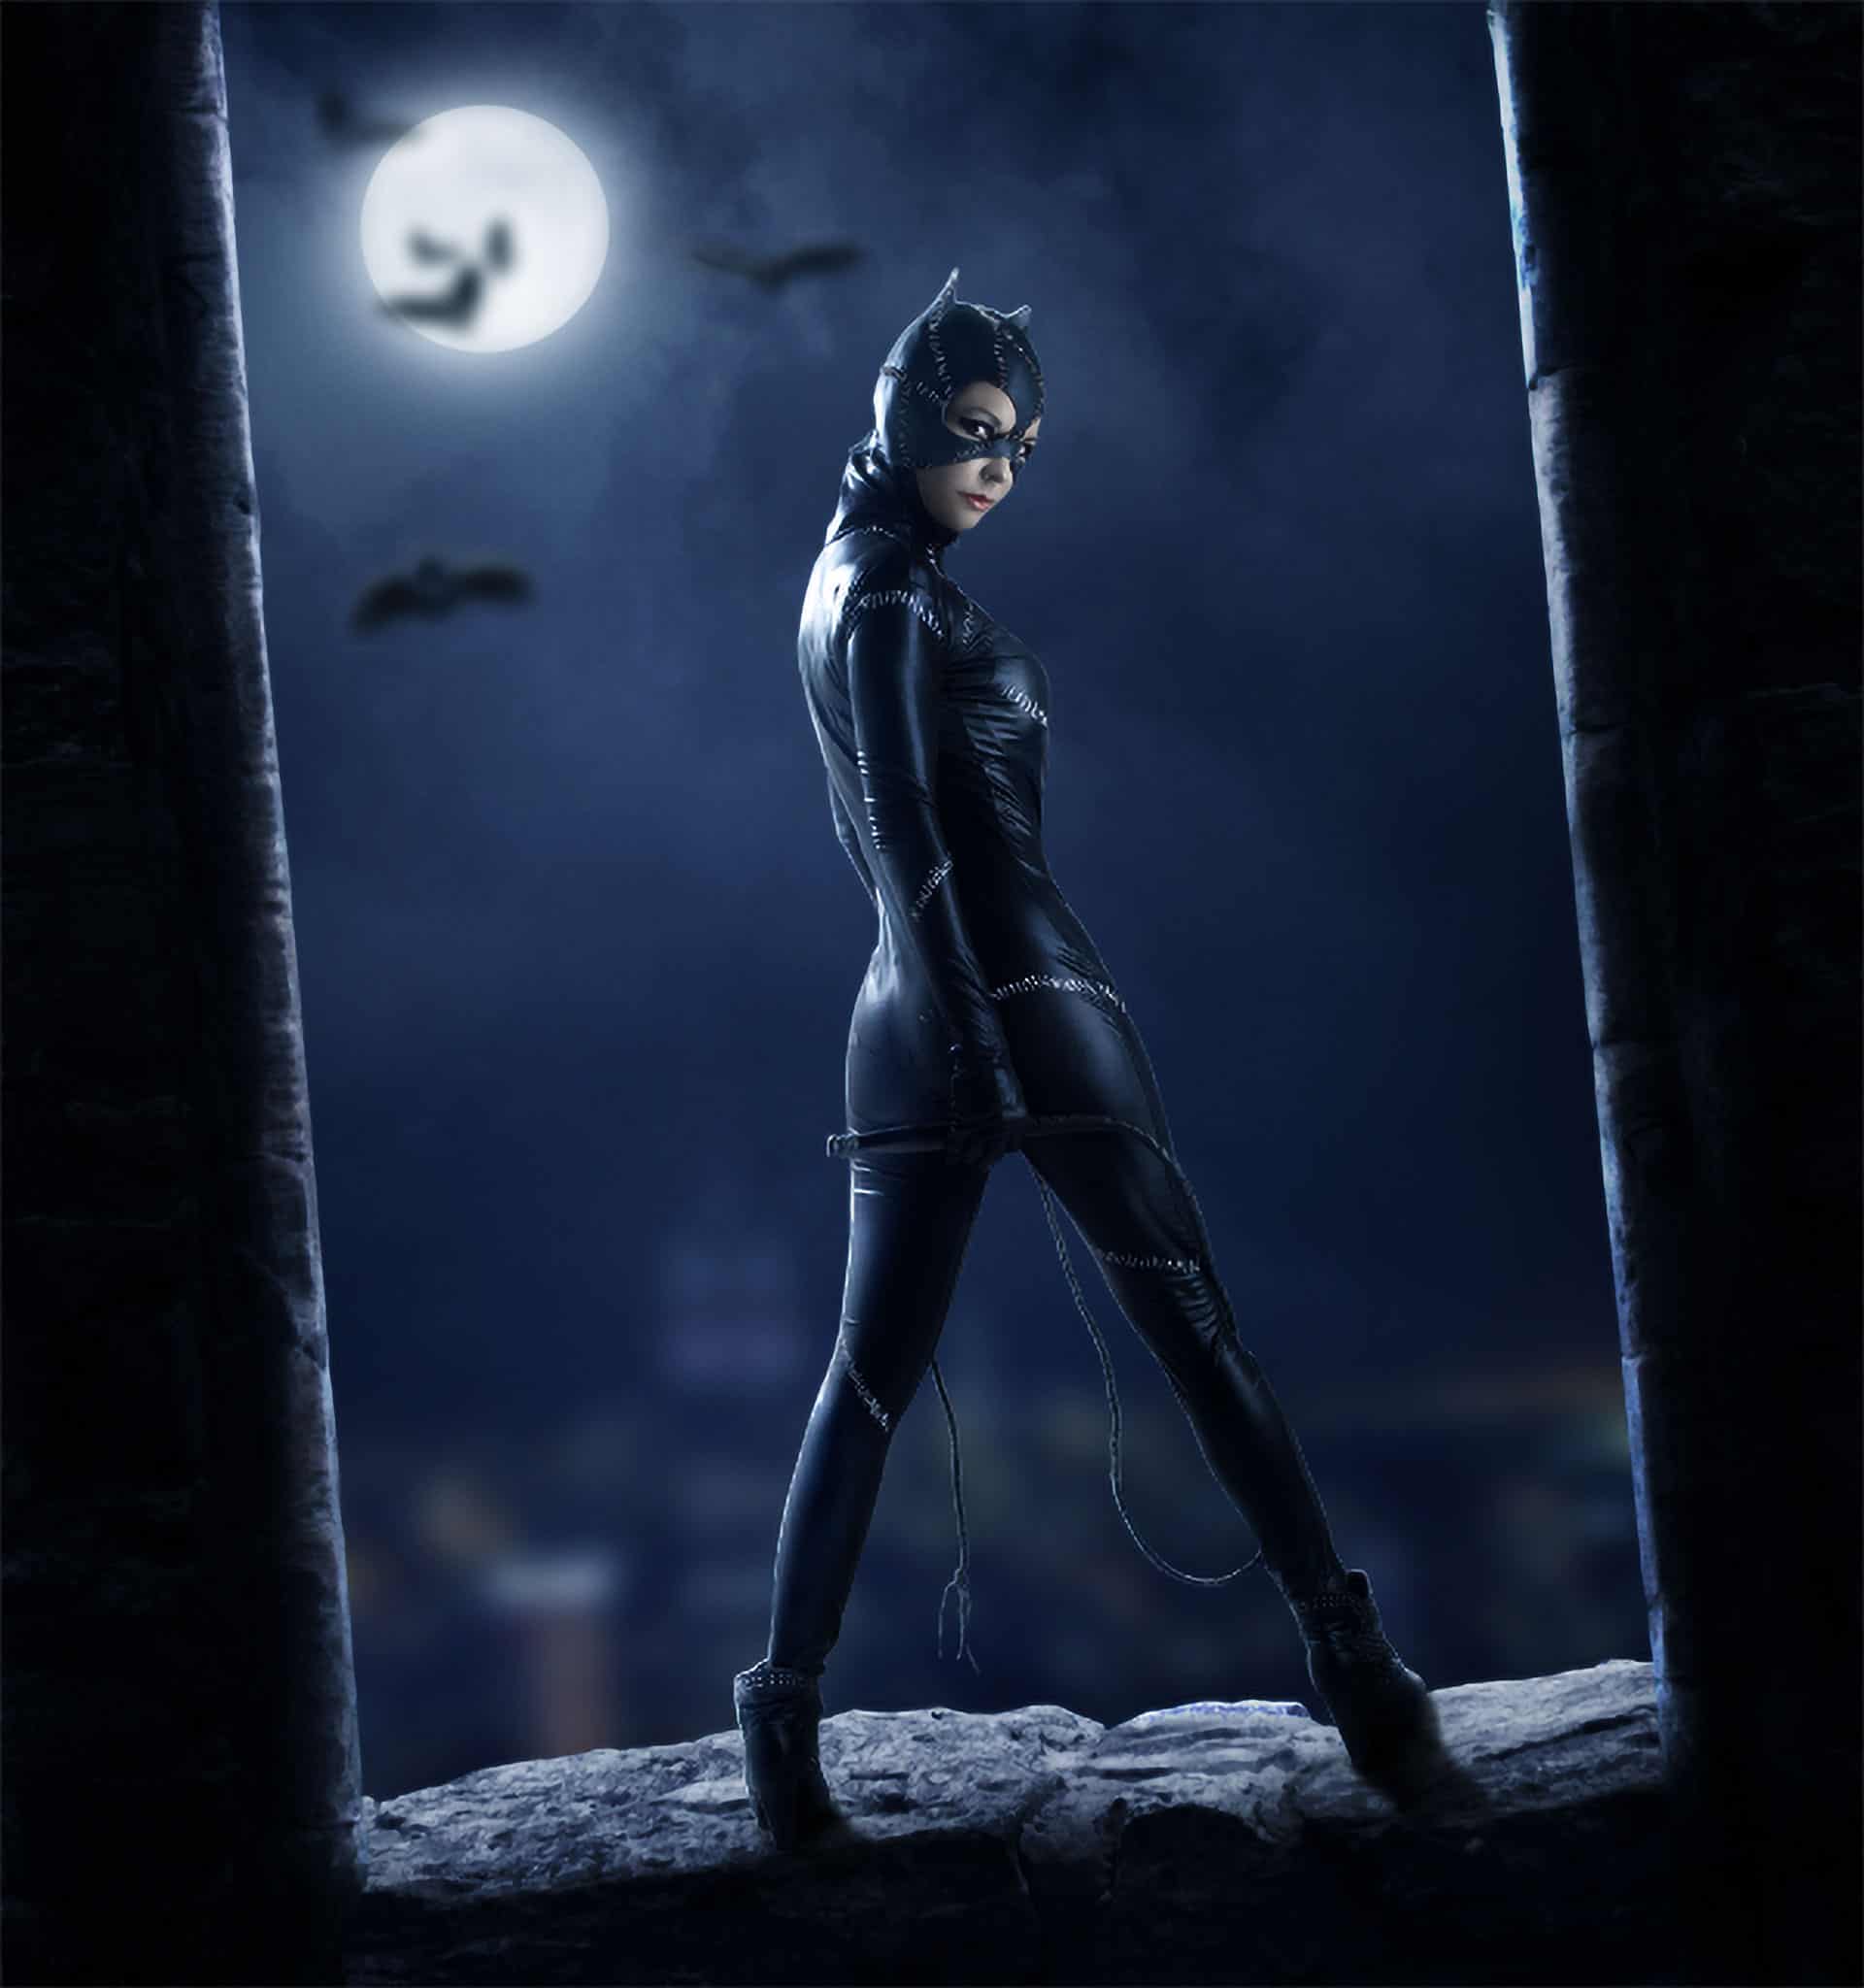
Final Results
Download the PSD
Catwoman.zip| 106 MB
12 responses to “How to Create a Catwoman Poster in Photoshop”
-

un hermoso tutorial lo he hecho y es precioso ,gracias .Donde te puedo seguir?
-
Too Good…
-
thanks a million I enjoyed this tut a lot. Put it on my facebook page and also put the link to your tutorial.
-
-
nice design
-
nice design
-
How much of all this can be done with Photoshop Elements 11 (12, 13 ..)?
-
Thanks
Nice Tutorials -
Pretty cool tutorial.
-
very nice ..! thanks
-
I like this! Thanks! ^^
-
cool than qqq
-
Awesome !
Thanks…
Leave a Reply