
Go to filter > blur > surface blur

Mask some part where needed.

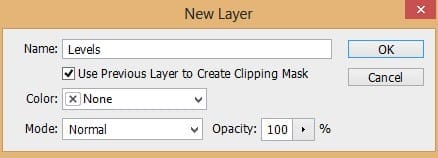
Next, we need to give this smoke layer an adjustment layer : levels. Make sure to give this adjustment layer a clipping mask.

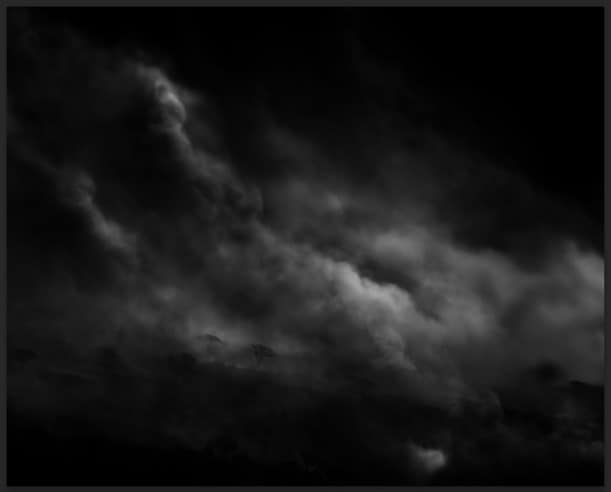
Now duplicate the smoke layer several times as needed and arrange and position the duplicates in such way. Do masking here and there, scaling and play around with opacity for each duplicated layer. Here is the one I created for your example after experiencing trial and error process ;-)

Next, give this smoke some adjustment layer: levels.

Mask the levels layer on some part. Here is the result of masking.


Step 15 (More adjustments)
Now we will desaturate the smoke by giving it hue/saturation adjustment layer. Make sure to place this layer above the levels layer.

Duplicate this adjustment layer and set its blending to soft light at 85% opacity. Mask some areas of this layer to reduce its effect.

Step 16 (adding ground)
Next we will add ground for the scene. We will use this image for it.
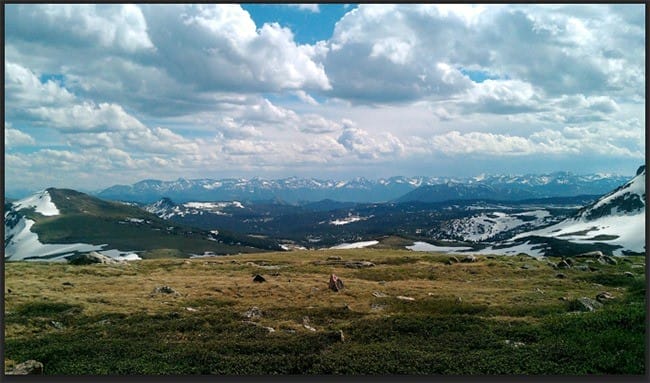
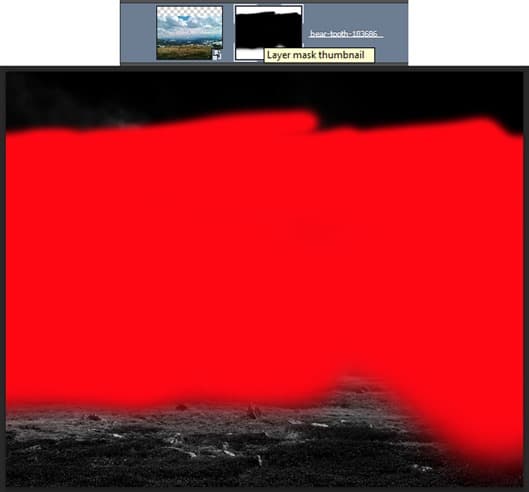
Place the image in the main scene. Scale and place it where needed. Make sure to locate this image below the two hue/saturation layers created in previous step 15. Because of its position below the layers, the image will be desaturated.

Then, mask the upper part of this image and let the ground revealed. We only need the ground part. The red highlighted part is where we should mask.

Step 17 (Creating misty ground)
To give some dramatic nuance to the scene, we will create misty ground for the scene. To get the misty effect, we will use this image.

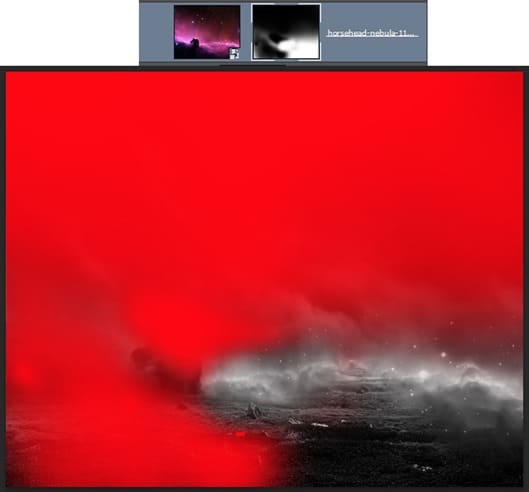
Place the image in the main document. Locate it below the hue/saturation layers. Scale its size and position it where needed.

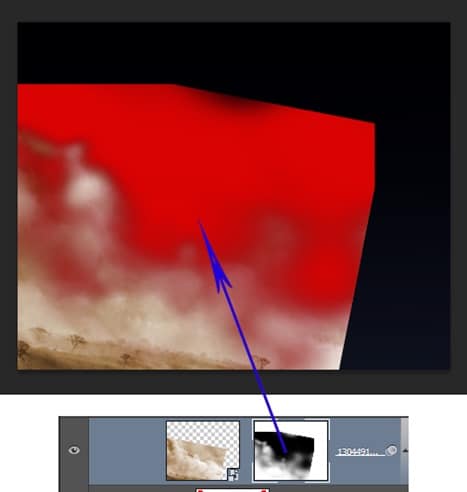
Proceed to mask parts unneeded. Take a look at the screenshot to find out what parts should be masked for this image. The red highlighted are parts where we should mask. Finally, set this layer to normal at 89% opacity.
Here is the background I created so far…..

We will add some misty effect on the right side of the image as well. To do this, duplicate the nebula image. Place the duplicate as shown below.

Mask parts unneeded. Finally, set this duplicate to normal at about 90% opacity.
16 responses to “Create an Eerie Photoshop Manipulation of a Dark Queen in a Cemetery”
-
Assume this assume that
===ASS OUT YOU AND ME -
so good
-
Important Info
-
HIIIII!! there is a huge problem…. the first four images –I think the free image website ones are not available could you please make the stock image available and let me know when you’ve done that. I need this for a business project!!!!! VERRRRRYYYY IMPORTANTTTTTT!!!!!!!
-
Hi Taylor,
Unfortunately broken links are a common issue with free images. We recommend searching for other similar images.
-
-
Beautiful, creative and acutely enjoy able!
-
brilliant tutorial, time consuming but well worth it.
-
好厉害
-
Wow amazing and Professional tutorial,It’s relay nice.
-
awesome
-
the Best Professional tutorial for Photoshop
-
Its simply owesome man keep it up.
-
I just love the statue transformation starting from step 3!
-
weldone
-
Wow great tutorial. I am too a Photoshop artist, but i am only 17 years old and don’t have so much skills. On my Website are projects from me (jan.leibacher.ch) its on german, but it have possibilty to translate the site :)
-
AWESOME!!! Good job mate


Leave a Reply