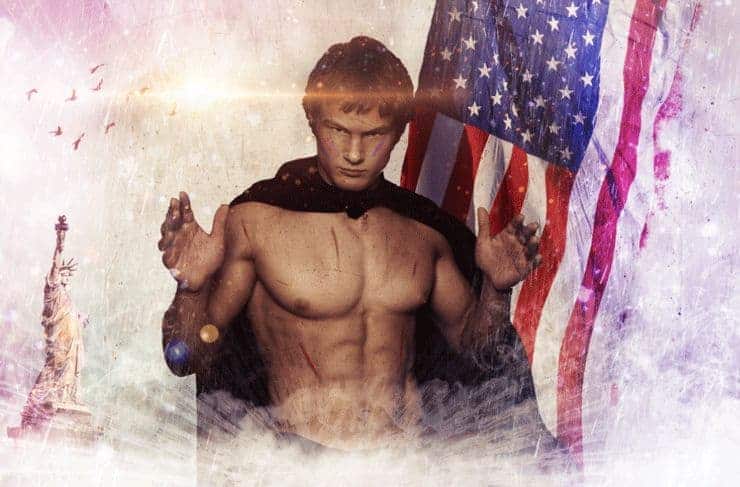
Step 36
Create a new layer and change the layer blending mode to Overlay. With a round soft brush at 33% Opacity paint with white in the indicated areas in order to put focus on them.

Step 37
Create a new layer and change the blending mode to Overlay. Choose the standard chalk brush and lower the size to 2 pixels. Lower the opacity to 30% and paint a contour over our guy.

Step 38
Create a Photo Filter adjustment layer by going to Layer > New Adjustment Layer > Photo Filter. From the presets choose Warming Filter 85 and increase the Density to 58%.

Step 39
Create a new layer from all the other layers. Apply a Unsharp Mask filter (Filter > Sharpen > Unsharp Mask) with the settings shown below. Add a layer mask and hide the indicated area.

Step 40
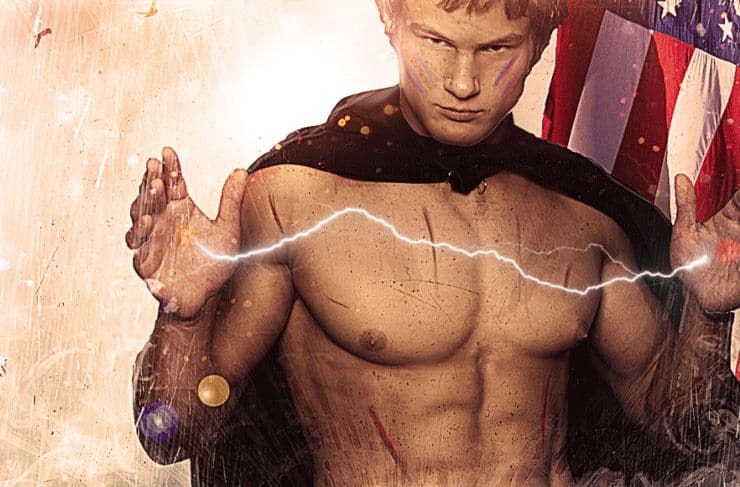
Create a new layer. Sample a red color from the flag (alt-click with the brush tool selected to sample a color) and paint two red dots on each hand symbolizing wounds. Change the blending mode of the layer to Overlay.

Step 41
Import the Lightning brush. Create a new layer and make a white lightning between the hands of the our guy. If needed add a layer mask and hide the hard edges that the brush may have.

Step 42
Double click the lightning layer and use the following options for the layer style.

Step 43
Create three more layers and on each paint a different lightning between the hands of the guy. Apply to each the same layer style as we did in the previous step.

Step 44
Create a new layer and change the blending mode to Overlay. Choose a round soft brush at 30% Opacity and paint a bit of light over the face of our guy.

Step 45
Create a new layer and change the blending mode to Overlay. Choose a standard chalk brush and change the Opacity to 30%. Lower the size to 3 pixels and scribble some details in the areas indicated below.

Step 46
Create a new Hue/Saturation adjustment layer and lower the Saturation to -69. Click on the layer mask of the Hue/Saturation adjustment layer and press D to make the colors default and Alt + Backspace to fill the mask with black. Now with a round soft brush at 100% Opacity paint over the hair to reveal the saturation effect only here.
6 responses to “How to Create an Electrifyingly Patriotic Manipulation in Photoshop”
-
Amazing result, such a great image choice! Thanks! :)
-
Well..That is very cool !
-
Where are the great artists as Jenny Le, Santhosh Rao and Daniela Owegoor?
This man is badly cut, there is no retouch this image.-
looks just as good as those artist imo
-
-
But how do I photo shop abs like that? Asking for a friends okcupid profile.
-
for a ‘friends’ profile haha ;)
-


Leave a Reply