Step 11
Now you’ll make ground fot your text. Add new layer. Pick big (765px) white, soft brush and draw dot in the center of the picture.
Step 12
Press ctrl+T – now you can transform your layer. If you will be holding ctrl and you will click point to transform, you can change the perspective – try it! :). Decrease opacity of this layer to 35%.
Step 13
It’s time to make nice dust. Load dust brushes to your Photoshop.
Step 14
Add new layer and draw some sparkles on your image. Change opacity and blending mode: Color dodge, 66%.
Step 15
You should add more dust. Place “Snow texture V” to your file. Change blending mode to Soft light and set opacity around 40%.
Step 16
For making more dynamic, go to Filter > Blur > Motion blur.
Step 17
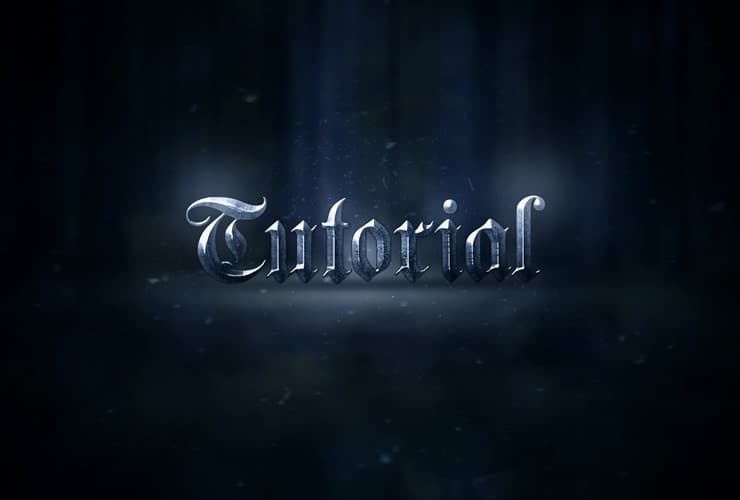
Add your text. Choose gothic-like font. I’ve choosen Germanica font. Use gray text color. I’ve set 222px font size.
Step 18
Click on text layer with RMB. From menu choose “Blending mode”.Add drop shadow. Then, set “Bevel and Emboss”.
 Add “Contour”.
 Next is “Satin”
 Then apply “Gradient overlay”.
 At the end, add “Stroke”.
Step 19
Do you know, that you can mask text? Add mask to your text. I don’t like glyph under “T”. Just add mask and erase unnecessary fragment with hard round brush.
Step 20
Back below layer with debris brush used. Add new layer. You’ll make shadow under text. Choose 765px big, soft, black brush. Draw dot on the center of image.
 Then, transform it as shown (ctrl + T). Remember about step 12.
 At the end, you can decrease opacity of this layer to 50%.
Step 21
Go above all layers. Place “Scratched steel texture”. Then, click on it with RMB and choose create clipping mask. Change blending mode of this layer to Hard light.
Step 22
Again, place “Scratched steel texture”. Then, click on it with RMB and choose create clipping mask. Also, change blending mode to Overlay.
Step 23
It’s time to make glowing text. Add new layer. Pick big, soft round brush and draw dots, where light is biggest. Change opacity to 20%.
Step 24
Duplicate glow layer (Drag and drop layer to “New layer” symbol). Change blending mode to Color dodge. Set opaticy around 25%.
Step 25
So far, so good! Add Color balance adj
ustment layer.
14 responses to “Create an Epic Metal Text Effect From Scratch”
-

scratched texture can not be found… where is it?
-
trash
-
Final is too dark. You need to make it brighter and recalibrate your monitor.
-
This post was PERFECT! thank you!
-
its not that good
-
yes i hate this
-
i hate this page
-
-
it’s a waste of time
-
Hvala dobra ideja !!!
-
next time make the instructions clear
-
The explanations are a piece of crap
-
Ur explanations are awesome Monika Nowakowska. Great article !!
-
Marlon Gouvêa
-
I can provide Some ……………………………..amazing tutorials ! #someamazingtutorials
Leave a Reply