
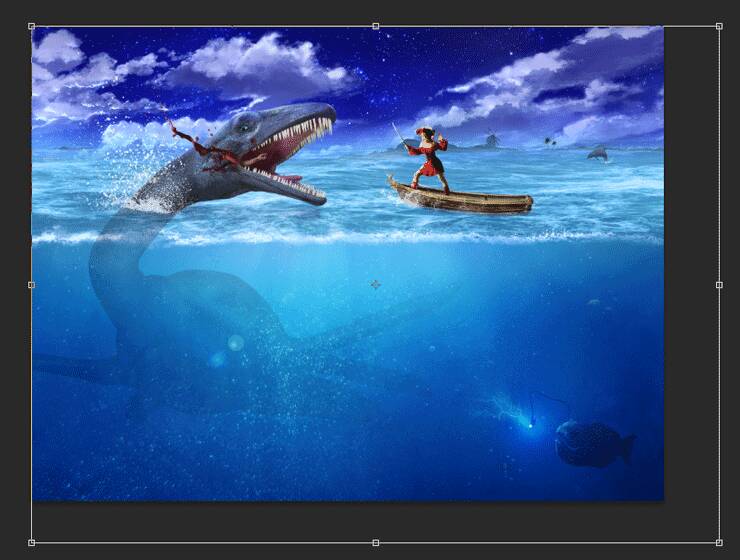
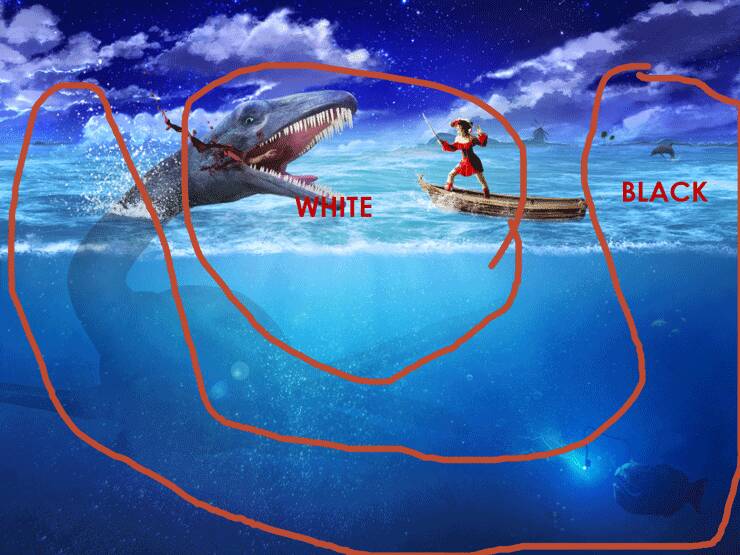
Step 49
Create a couple of new layer and change their blending modes to Overlay. On one of them use a soft brush to paint with white over the scary fish is and on another use the same brush to paint with a subtle black over the bottom of the scene.

Step 50
Create a new Hue/Saturation Adjustment Layer and drag the saturation slider to -39. Fill the layer mask with black and paint with white over the bottom of the scene to make the underwater look more natural (as you go deeper there is less light and color).

Step 51
Create a new layer and change the blending mode to Overlay. Select the round soft brush and increase the size to 700-800px. Set the opacity to 5-10% and paint with black on the margins of the scene and white on the middle. By doing this we will subtly change the focus towards the center of the scene where all the action happens.
Step 52
Create a Curves Adjustment Layer and drag the curve down to darken in order to darken the scene a little bit.

Step 53
The surface of the water is a little too bright for my taste. Let’s change that by adding a Curves Adjustment Layer, dragging the curve down and filling the layer mask with black. Now paint with white over the waves to reveal the darkening effect there.

Step 54
Create a Vibrance Adjustment Layer and lower the vibrance slider to -31.
By the way, all the adjustment layers are located in Layer > New Adjustment Layer > ….

Step 55
Create a Brightness/Contrast Adjustment Layer and increase the contrast to 39.

Step 56
Press Ctrl + Shift + Alt + E to create a layer from all the visible layers. Apply a 10px Gaussian Blur (Filter > Blur > Gaussian Blur) and change the blending mode of the layer to Soft light. Add a layer mask and paint the portion above water with black to reveal the effect only underwater.

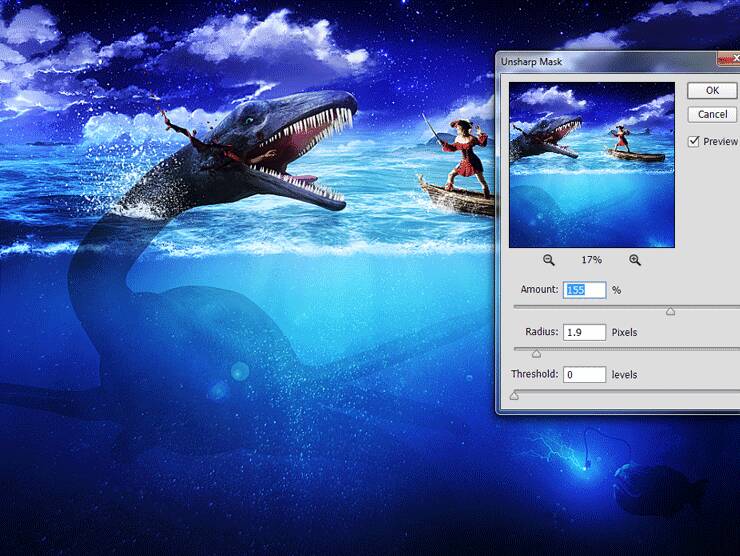
Step 57
Press Ctrl + Shift Alt + E again but this time apply a sharpen effect by going to Filter > Sharpen > Unsharp Mask.
Step 58
Create a Hue/Saturation Adjustment Layer and increase the saturation to 74. Fill the layer mask with black and paint with white over the bloody splash coming out of the beast mouth and a little bit over the boat and the pirate girl to boost their colors a little. You can also paint over the creature head to make it blue and intense.
12 responses to “Create an Epic Pirate Sea Battle in Photoshop”
-

This is so awesome! Detailed tutorial, thank you!
-
Great! How to view this article..
-
Nice
-
oh! nice tutorial, thanks for the shared.
-
thx!
I’ve spent 3 days for this tut-techniques and I think (hope-) ) I’ve done something very good) -
Omar EL-Midany wa7da b wa7da :P
-
اللهم صل عالنبي :D
-
تحوس انه نجم :v
-
-
The blood is too fake. It has a milky material and too much blood for merely a human.
-
wow nice work but the thing is that am new to this how can i get your article. i serious need to learn this, hope to hear from
-
An
-
Leave a Reply