
Step 19
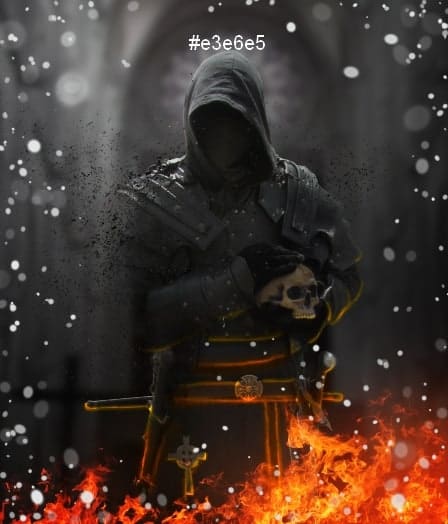
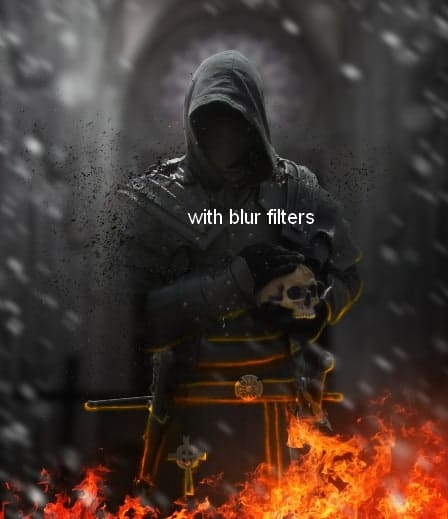
To increase the movement and atmosphere for the scene, make a new layer and change the foreground to #e3e6e5. Active the Brush Tool and press F5 to change its settings:

Paint many dots with various sizes around the knight and edges of the image.
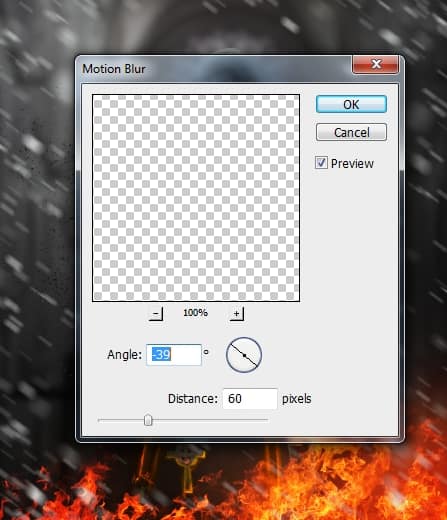
Convert this layer to a Smart Object and go to Filter > Blur > Motion Blur:
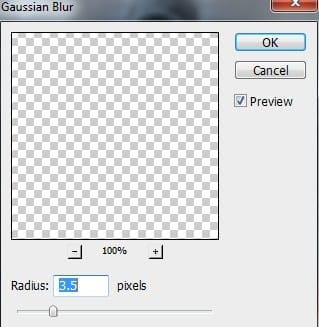
Apply a Gaussian Blur of 3.5 px:
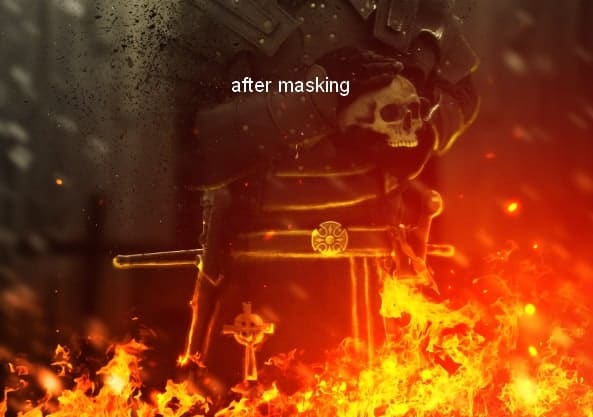
Step 20
Add a mask to this layer and use a soft black brush to make this effect more subtle.


Step 21
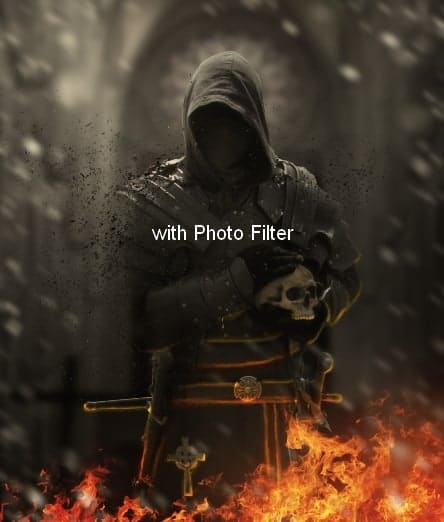
It’s time for coloring the scene. Make a Photo Filter adjustment layer on the top:

Step 22
Create a Selective Color adjustment layer and change the Reds values:

On this layer mask, use a soft black brush to erase most of the fire area:

Step 23
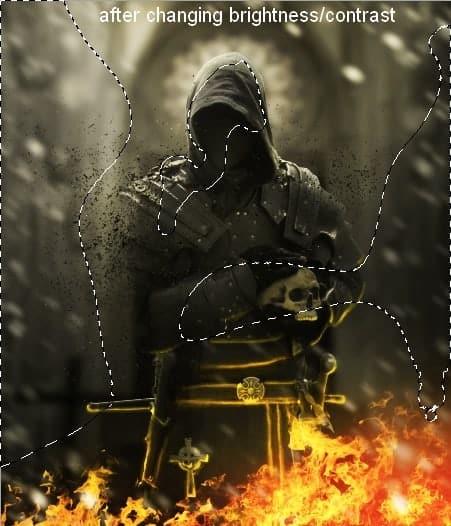
I used a Brightness/Contrast adjustment layer to enhance the whole light and contrast:

On this layer mask, use a soft black brush to erase the parts you feel brighter than you expected:
Step 24
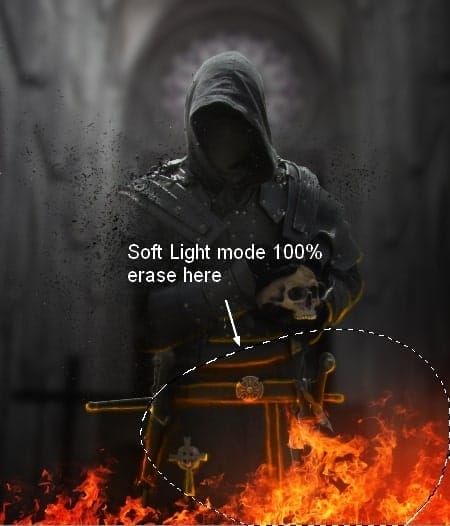
We’ll add more glowing light to the fire area. Create a new layer and use a soft brush with the color #fb6525 to paint on the indicated area and set the mode to Overlay 100%:

Step 25
On a new layer, use a soft brush with the color #e6802d to paint on the bottom right. Change this layer mode to Hard Light 100%:

Step 26
Create a new layer and press Cmd/Ctrl+G to make a group for it. Change this group mode to Color Dodge 100%. On this layer, use a hard brush with the color #ffd72b to paint some sparks around the fire.

Double click this layer, choose Outer Glow:

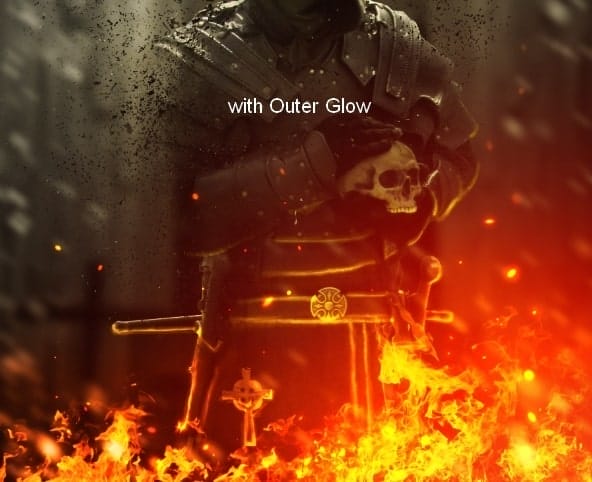
Add a mask to this layer and use a soft black brush to reduce some dots opacity:
Final Results

Download the PSD
Tutorial by Jenny Le
27 responses to “Create a Firing Medieval Scene with Disintegration Effect in Photoshop”
-

This needs to be more step by step
-
Best Photo Manipulation Photoshop Tutorials
-
where can i find this backgrounds
-
How can I find this fire because this link isn’t working.
-
Looks like cgtextures.com is no longer free. You can find some alternatives here: https://www.deviantart.com/thetwistedfate/favourites/49155168/fire-stock
-
-
Thank you
-
why I cant go to last page? there’s something wrong with my browser or this tutorial is not free?
thanks
budie -
Es muy difícil de entender este tutorial.
-
Wow this was amazing.. great tutorial thanks for sharing..
-
Perfect instruction. Really your are brilliant man.
-
Could you possibly make the instructions more step by step instead of expecting us to know what half of this crap is
-
Nice tutorial Jenny
-
This would be amazing but the instructions are not quite in-depth
enough -
“Remove the background using a layer mask.”
How the hell do i do that?? Newbie here so no idea how to do that.. Please don’t make any steps like that in any tutorial.
-
same here man… lol
-
Not sure if serious or not. Add vector mask and use brush on mask to hide. Ie not use eraser on background
Did a quick cutout
http://imgur.com/xsDaURH -
where the material
-
thank you
-
-
Really nice. Thanks!
-
nice. and i will try
-
Excelent! Congratulations!
-
Hi team I reckon this may be a really good project however I just do not understand a word
shame really but I guess I am too old to learn but best of luck to those who can -
awesome works !
-
thanks a nice n detailed tutorial.
-
Nice tutorial
-
This is a real tutorial, thanks for sharing it!
-
nice pic
Leave a Reply