

Step 14
Then choose layer with wings. Change mode to Screen.
Step 15
Wings should be like gold, so add adjustment layer with hue/saturation.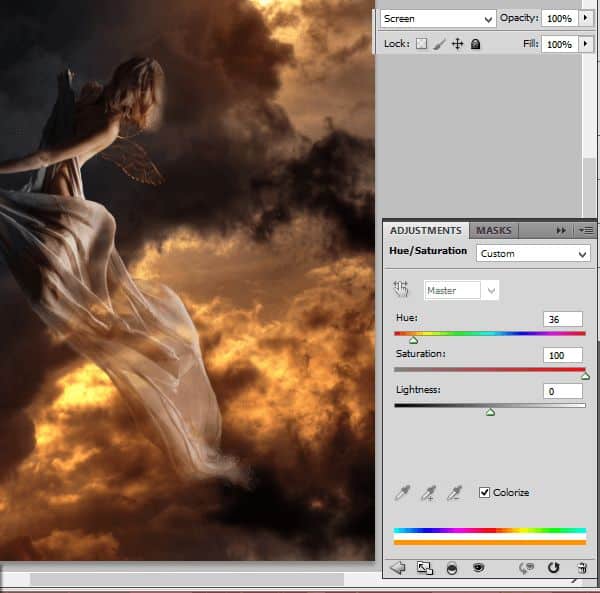
Step 16 – optional
But wings appears like empty. Duplicate wings layer. Change mode to Color Dodge and opacity to 55%
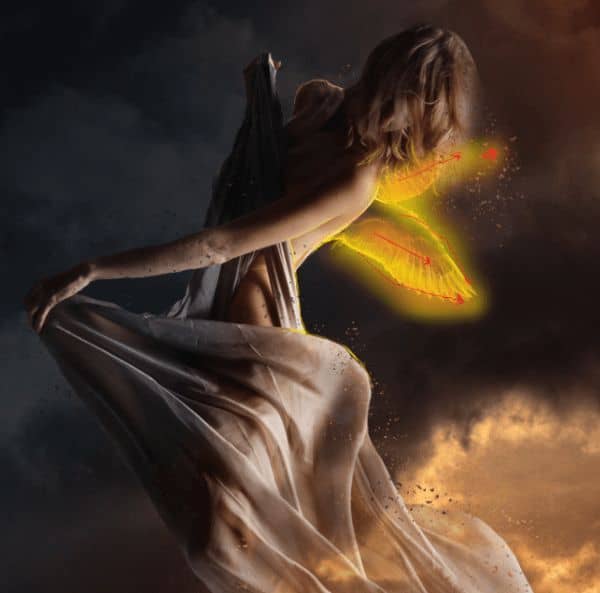
Step 17
With small (ex. 1-3px wide), soft brush color #d9cb04 draw contour of wings.
Step 18 – glow
Wings will be glowing. Draw gently lights on model from it. Choose the same brush as was as before, with #f7e802 color. On the back, hair, drapery.
Step 19 – particles
Create new layer. Now choose Clone Stamp Tool, Rough round bristle 100px. Click with alt on edges of model on the image and draw somewhere on image. Pay attention that it will take some time. Be patient :)

Step 20
I added also orange light on the drapery. With the 1px soft round brush #df8726 draw. Red arrows will help you :)
Step 21
Add new layer. Choose the same brush. On back of model draw lights. I used #ebac67 and #ffffff colors.
Step 22
Now you should make glow on wings. Choose Soft brush, opacity 60% #fff200 and #f7941d colors.
Step 23
Change blending mode to Soft light.
Step 24
Convert it to smart object. Choose Filter > Blur > Gaussian blur. Set it to 15,8 px.
Step 25 – skin retouch
Now you should make delight skin retouch. Add new layer. With soft brush #cea483 color, 23px draw as shown:
Step 26
With the same brush, #b38a6f color draw on arm.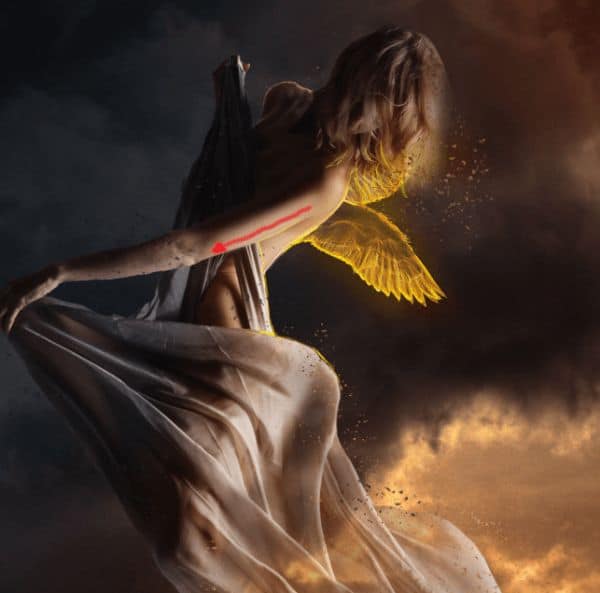
Step 27
The same brush, change color to #1b0e0b. Draw:
Step 28
Choose soft brush, 2px, #806961 color.
Step 29
Below this, draw with #84664c 1px soft brush.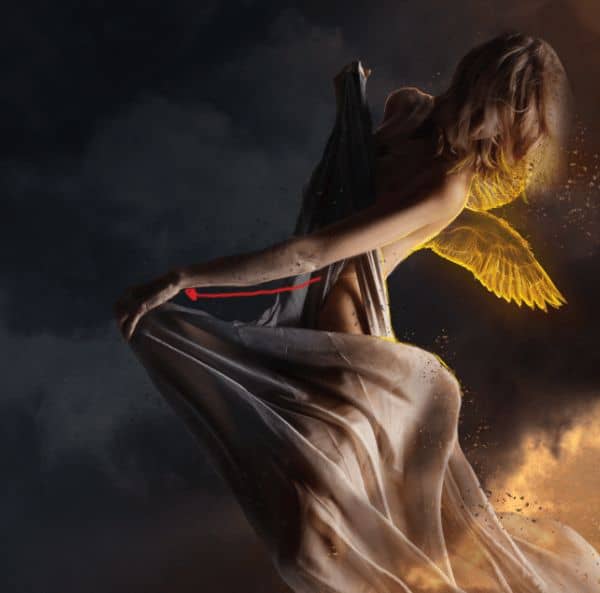
Step 30
On arm and hand draw with the same brush #676466 color lights.
Step 31
Then stroke a little further.
Step 32
Add layer. Again with the same brush, #3e4147 color, draw lights on drapery.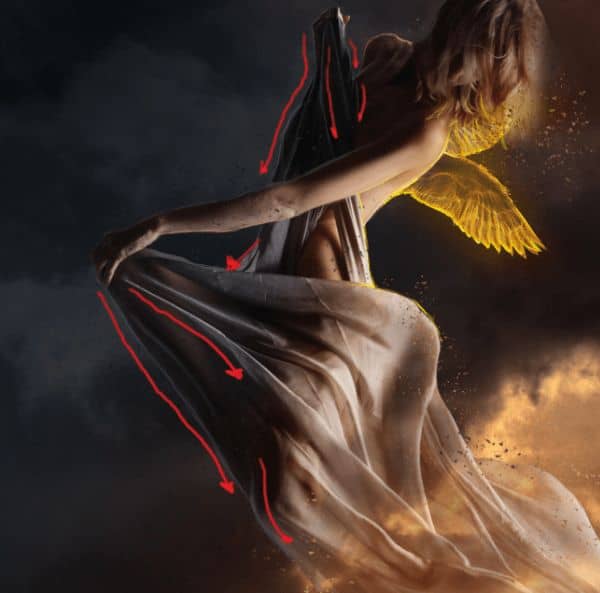
Step 33
Change color to #dc821c and draw orange lights on drapery.
Step 34 – hair
Add new layer. Now it’s time to make hair. Try using long strokes, by taking colors from original hair. I used #726f70, #7a614c, #b39264, #bda078, #1e130f.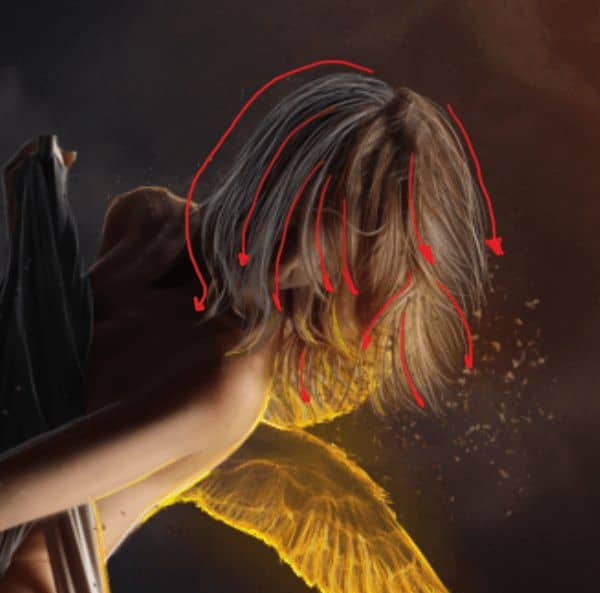
Step 35
On new layer, draw #ff9b27 strands. It will be looking like lights from wings.
Step 36
Add layer. Take soft big brush (40px) #290f00 color. Draw some strokes on model’s face and hair. Then change blending mode to multiply.
Step 37
Again you should work on glow. Choose 100px brush #f7941d color (60% opacity) and draw strokes on wings and model’s skin, then change blending mode to linear dodge18 responses to “How to Create a Flying Angel Photo Manipulation in Photoshop”
-

Thanks for your tutorial but the 3rd stock photo is broken! Any mirror???
-
Fixed! Thank you for letting us know!
-
-
Thank you for the lesson. It was very interesting to work with the “hand” and I enjoyed working on “Wings” Each piece of lesson is a masterpiece . Step 39 is beautiful. I tried, it’s my work http://j-p-g.net/if/2015/09/26/0380636001443278656.jpg
-
👍
-
-
simply woow !!!!!!!
-
awesome and unique collection of sequence photography i love it.
Thank for sharing. -
the steps are incomplete…
-
Amazing Tut. Thanks a lot for great sharing!
-
Great job I have learned a lot from your tutorial. Thank you so very much.Shading has always eluded me, but you made it seen so easy.
-
Great job I have learned a lot from your tutorial. Thank you so very much.
-
so nice
i come here everyday
wanna learn more skills -
I disagree, her English is fine. However, she should be more clear with some instructions. I mean, for example you tell people to add an adjustment layer or transform it. Sure, most of us know that but some don’t. You need to tell us where to find it in brackets like this: (Cmd+T or Edit\Transform).
-
Sorry but it is just impossible to understand what your saying in English as it makes no sense.
-
Powiedzcie jak zrobić photoschop? Bo ja nie wiem jak zrobić photoschop.
-
very interesting
-
I love this design it’s really unusual and original
it symbolises hope and death and matches my personality]
please can you make some more pictures like this
love you lots like jelly tots
smithy blue -
Very nice
Thank you! -
pingin ngganti foto provil
Leave a Reply