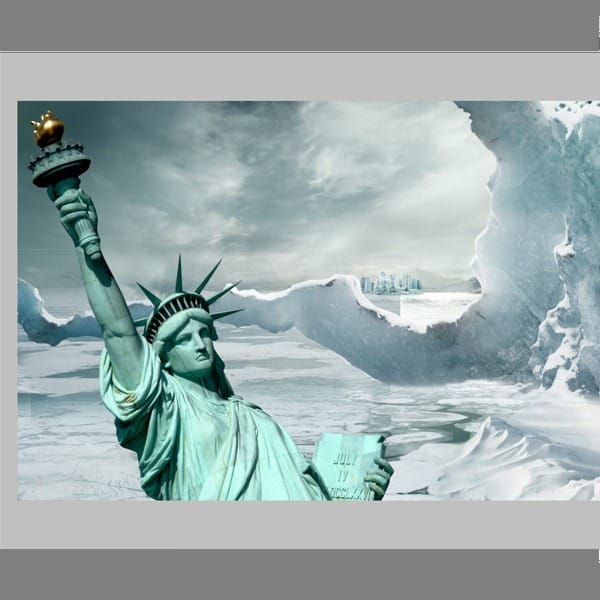
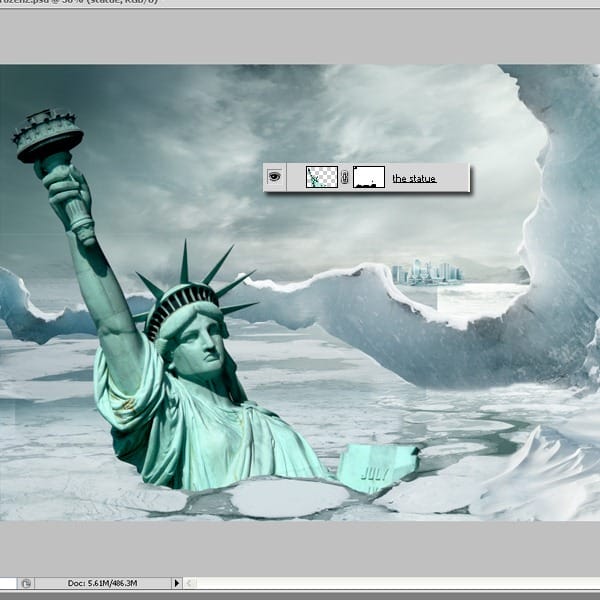
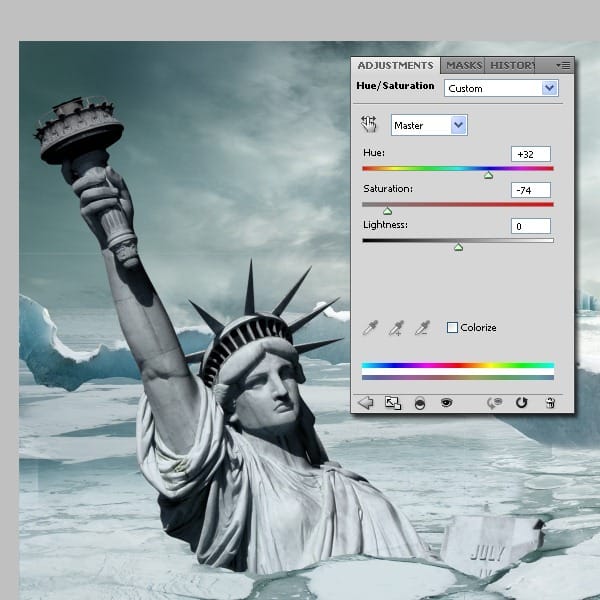
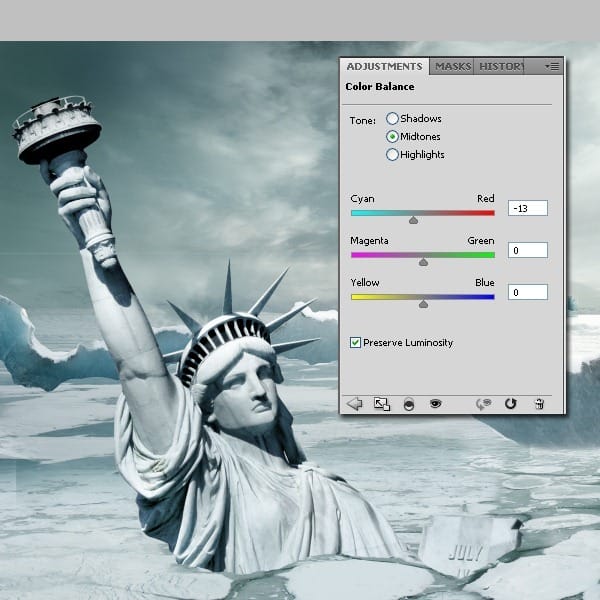
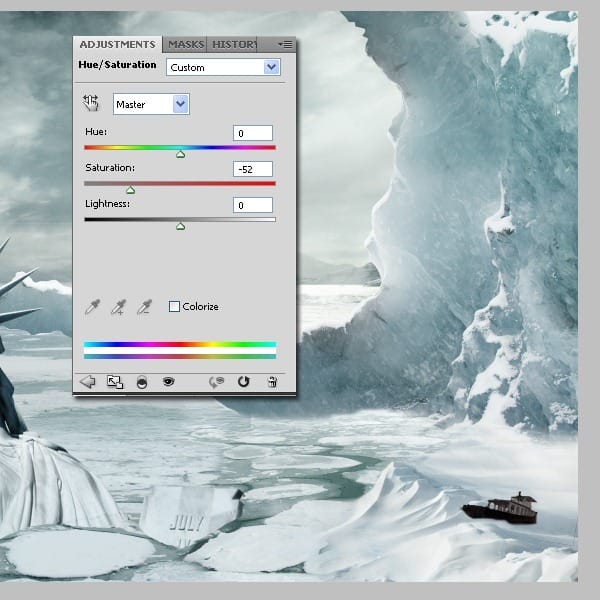
We need to adjust the colors of the statue, so use : Hue/Saturation, Curves and Color Balance. Use this Adjustment Layers as a clipping mask.

Step 17
In this step we will add the small boat. We are adding this because like this, the statue will look bigger by comparison. Place the boat on top of the snow in the right corner and cut it out.
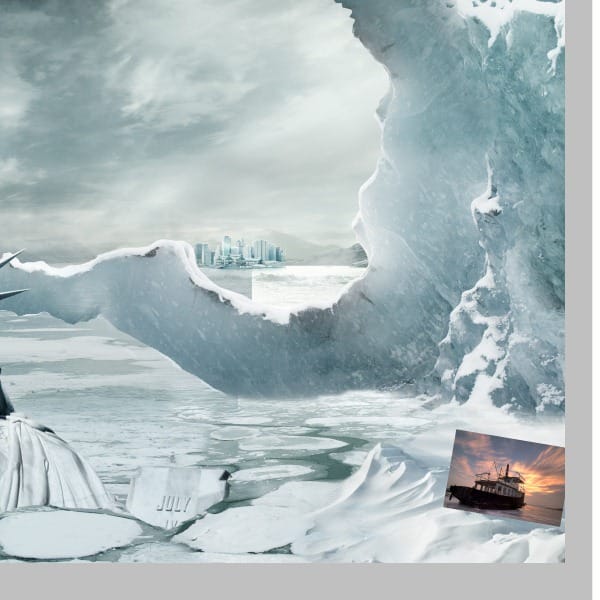
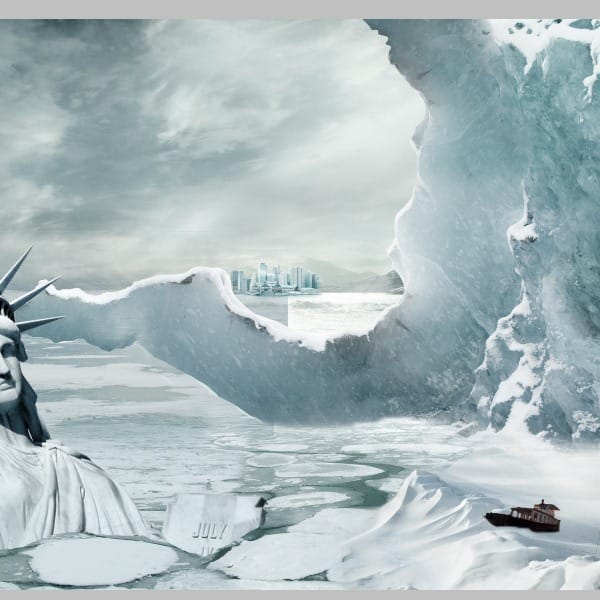
Adjustment Layers-Hue/Saturation
Adjustment Layers-Curves

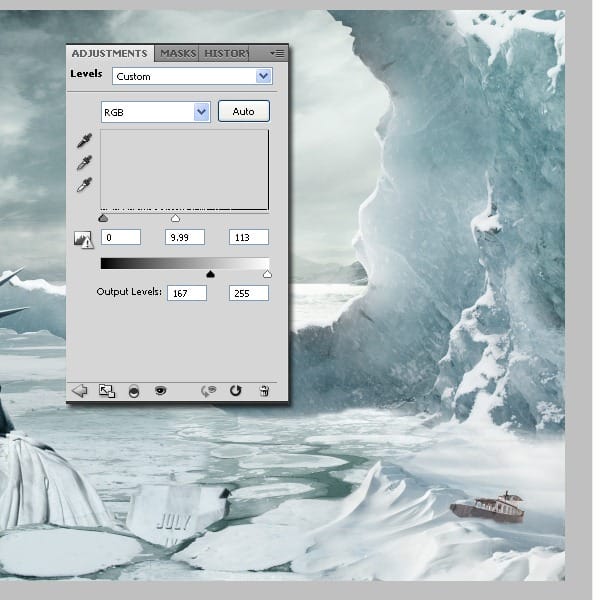
Adjustment Layers-Levels
Adjustment Layers-Gradient Map
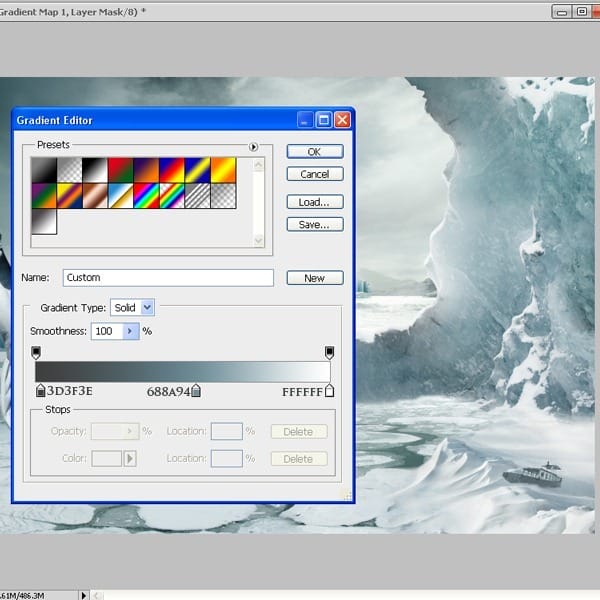
Step 18
Now we will add some snow to the city and adjust some minor details with the clone stamp tool. Use the brush tool to add some snow. This is not so important because it’s so small and it will be a bit blurry in the end but all the small details count.
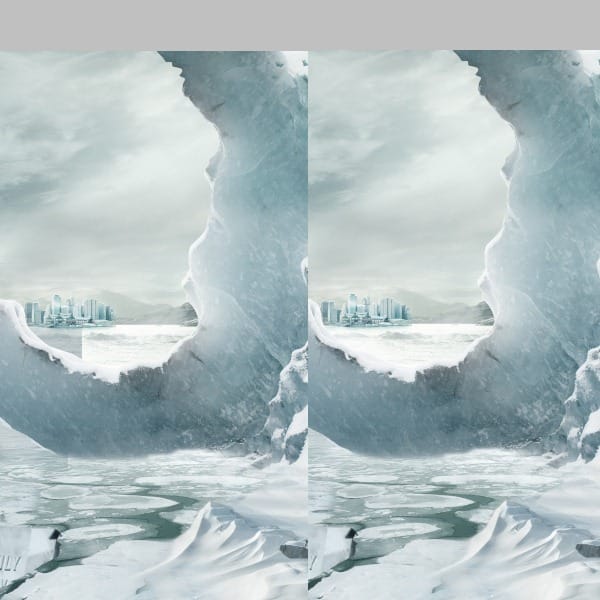
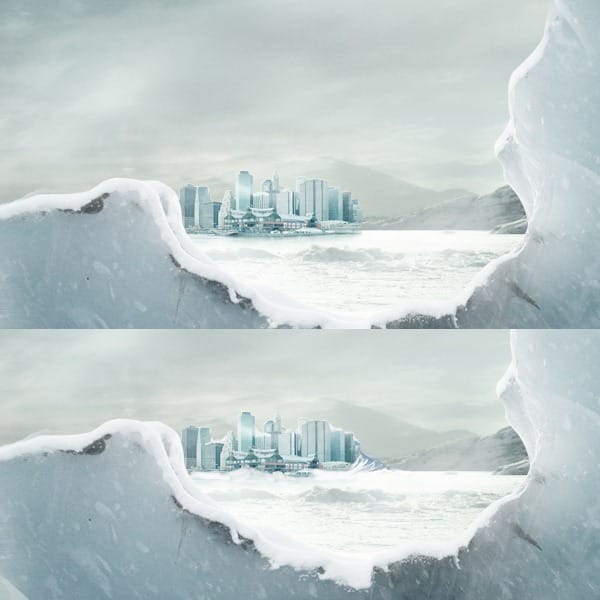
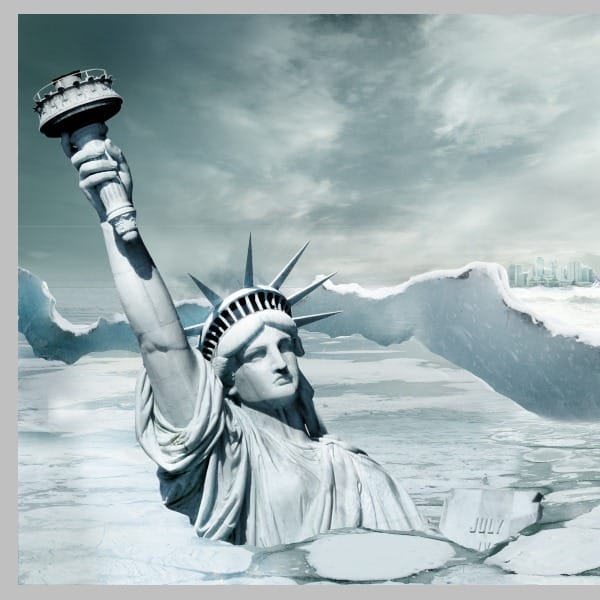
This is how it should look at this point.

Step 19
In this step we will add some more snow around the Liberty Statue. Open this picture and place it in the back of the statue. Cover the edges. Switch the blending mode to screen.
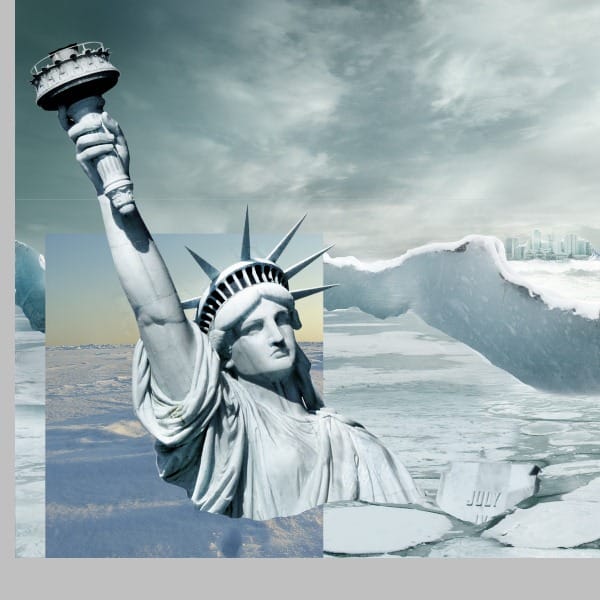

Step 20
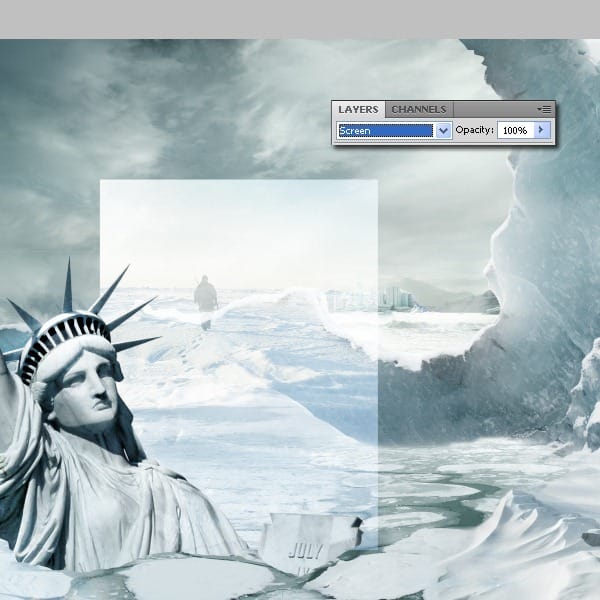
Open the same picture again, but now place it a bit to the right. Switch the blending mode to screen.

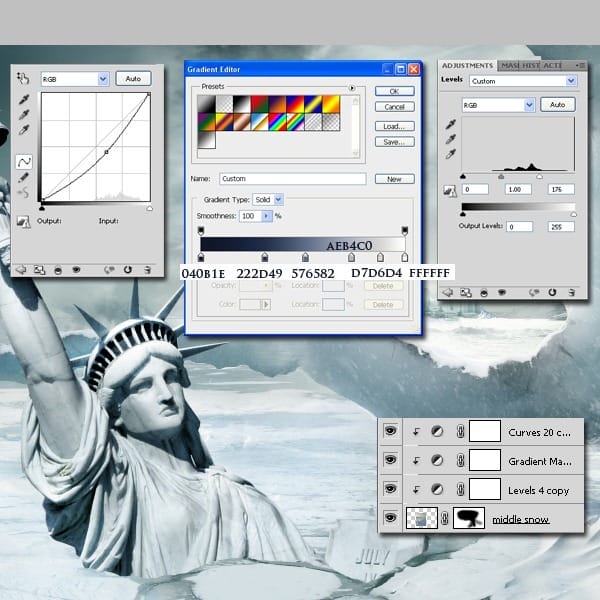
Use the Adjustment Layers shown below: Curves, Gradient Map (opacity about 25%) and Levels. Use this adjustment as a clipping mask.
Step 21
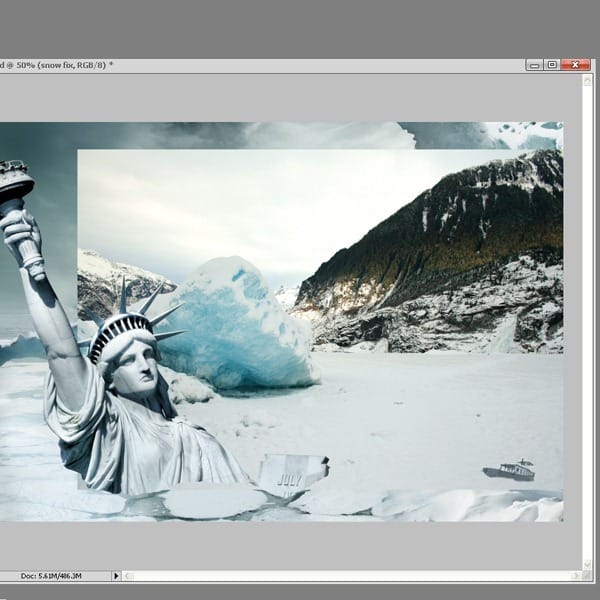
In this step we are still adding snow, so open the next picture and place it under the statue. Cover on the mask the unneeded parts.
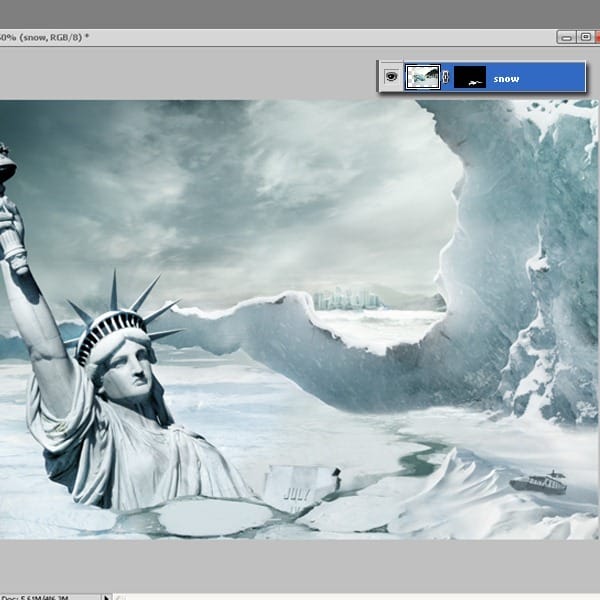
Step 22
Now let’s add some shadow to the statue. On a new layer, using the brush tool, create a shape like in the picture below and decrease it’s opacity to 29%.
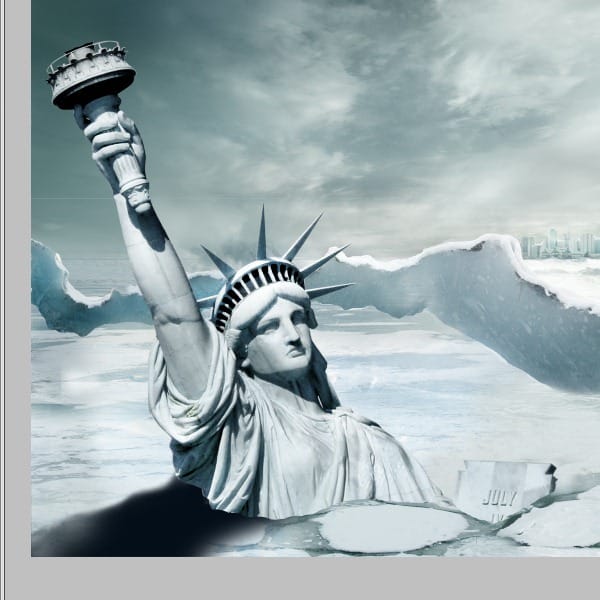
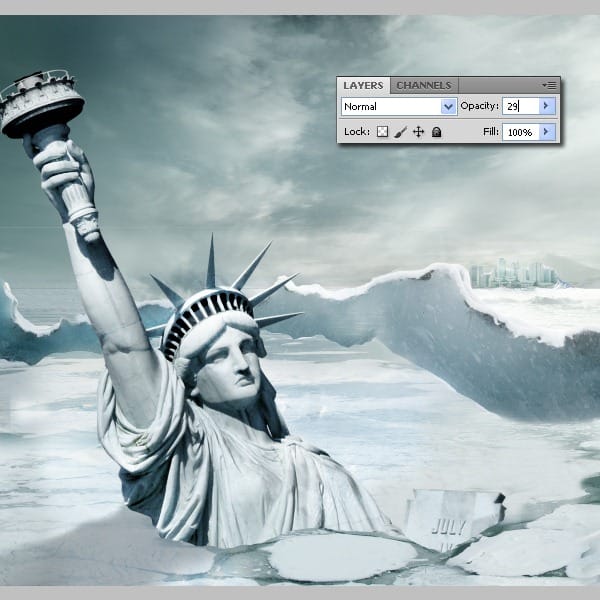
Step 23
At this point we have a good image but we need to focus on the small detail so I will add some snow at the statue’s base. This is an easy procedure, just select the clone stamp tool and copy the snow from the right part. This must be done on a new layer under the one with the statue’s shadow. Because of this the new created snow is going to be a bit dark. Use the Adjustment layers to correct that. You will find the presets below. (Hue/Saturation and Color Balance)

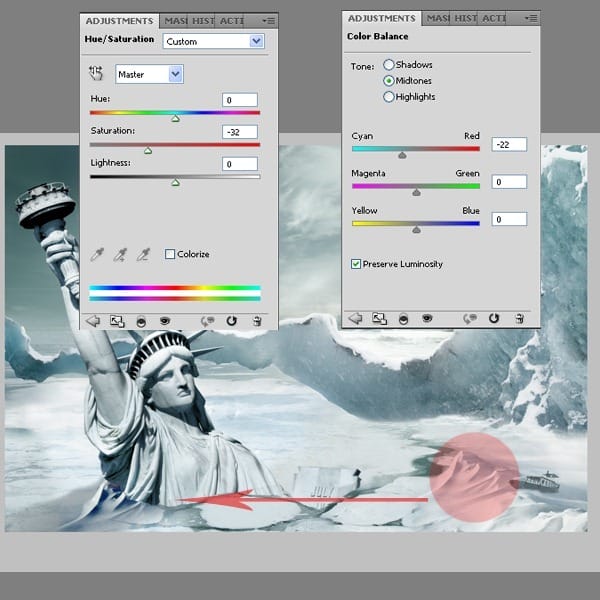
Now let’s blend the snow: create a new layer on top of all and select the brush too. Paint on the snow with the colors you pick from the actual snow, by using the eyedropper tool. You can also use the clone stamp tool.
4 responses to “Create a Frozen Scene Inspired by “The Day After Tomorrow””
-
Beautiful, creative and acutely enjoy able!
-
was keen to do this tutorial but some of the stock files are missing :(
-
FANTASTIC!!! :)
-
Wheres the Sky stock image??


Leave a Reply