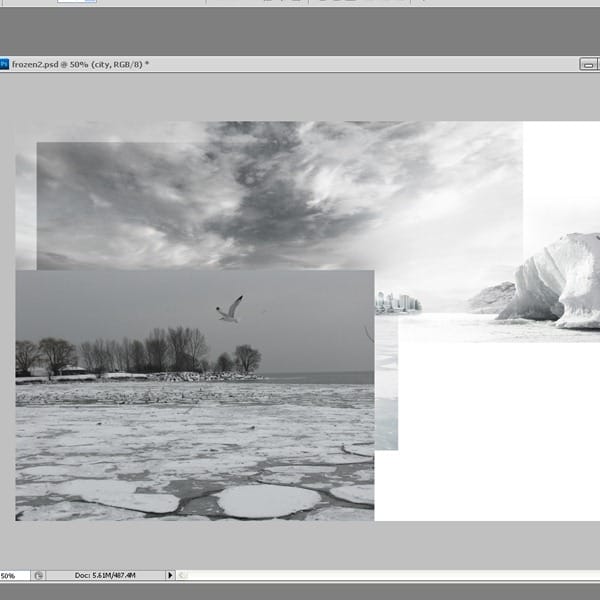
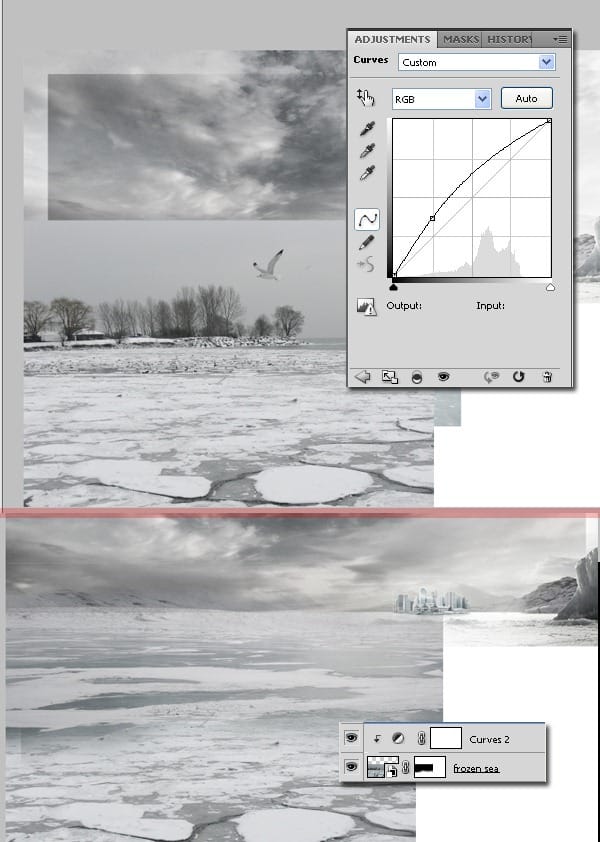
Step 6
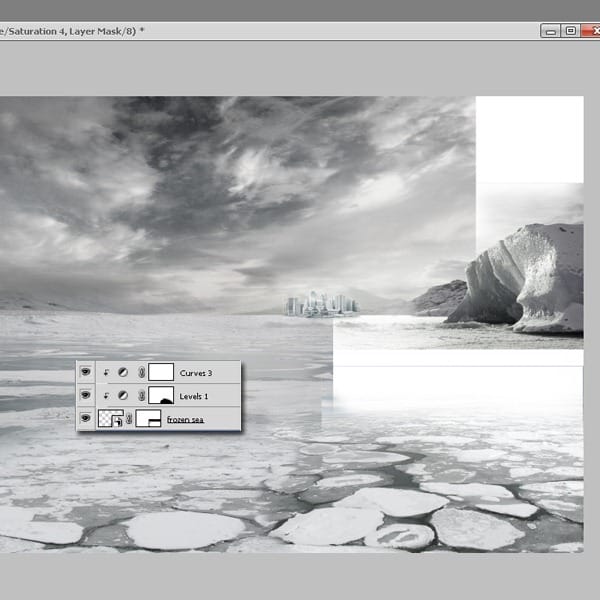
Open the other frozen lake photo and place it near the first one.
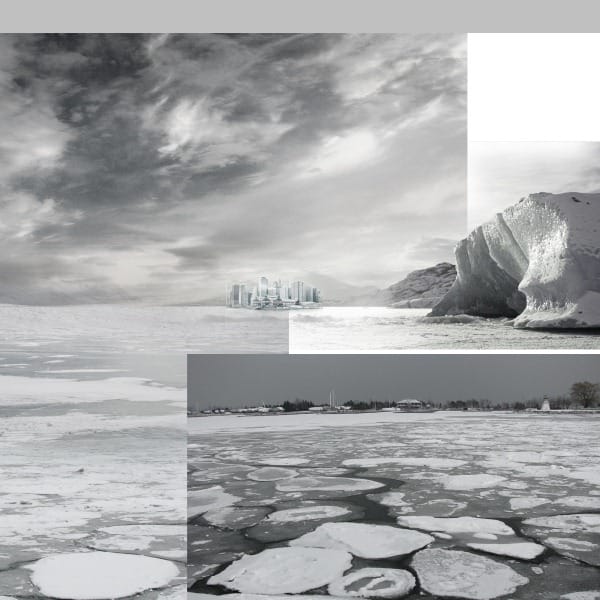
Next, we will do the same as we did for the pictures above, and this procedure is going to repeat itself for almost all the picture used in this tutorial, only the adjustment layers and the presets will be different, so use Levels and Curves as a clipping mask for the lake picture. After you complete this create a mask and erase the edges.
Step 7
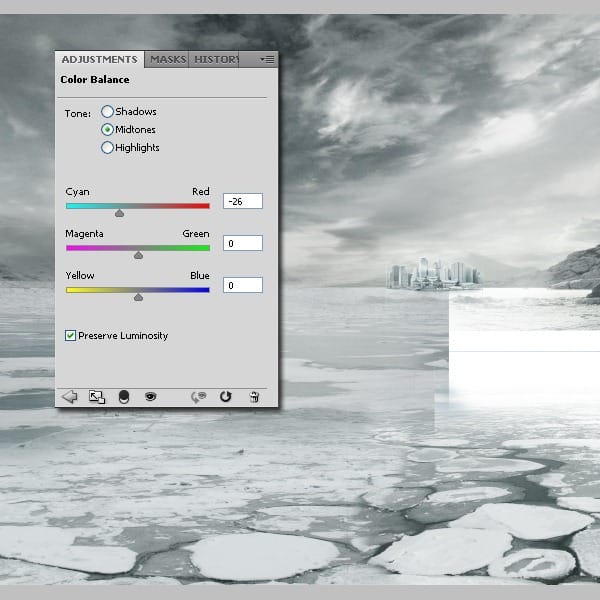
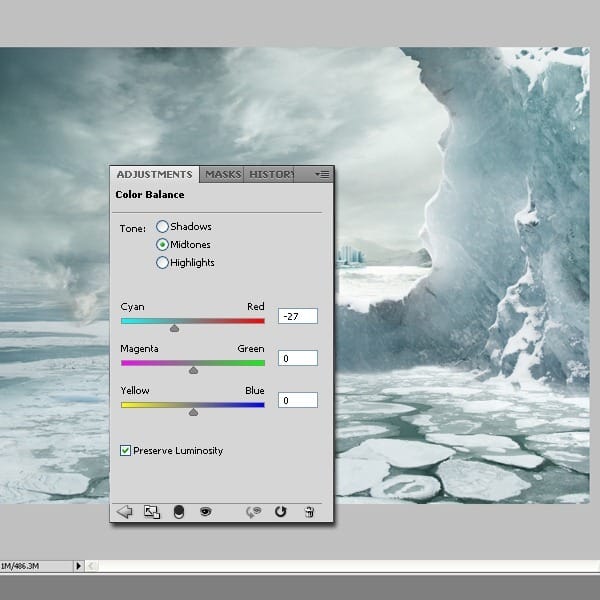
Adjustment Layers-Color Balance. Use the settings below. In this step we will add a bit of cyan to the whole picture.
Step 8
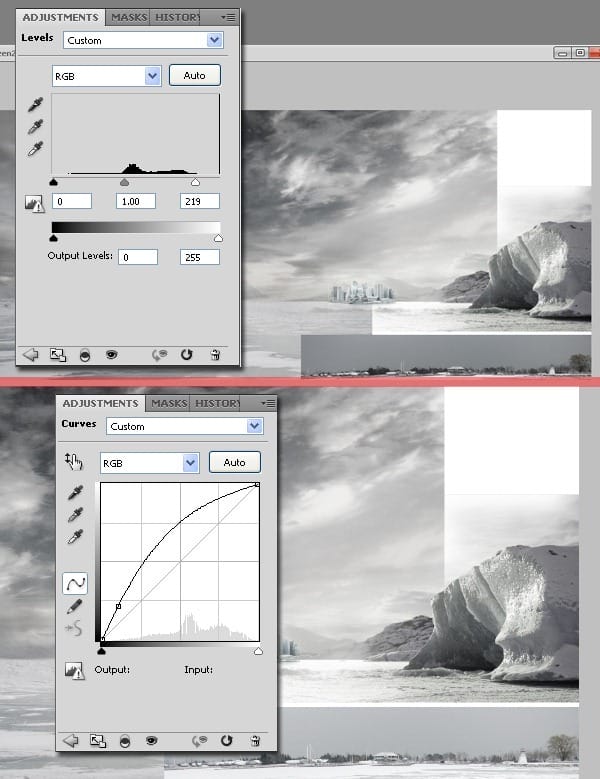
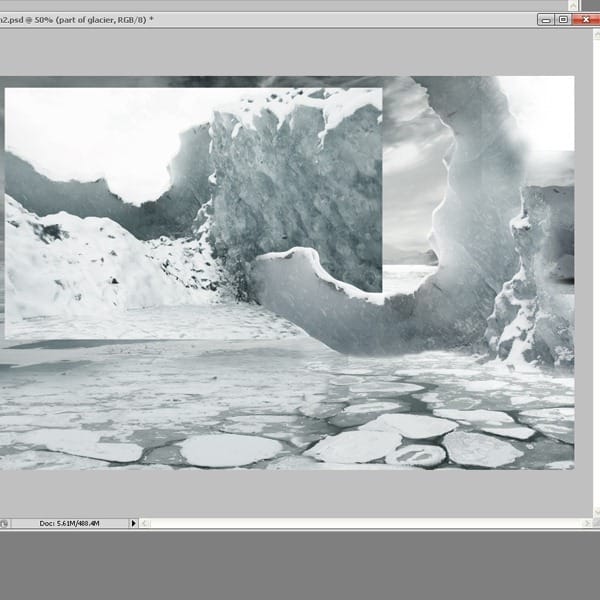
In the next steps we will create the big iceberg in the background. This is made from 3 pictures of the same ice, but shoot from different angles. So open the first picture and place it like I did in the picture below.
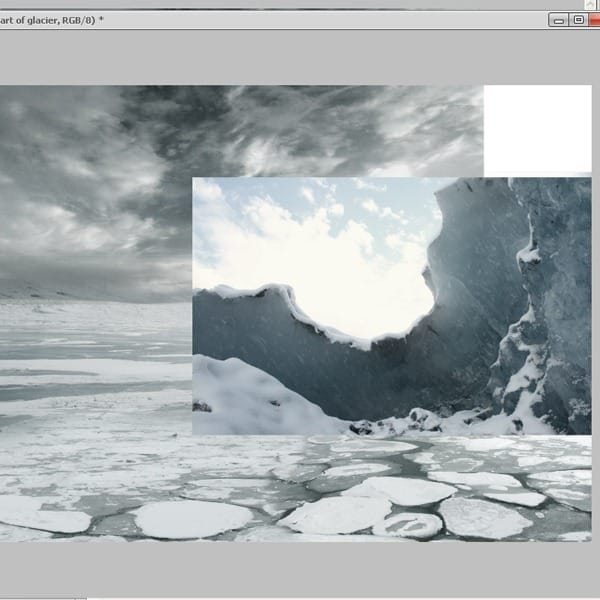
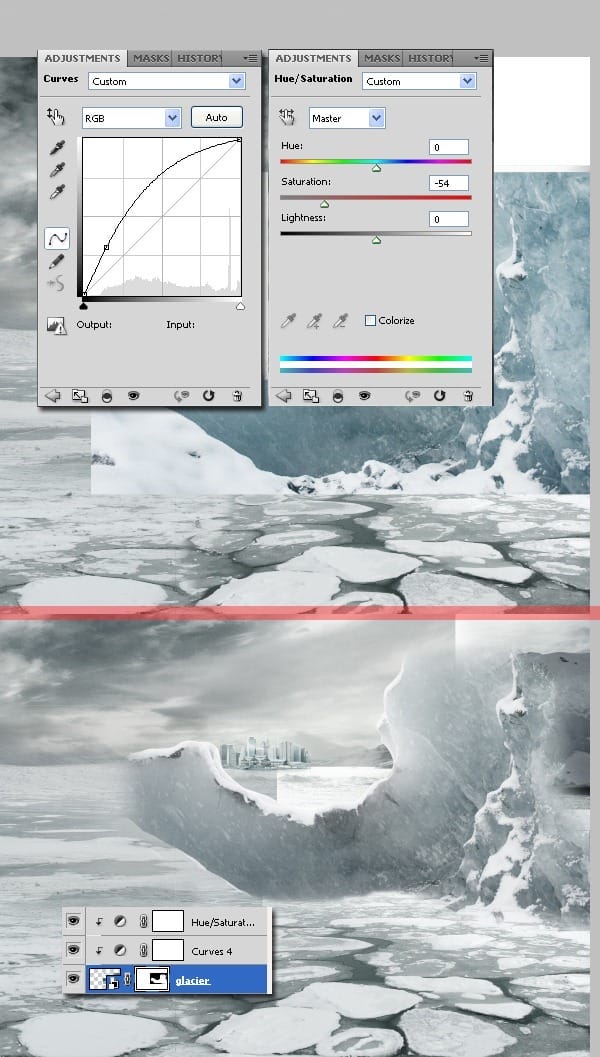
We will repeat the same technique that we applied for the pictures above, so go to the Adjustment Layers-Curves to add some light to the picture. Next go to the Adjustment Layers-Hue/Saturation. Use both layers as a clipping mask. After you adjusted the colors delete everything but the ice, we don’t need the background.
Step 9
Duplicate the iceberg’s layer, with all the clipping masks, to preserve the colors, and flip it vertically. Now you see it looks symmetrical and it doesn’t look natural because it’s repeating itself, so we need to cut out with a pen tool some parts that are just too much.


Open the iceberg photography again, place it in the upper right corner and erase the parts that we don’t need. Use Curves and Hue/Saturation with the presets made for the photo used above.


Step 10
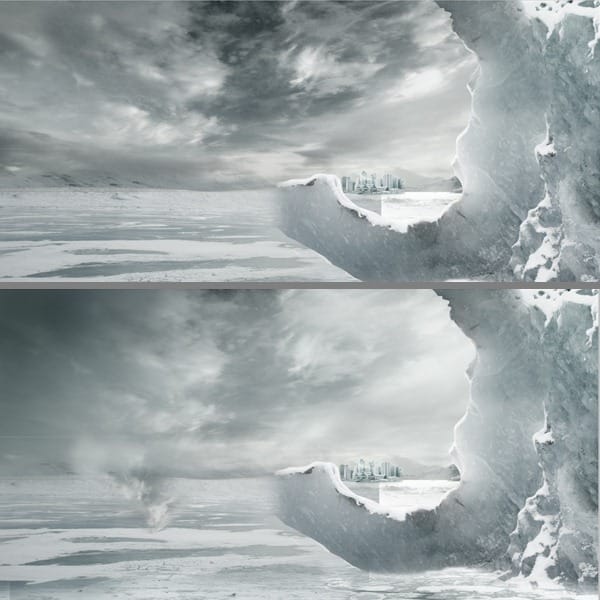
In this step we will adjust the sky, because it looks too cloudy and we need a more calm sky to fit our work, so create a new layer and with the clone stamp tool (opacity 30%-40%) clone some parts of the sky that are lighter. I use the brush tool also, with smooth edges to fix some parts.
Step 11
Adjustment Layers-Color Balance. Use the settings below.
Step 12
Now we will continue to create the piece of ice in the background. Open the second picture of the ice and place it like I did, so it will fit the other part. Now we need to make the right color adjustments so it will blend in. Make the presets like you see in the images below. All these layers need to be clipped to the ice’s layer. When you have the right tones, add a mask to the first layer leave only the small ice.
4 responses to “Create a Frozen Scene Inspired by “The Day After Tomorrow””
-
Beautiful, creative and acutely enjoy able!
-
was keen to do this tutorial but some of the stock files are missing :(
-
FANTASTIC!!! :)
-
Wheres the Sky stock image??


Leave a Reply