
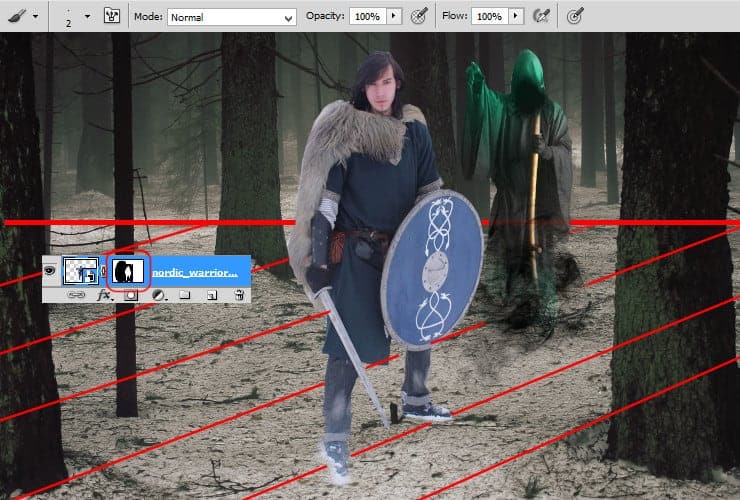
Step 21
Try to fit character to background (just a little). Add new Brightness/Contrast adjustment layer (Layer > New Adjustment layer > … or marked shortcut). Click on created layer with right mouse button, then choose “Create clipping mask”. Set it as is shown.

Repeat this step, but use Hue/Saturation adjustment layer. You will gently change tint of stock.

Step 22
Add new Hue/Saturation adjustment layer (Layer > New Adjustment layer > … or marked shortcut). Click on created layer with right mouse button, then choose “Create clipping mask”. Set it as is shown.
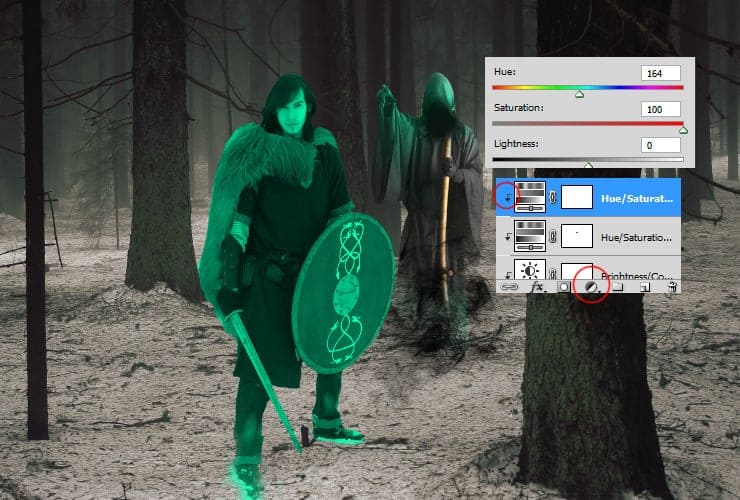
Click on white canvas next to this layer and mask with big soft brush middle part of character – see thumbnail. Leave only edges on top of stock – see thumbnail. By doing this you can make glowing lights on the character.

Step 23
Add new Brightness/Contrast adjustment layer (Layer > New Adjustment layer > … or marked shortcut). Click on created layer with right mouse button, then choose “Create clipping mask”. Set it as is shown.
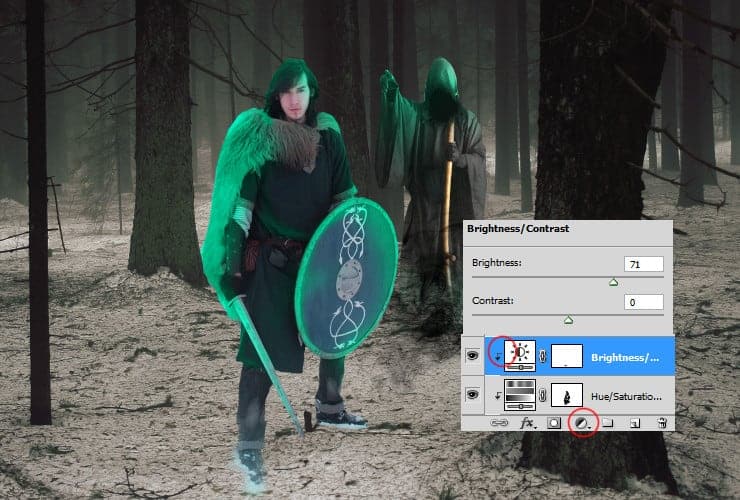
Mask center of the character. Click on white canvas next to this layer and mask it with big soft brush. You can easly make lights on model. See thumbnail.

Step 24
It’s time to make highlights. Add new layer (Layer > New > Layer …, Shift + Ctrl + N or marked shortcut). Click on created layer with right mouse button, then choose “Create clipping mask”. Pick soft round brush, around 30 px. Set its opacity to 50%. Pick light-blue color (92b2cf) and draw highlights on model.

When you are done, just change blending mode of this layer to Linear dodge (Add) and decrease its opacity to around 33%.

Step 25
Now you are done with models. You should take care of whole background. Add new layer (Layer > New > Layer …, Shift + Ctrl + N or marked shortcut). Choose big soft round brush and set its opacity to around 25% and color to navy blue – #171c25 (for lighter shadows use #596571 color). I’ll show you, how I’ve done that at normal (100%) opacity, for easier effect. Draw shadows on each of the trees, shadows below characters (remember about perspective). Don’t be afraid to make strong shadows – if it’s your vision, do it! :)
8 responses to “How to Create a Gothic Photo Manipulation of a Brave Warrior in Photoshop”
-

Awesome tutorial! Just none if the images want to load for me :(
-
Hey thanks for letting us know :)
The tutorial images have been fixed!
-
-
How to Design Responsive School ID in Photoshop. please make a tutorial. thank you.
-
Thx
-
msRiotte, Thanks.Another amazing lesson. You wonder. I experienced a huge plantation during this lesson. http://j-p-g.net/if/2015/09/24/0926954001443114217.jpg- my work
-
Please help me , i have a problem with the brush.
Look this http://es.tinypic.com/r/2sbx1r8/8 , my brush dont paint like you brush, dont have the same effect and i cant do a lot of projects.
Please why?? -
thanks for the very great tutorial, since i was new in this ps photo manipulation and i can’t do everything like u do, so i take couple of layers from your psd, i combine my layers with yours, is that ok?
by the way here is my final result photo :
http://williambunarto.deviantart.com/art/Green-Wizard-521571979-
sir.. william. can u help me.. can u send me ur photoshop format a PSD on that Photoshop toturial. thank you
send me via my email
[email protected]
-
Leave a Reply