

Change blending mode and opacity – Overlay, opacity around 50% (here I used 47%).

Step 47
Mark light from monk’s wand. Add new layer. Choose big, soft round brush (around 400px). Use light-blue (#6adfd1) color and draw big dot on wand’s edge.

Change blending mode of this layer to Soft light, decrease opacity to 50%.

Step 48
If colors are too flat – let’s fix it. Add new adjustment layer (Layer > New Adjustment layer > … or marked shortcut) with Color/Balance settings. Set it as is shown.

Step 49
Let’s put “background_59” stock. Change blending mode to Screen.
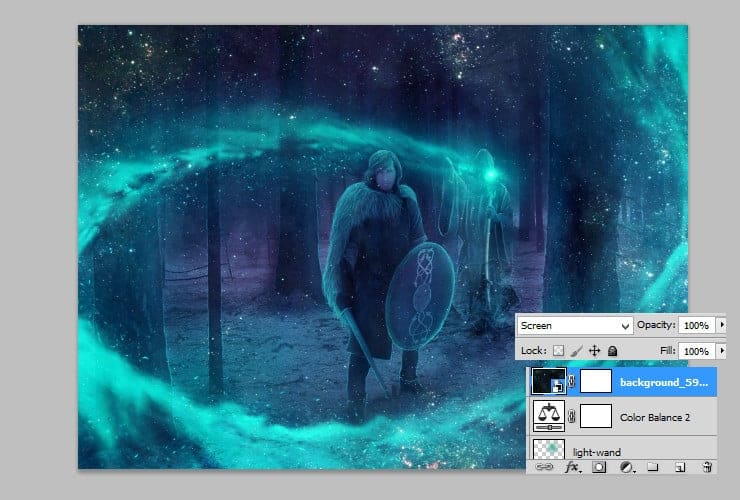
By using big soft round brush, mask unnecessary parts of stock (see thumbnail). Click on white canvas next to layer thumbnail and draw where you want to remove things.

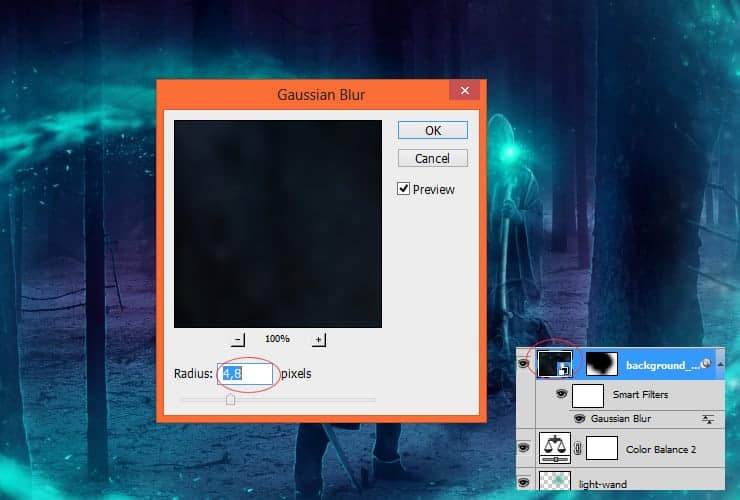
Click on layer thumbnail. Next, go to Filter > Blur > Gaussian blur. Set it as is shown.
Step 50
Great! Now you should strengthen shadows on swirl. Add new layer (Layer > New > Layer …, Shift + Ctrl + N or marked shortcut). Pick soft round brush, around 300 px. Draw with #00040d (dark blue) color on swirly thing’s shadow.

Change blending mode of this layer to Soft light.

Step 51
Add new layer (Layer > New > Layer …, Shift + Ctrl + N or marked shortcut). Choose soft round brush, around 30px size, #00060f color and set its opacity to 50%. Draw some strokes on smaller shadowed parts of swirl.

Change blending mode of this layer to Soft light. It will enhance shadows and lights.

Step 52
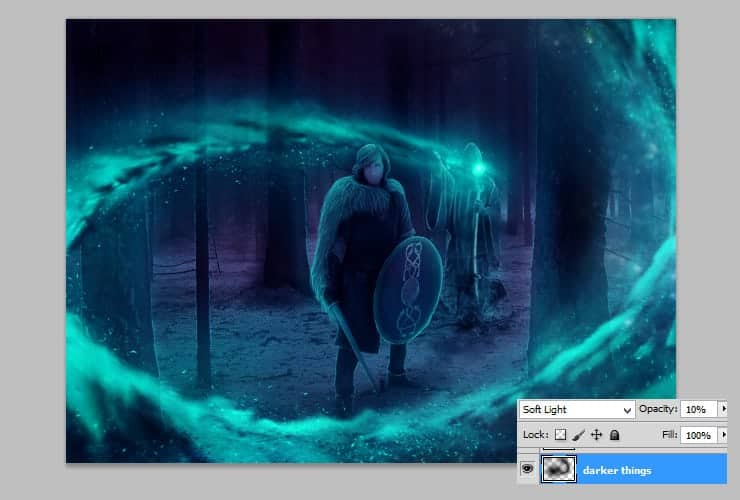
Now we’ll make more darker things. Add new layer (Layer > New > Layer …, Shift + Ctrl + N or marked shortcut). Pick soft round brush, around 300 px. Draw with #00040d (dark blue) color aside from swirl.

Decrease opacity to 10%. Change blending mode to Soft light.
Step 53
We’ll play with colors. Set in your color picker: #4ab4a8 and #01040d colors. Add new adjustment layer with Gradient map and set it as is shown. Change blending mode of this layer to Color dodge. Decrease its opacity to around 25%.

Step 54
Duplicate created layer. Drag it and drop on “New layer” symbol. Change blending mode of duplicated layer to Soft light.
8 responses to “How to Create a Gothic Photo Manipulation of a Brave Warrior in Photoshop”
-

Awesome tutorial! Just none if the images want to load for me :(
-
Hey thanks for letting us know :)
The tutorial images have been fixed!
-
-
How to Design Responsive School ID in Photoshop. please make a tutorial. thank you.
-
Thx
-
msRiotte, Thanks.Another amazing lesson. You wonder. I experienced a huge plantation during this lesson. http://j-p-g.net/if/2015/09/24/0926954001443114217.jpg- my work
-
Please help me , i have a problem with the brush.
Look this http://es.tinypic.com/r/2sbx1r8/8 , my brush dont paint like you brush, dont have the same effect and i cant do a lot of projects.
Please why?? -
thanks for the very great tutorial, since i was new in this ps photo manipulation and i can’t do everything like u do, so i take couple of layers from your psd, i combine my layers with yours, is that ok?
by the way here is my final result photo :
http://williambunarto.deviantart.com/art/Green-Wizard-521571979-
sir.. william. can u help me.. can u send me ur photoshop format a PSD on that Photoshop toturial. thank you
send me via my email
[email protected]
-
Leave a Reply