

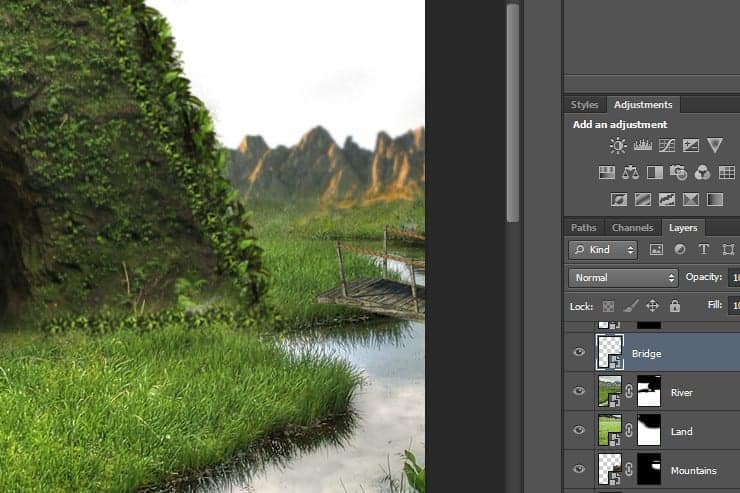
Step 24
Now make sure you standing on “Mountains” layer (not the mask) and go to Filter > Blur > Gaussian Blur and make Radius 1.0 pixels then press OK.

Step 25
Place Bridge Stock.
Step 26
Place Grass File.
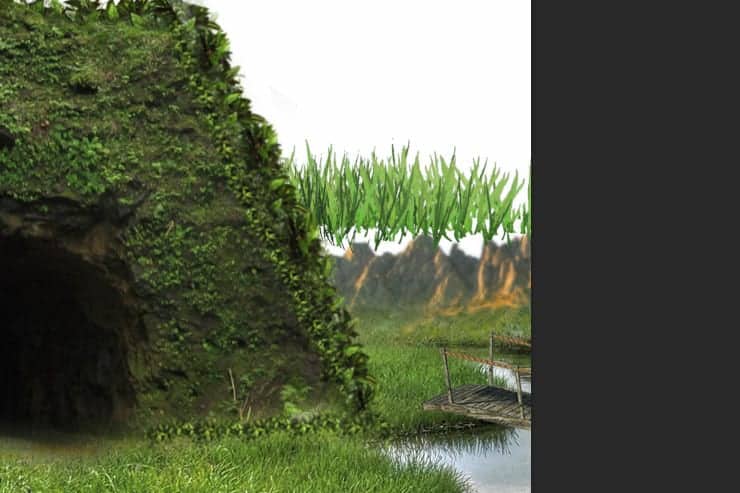
Step 27
Transform “Grass” Layer to adjust with “Bridge” as it shown.
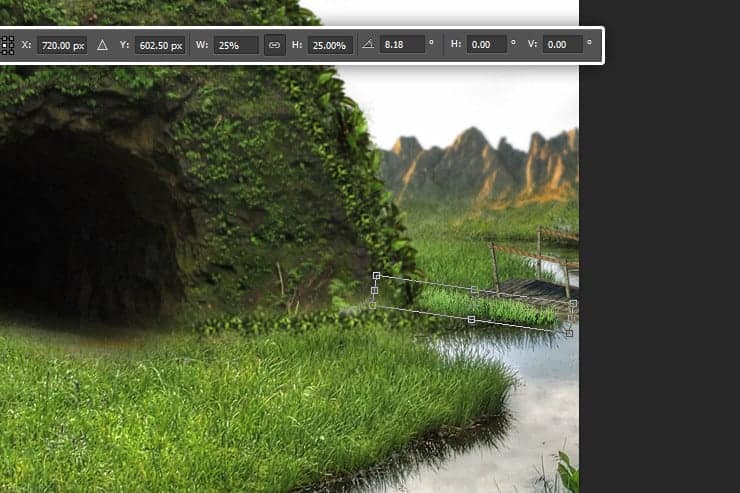
Step 28
Now Add Layer Mask to “Grass” layer and use Black soft Brush to hide unnecessary pieces it shown.

Step 29
Now Create a new color balance adjustment layer, then Create a clipping mask by press Right click on “color balance” layer and select Create a clipping mask OR press Alt+Ctrl+G.

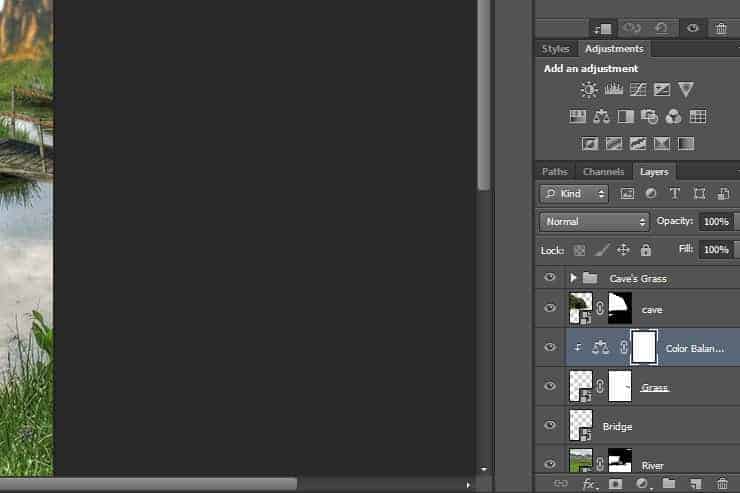
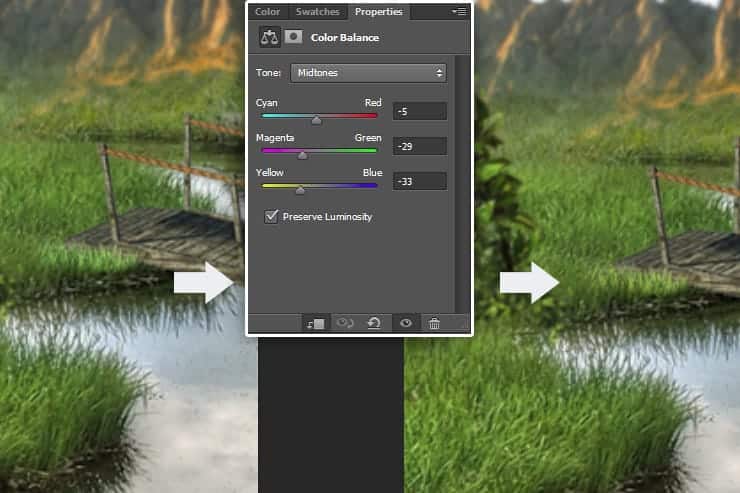
Step 30
Now we will try to adjust “Grass” layer with the grass of Background by using the “color balance” with this properties.
Step 31
Duplicate “Bridge” Layer and name it “Bridge Shadow”.
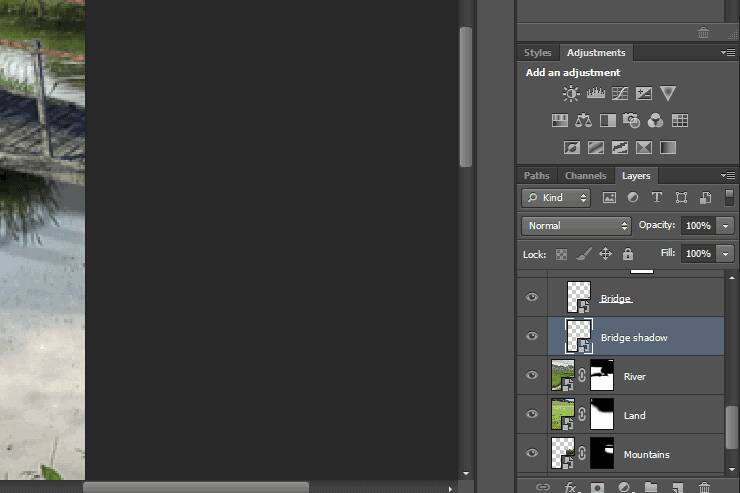
Step 32
Double Click on “Bridge Shadow” Layer To open layer Style, then go to Color Overlay and select Black Color as it shown.

Step 33
Now we use free transform by clicking on Ctrl+T then transform it to get the image below.

Step 34
Now Lower the opacity to 25% , then go to Filter > Blur > Box Blur and make the Radius 2 Pixels and press OK.


That’s What we Get.

Step 35
Now Place Sky Stock as it shown.

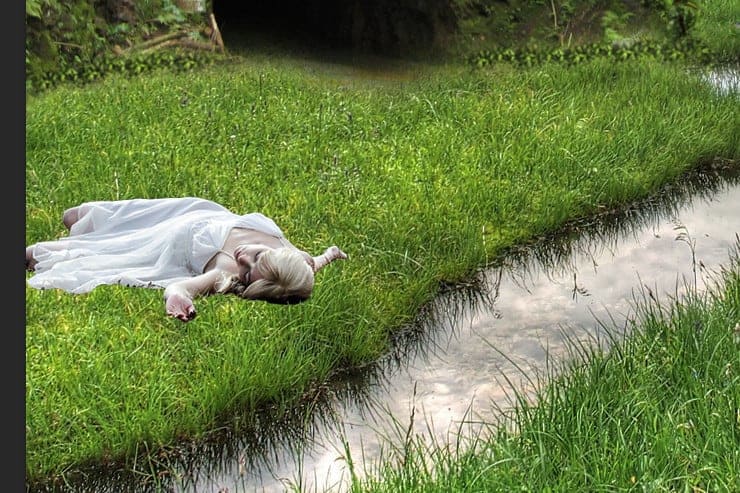
Step 36
Now we Gonna start add the Model but, first Open the Model Stock and cut it out from the background then add it to the Design.
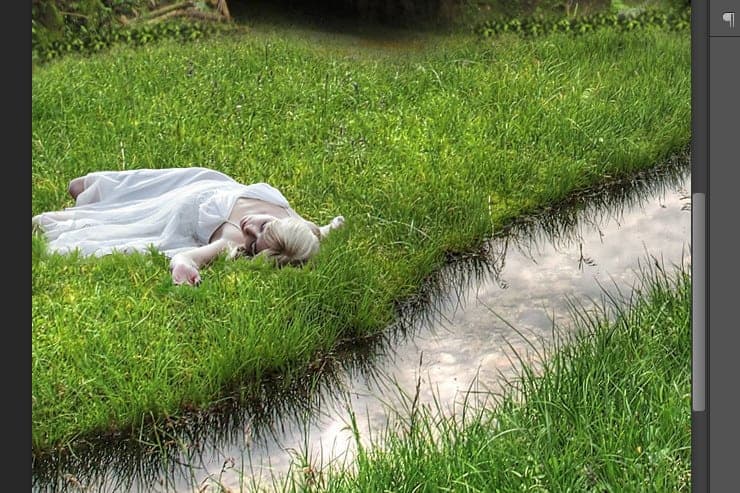
Step 37
Using Same technique we have use it in “Bridge” layer, we start adding Grass around the model.

Create New Color Balance Adjustment layer and use it as clipping mask to Grass Layer as it shown.

Step 38
Keep using same technique around the rest of model to get the image below.
Step 39
Now we need to hide the background from the bear stock, we will use the pen tool and draw the path around the bear, then make selection around the bear and clear the background as it shown.
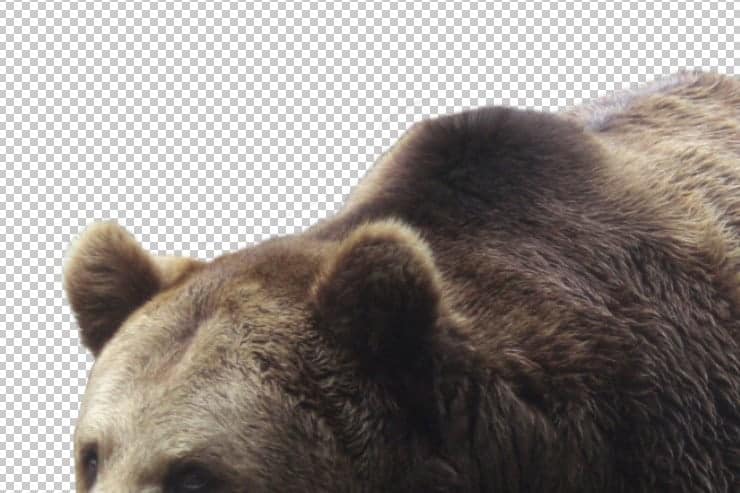
Now Create New Layer and use Smudge tool with this properties.

Start paint around the bear as it shown.

Finally you should get the bear like that.


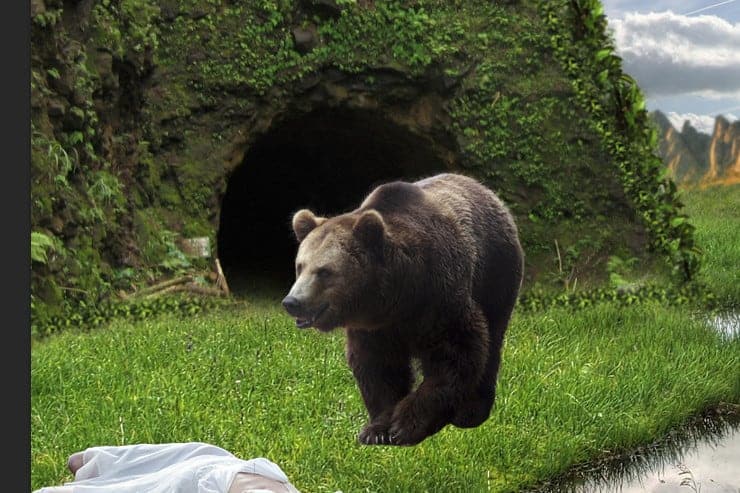
Step 40
Now marge the bear layer with the other layer and drop them into the design.
Step 41
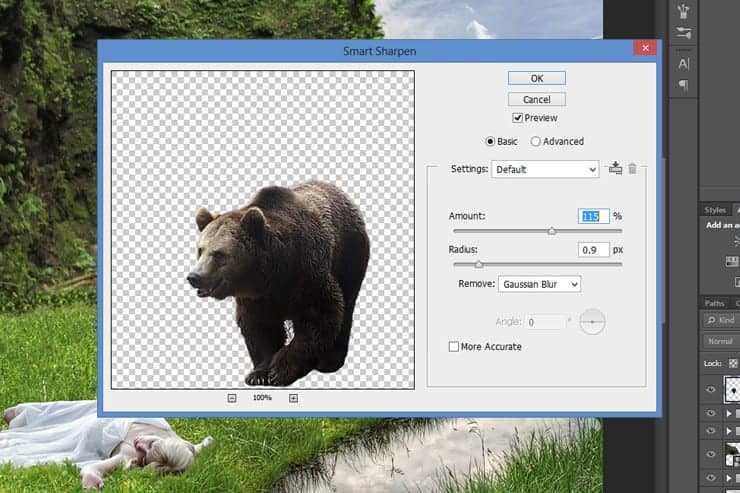
Go to Filter > Sharpen > Smart Sharpen then do like the image below.
Step 42
Add Grass Around Bear’s Leg with the same technique we have used with the model.
9 responses to “Create a Hungry Bear Composite in Photoshop”
-

This would be a really cool tutorial if it had the image steps
-
No images steps.
-
asw creative work
-
really…shadows from bear an the lights on bear doesnt fit for me
-
The lighting was fantastic…
nice… -
Is it possible to have source file/ psd because many source images are not available any more?
-
I also can’t find the images
-
Nima
-
no have Bridge Stock.
Leave a Reply